Module 5

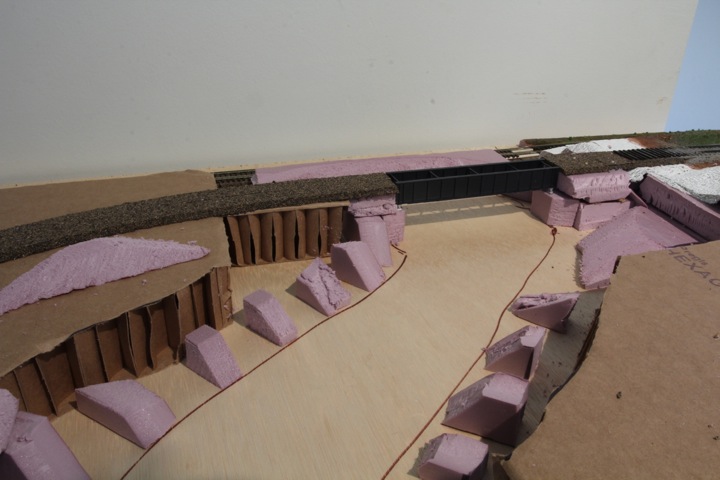
With the problematic track work of module 3 behind me, it was time to extend the layout out. This module features a bridge and river scene (the Dog river for our purposes), and while not shown on the original plan, a turnout.
The turnout addition is due to my lessons learned from the earlier track work - I'm not stressing the exit point of the modules as much as making sure the curves are smooth on this one. I thought by adding a turnout (curved) here, I can still make the layout work as designed.
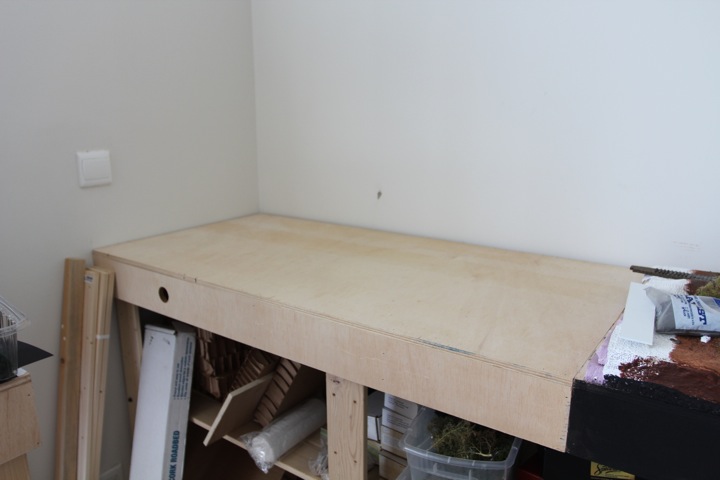
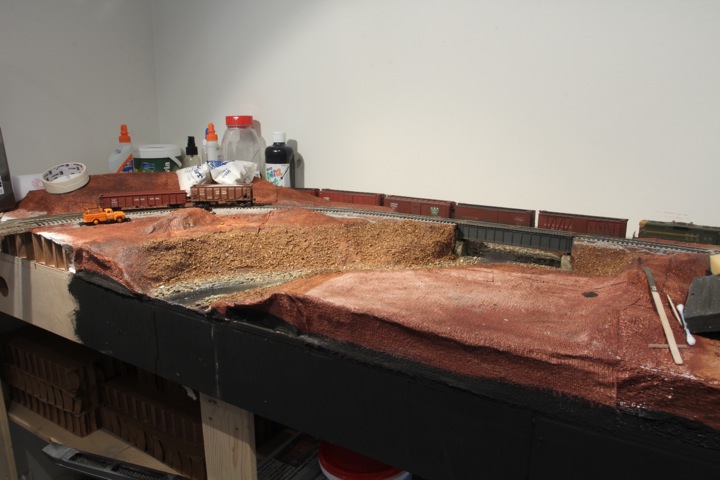
The bare module. It had served successfully as a bare storage space for months! I did mark up desired exit points on it's edge.
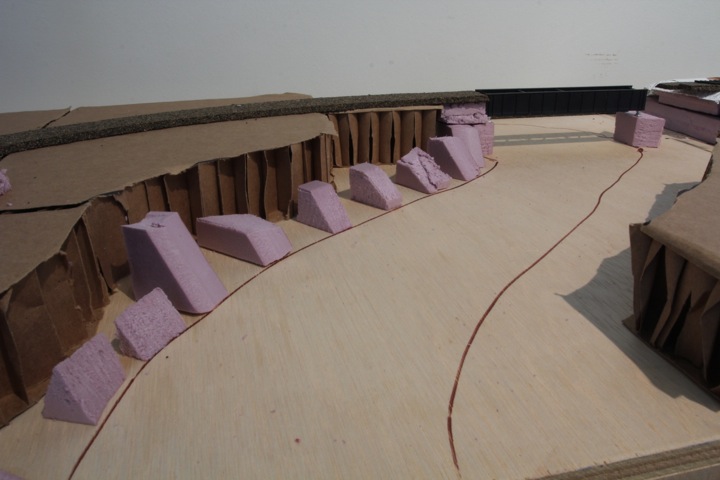
The scenery starts to go in. Folks may be surprised at my choice of terrain materials, but note that I'm down to one sheet of foam (should have brought more with me from the US) and it's very hard to find here. The cardboard is exactly as thick as two sheets of the 1 inch foam I brought, and it's very rigid. And it was free (I saved it from a shipping box).
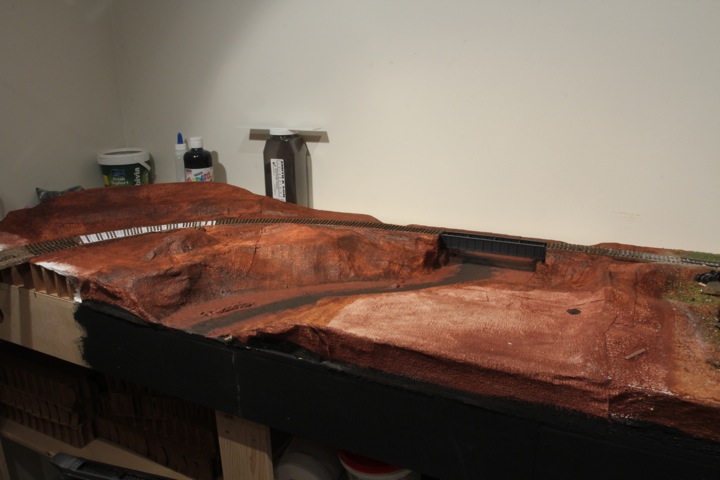
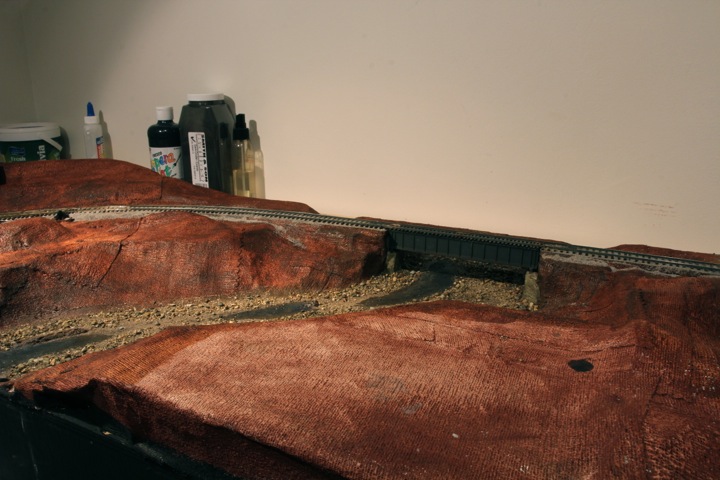
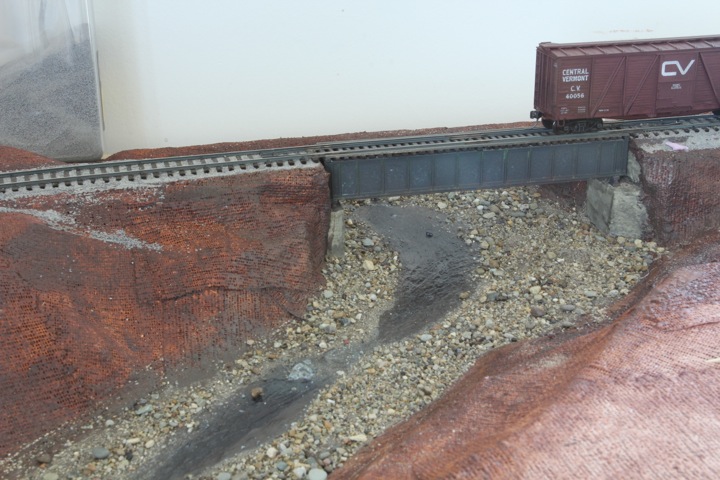
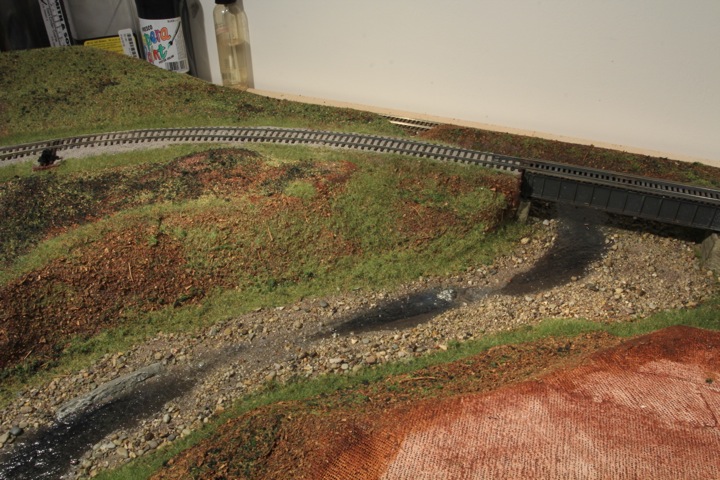
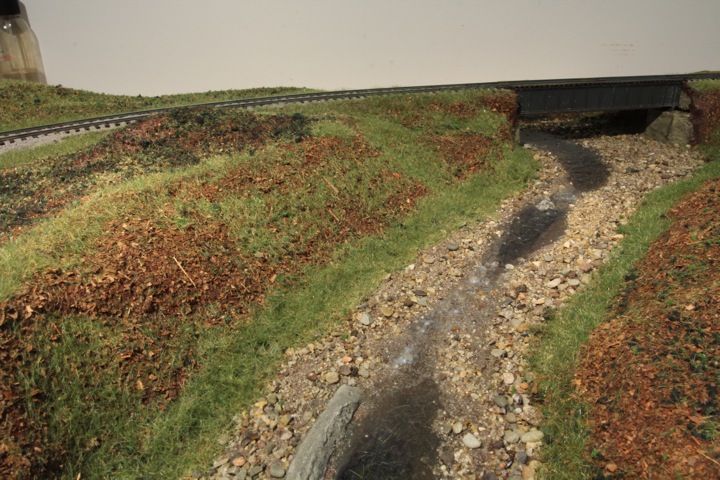
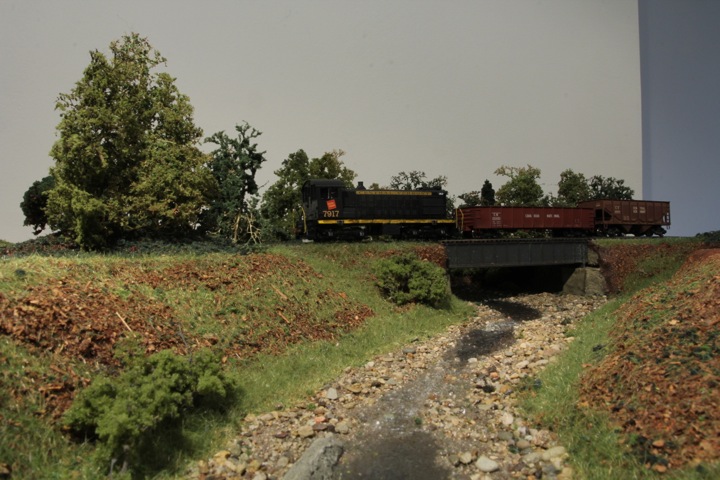
Here, the river begins to take shape. The "high" line is the branch to Barre, the rear track is to the "hidden" staging.

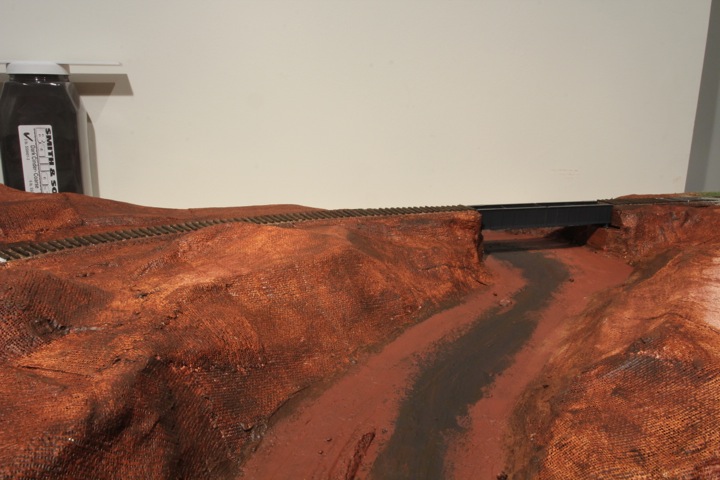
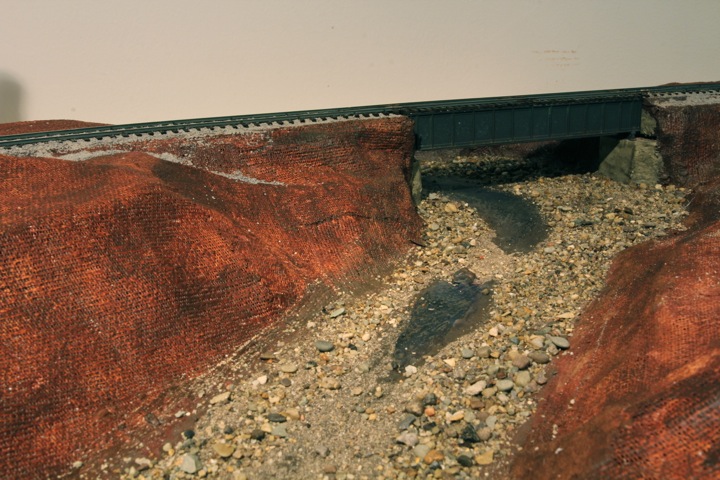
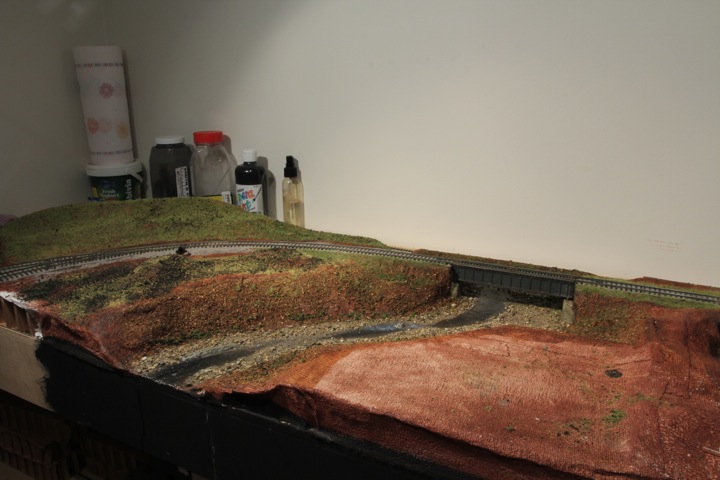
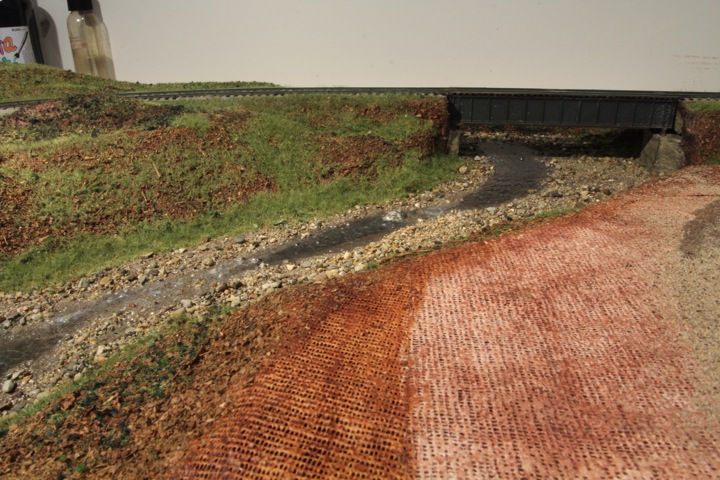
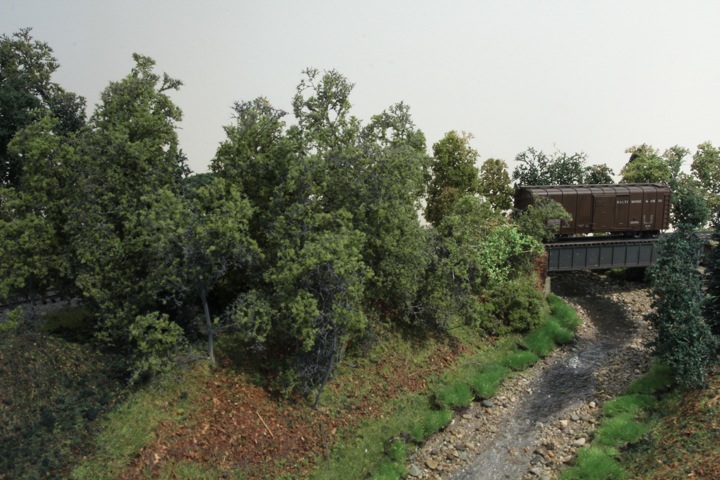
Looking down the Dog river. I may need to put in a fake background (photographic?) to hide the staging track, not that you can see it from here anyway. The right bank still needs to be built out, and then it gets covered with plaster cloth.
I found when removing this module from the setup, the fit is very, very, very tight. When measuring things to pre-build back in New Hampshire, I hadn't thought of a background solution - with the one I've chosen, I've lost any play along the width of the room. Due to that, this module is going from above - it is already screwed tight to number four. Due to this, I will be using a caboose ground throw, instead of a Bullfrog, for the turnout.
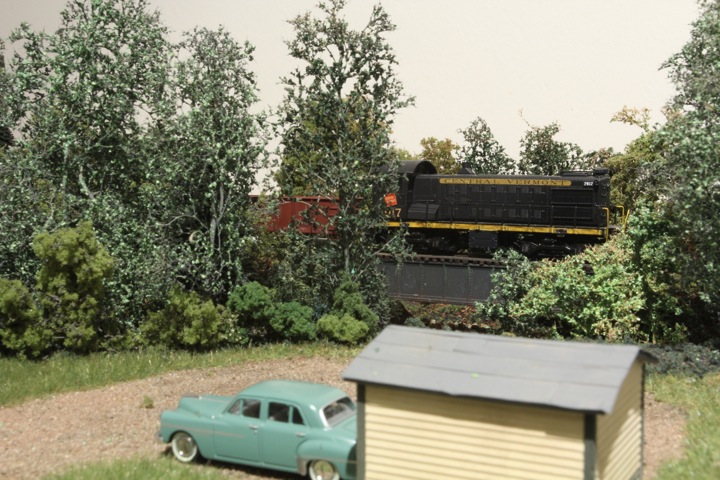
I got the right hand side bank of the Dog river roughed out, including an area that can be used as a possible beach scene.
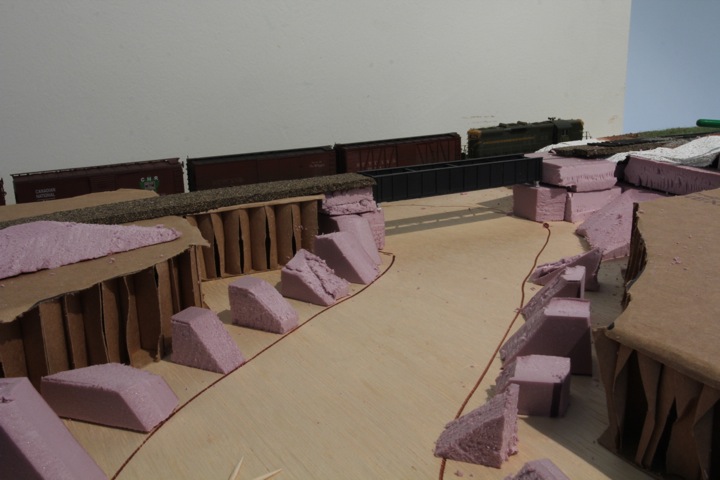
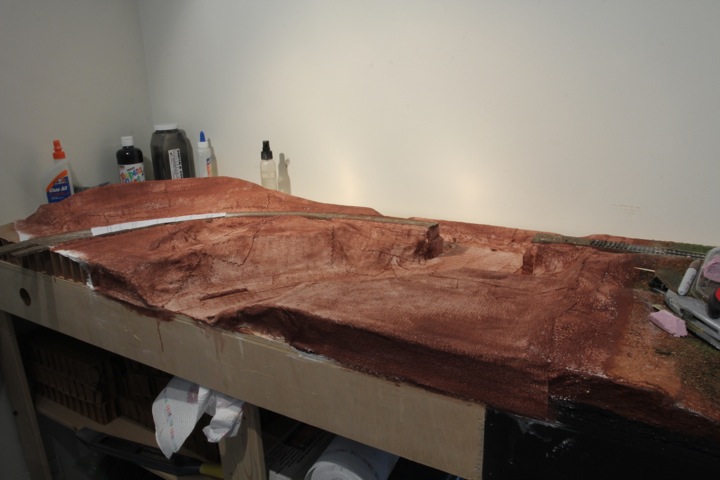
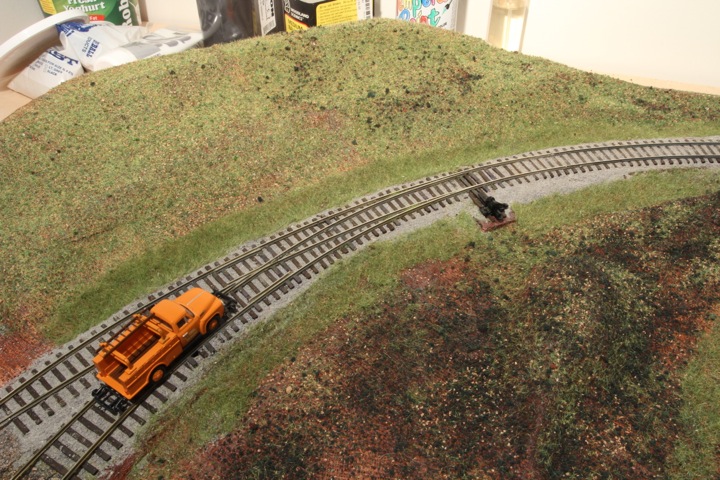
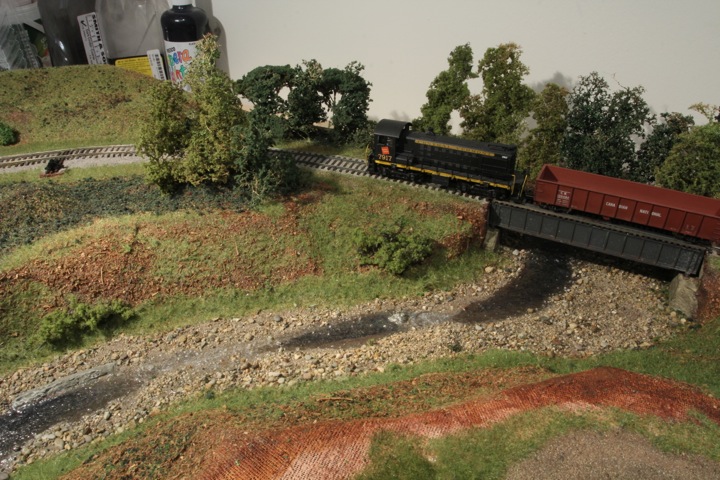
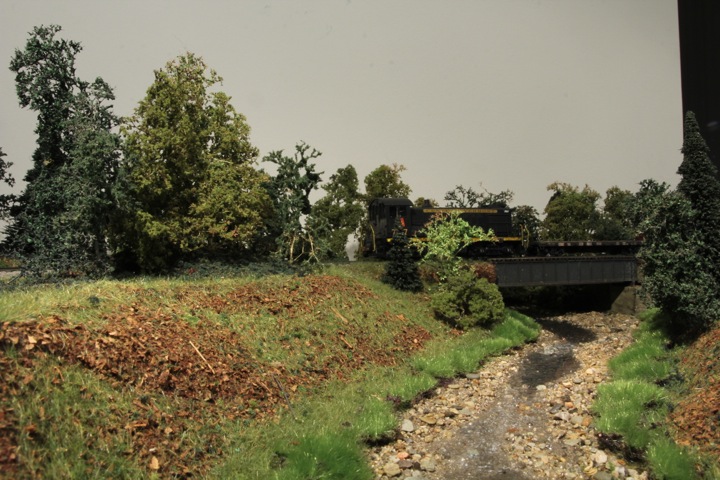
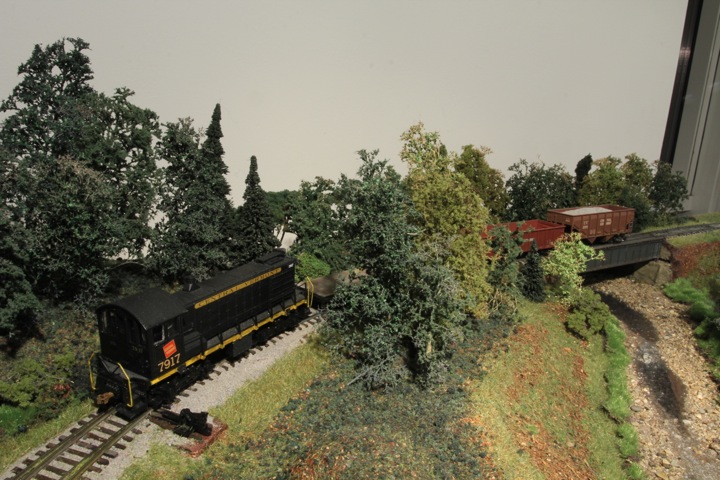
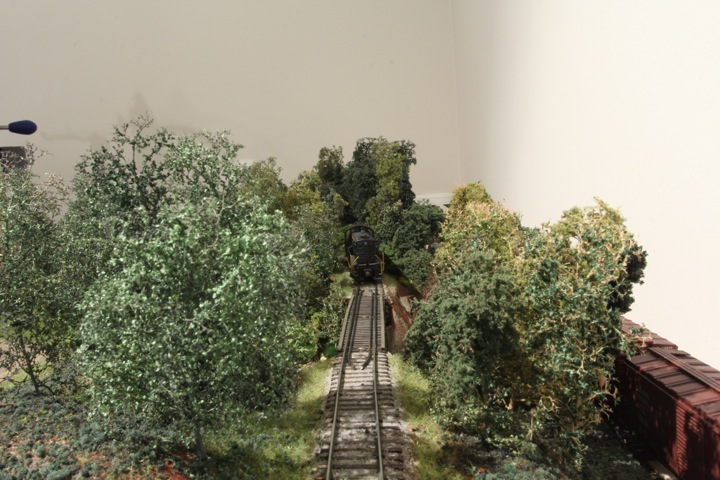
The train on the staging line/main line is there to check out the line of sight.

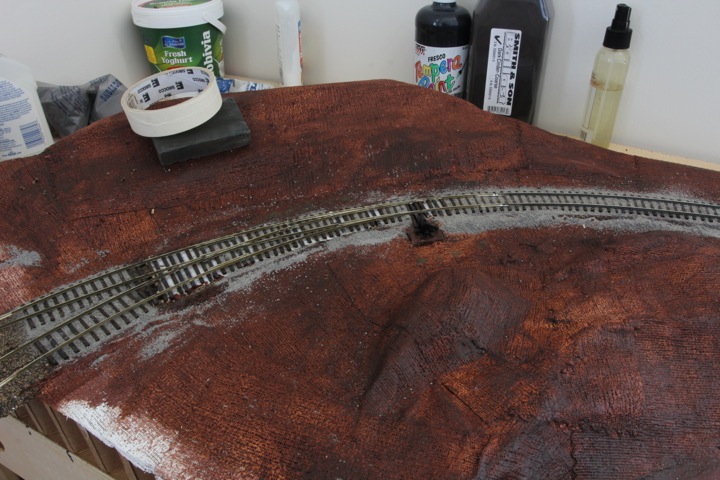
The upper level has its cork in place, and the switch, fits.
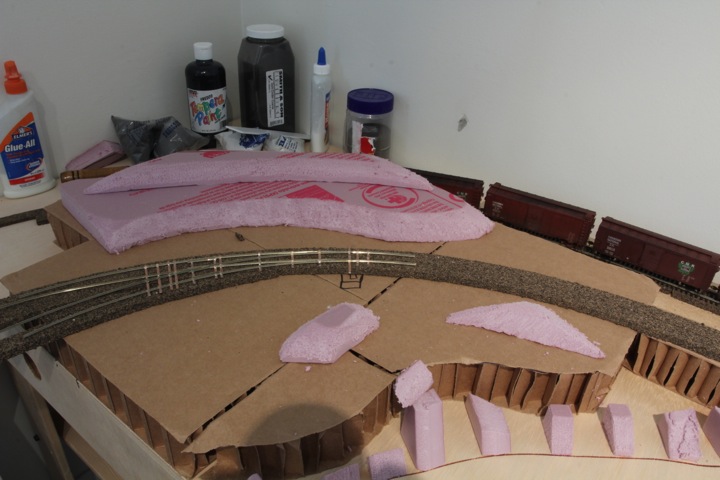
Just another piece or two, and than the first layer of plaster cloth can go in.
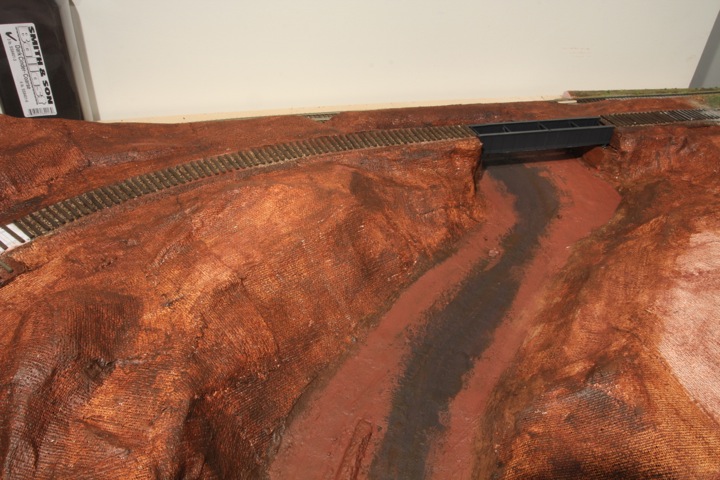
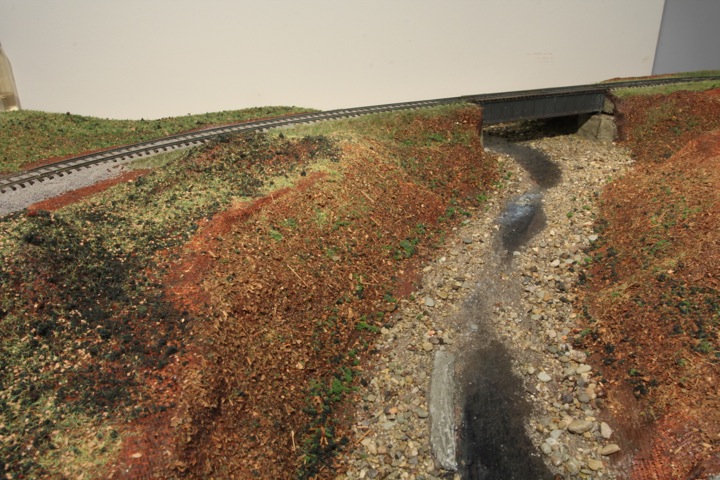
The sub-terrain is roughed out and ready for plaster. I realize there is a bit more shaving to do around the bridge abutments, but it will be better to do that once they are dry anyway.
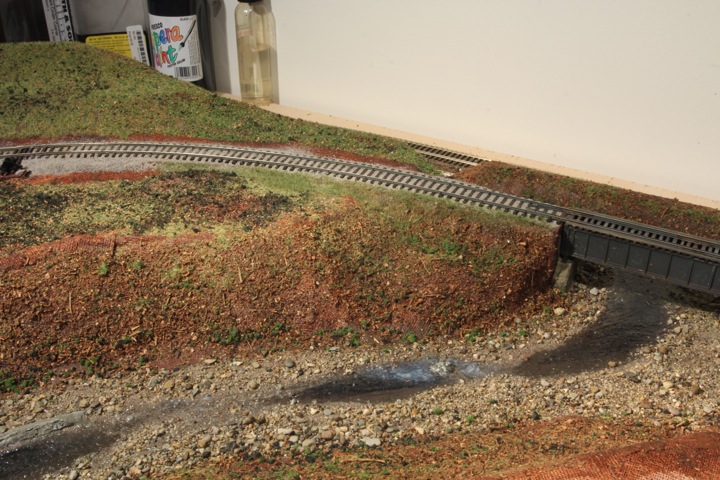
With the road bed in place, the next steps are to try and get the plaster cloth down, and maybe even the bridge painted.
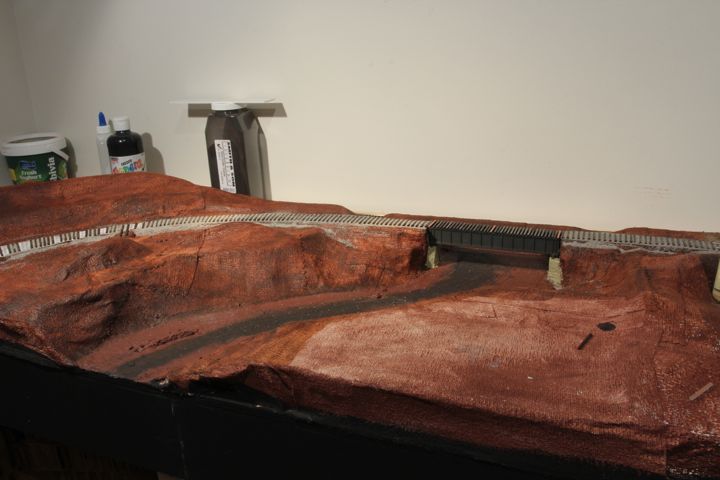
The plaster cloth went down over the sub-structure, and I thought I'd try painting it as well while the cloth was still a bit wet. Only so-so results; I was hoping it would wick the tint a bit deeper into the fabric.
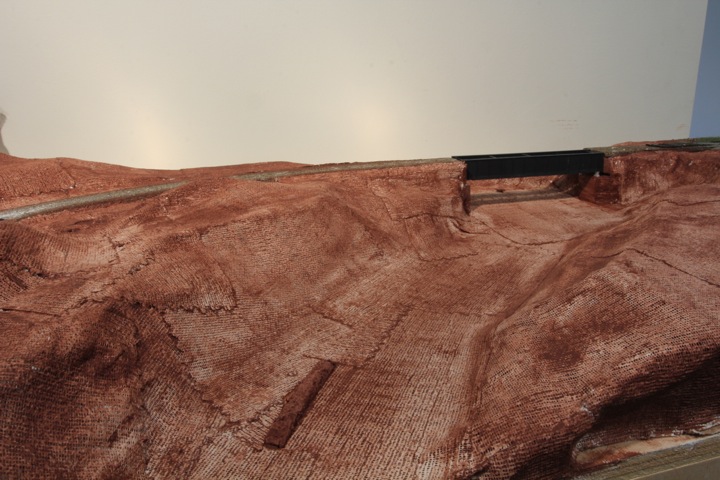
Even though it wasn't as successful as I would have hoped, it is a lot more pleasing to look at than plain white plaster cloth!
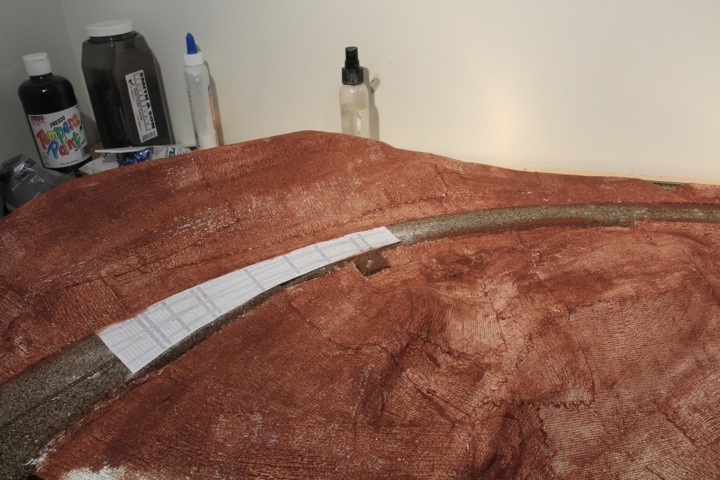
I also glued down the turnout template into location, so I can begin putting down ties. Putting the paper template down from Fast Tracks makes it so easy to get ties in place.
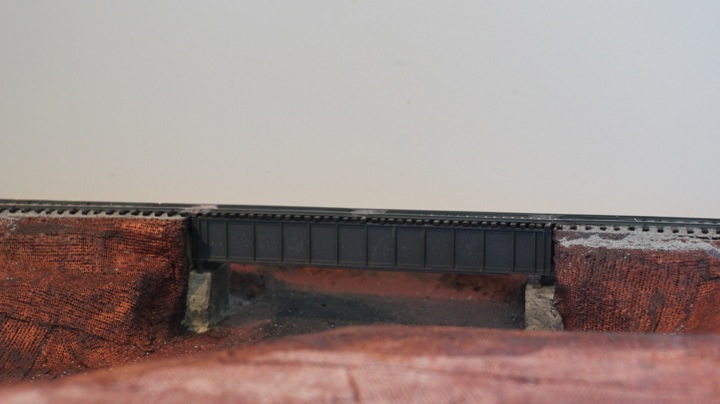
The plan is to use wood ties on the bridge surface instead of the short section of ME bridge flex that comes with the the kit. Three PC ties (ends and middle) will be included to hold the rail and guard rails in place.
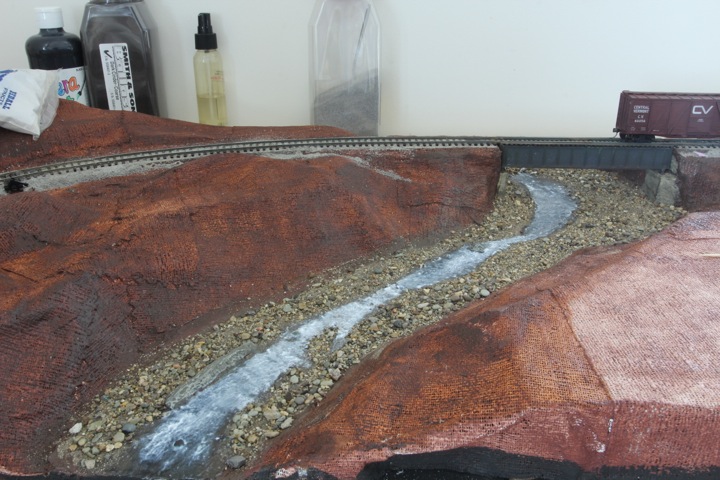
With the ties down, I finished assembling the bridge, and put a base coat of black on it with the airbrush. Likewise, the river bottom and banks were treated with a coat or two of paint.
At this stage I was not overly satisfied with the river bottom and need to sort out the color blending a bit more .
Weathering powders were used to touch up the bridge in a few spots (some dust, mildew, and slight rust) before adding the top ties.
As mentioned, the ties are real wood ties, glued to a slight plastic shim to make them the same height as the PC ties. I intend on soldering the rails to the PC ties in situ, once I'm ready to lay rail, and then paint the PC ties to match. The outside guard rails will be made of basswood, and will go down on the bridge as a final step.
You can see the PC ties on the bridge, ends and center. One shifted while drying, I'll need to pull it and re-glue.
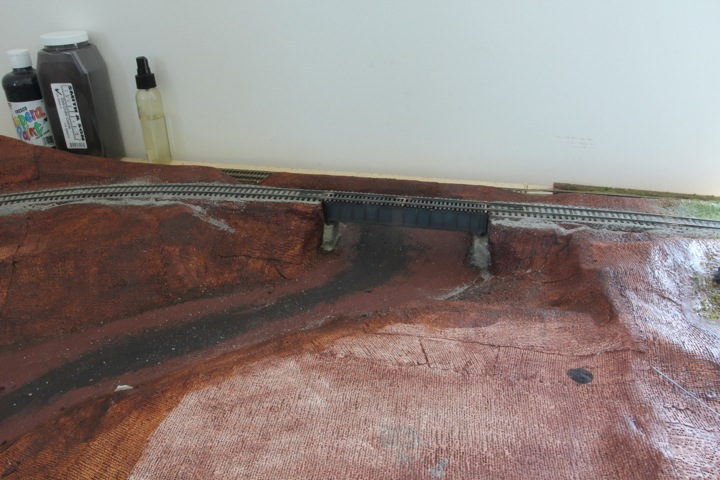
The bridge abutment has been touched with the base coat of PolyScale aged concrete; this will get a Woodland Scenics stone gray wash, and a final India ink wash before the bridge goes in.
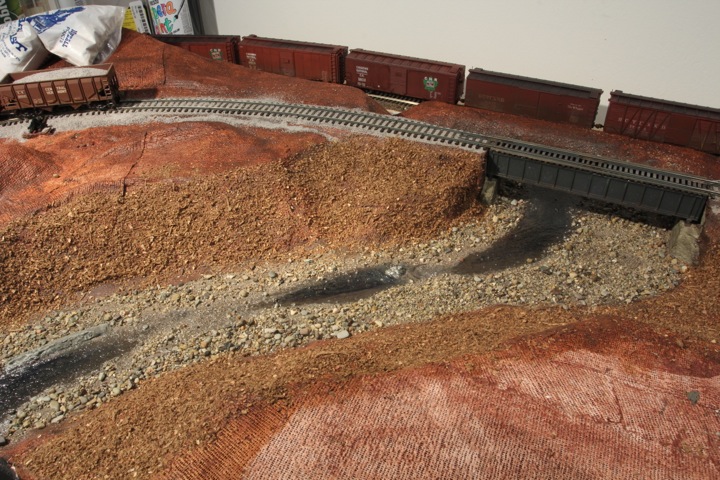
In preparation of the rail laying process, the ties were ballasted
I decided to make my under layout time easier, by running all of the feeders off the turnout, and soldering the other rail to the turnout.
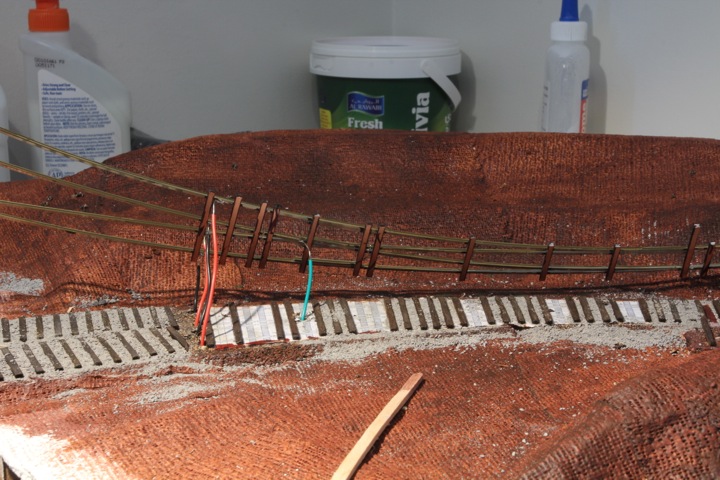
I use red and black for the main feeders, and green for the frogs. Note that there isn't a bus yet on this module, I need to pick up some bigger guage, appropriate red and black wire.
The turnout received a N-scale Caboose ground throw. Power will be routed through a frog juicer.
I spiked down the turnout, and than started on the main section.
I measured and cut the inside rail and bent it to match the curve. Spiked it down, and than did the same with the outside rail, checking gauge every spike. Once the rail was down, I soldered each in turn to the PC ties on the bridge.
Once that was secure, I added a code 55 (the main rail on the branch is 70) guard rails to the bridge. They were done in the same fashioned, spiked on the ends first, and than soldered to the PC ties.
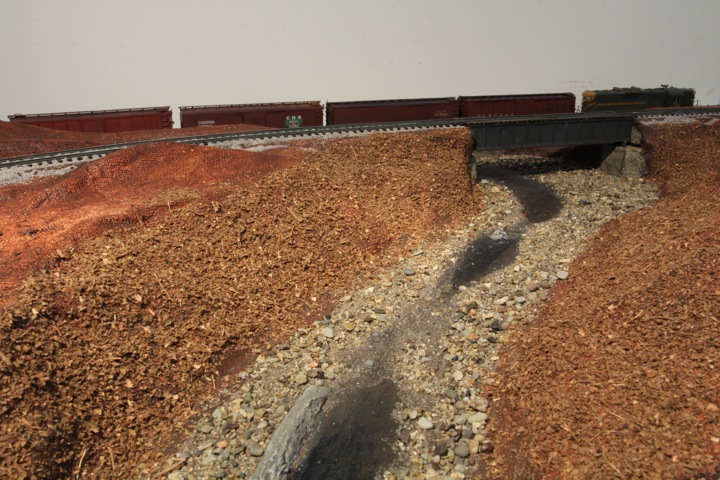
Naturally, I had to run a train across to check!
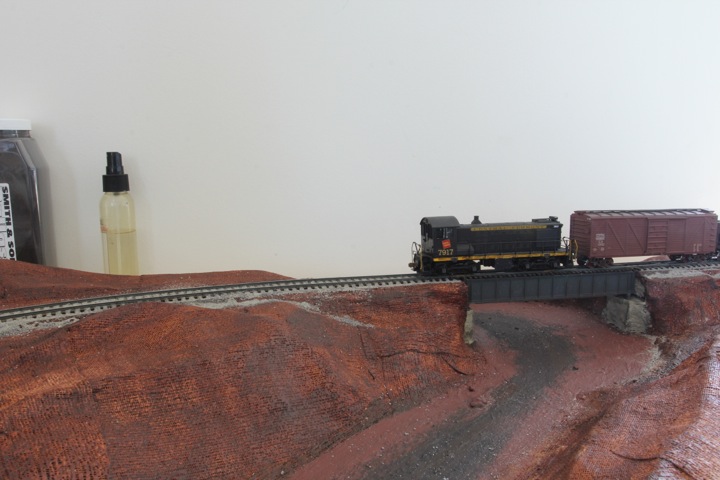
As there is no gap in the rail (it's one solid piece from module 4 to the turnout), it's pretty smooth running. Oh yeah, that's hard to see in still picture.....
so here's a video! (Don't get too excited, it's not that great. First time I've shot video with this camera).
When it came to the bottom of the river, I was at first unsure how to proceed, then I recalled that I may have actually planned for this - and lo and behold found a ziplock bag full of river rock I had brought from home.
I hit some "deeper: pool areas with a black/royal blue mix, and than used poly scale roof brown (as I had some) to go over the river bottom, and blend in the depths a little.
A coat of lightly filtered (real) sand went down over the bottom, and once dry, the river rock.
Now I need to find some tree debris, and hit the water channel with some gloss medium!
I was unable to locate a suitable pourable solution locally, so I've decided to go ahead with the gloss medium.
Here's it after one coat. Not nearly enough.
I'm going to hit it at least twice more, to see how it looks with a bit more on it.

And with the second coat just applied.
That wasn't all though, I did manage to also get the bridge finished - by installing the outside edge guard timbers (made of scale lumber) and ballasting the rest of the track (turnout).

Here is where things stand after a third coat. After looking at them, I went ahead and applied a fourth.
The bank was covered with my forest undergrowth mix (crushed real leaves from New England...almost out!).
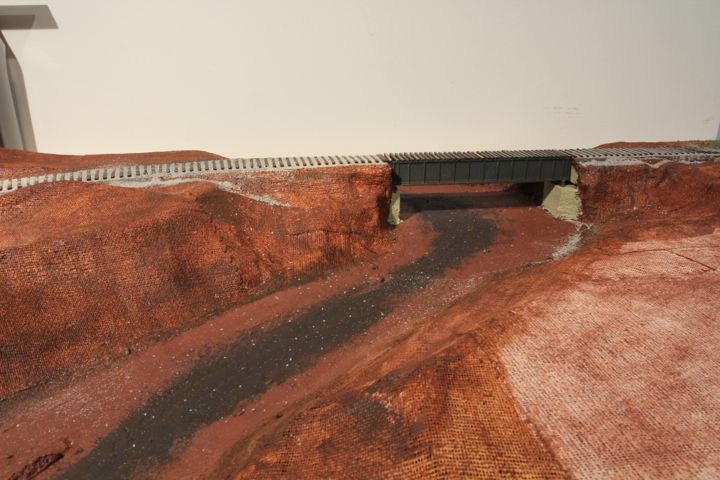
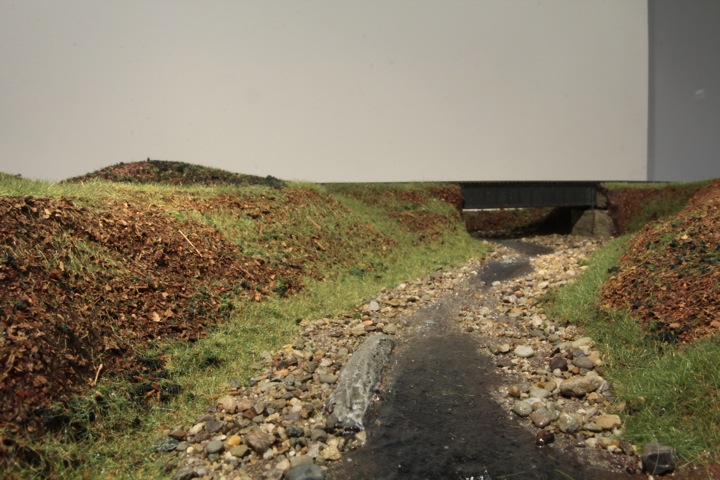
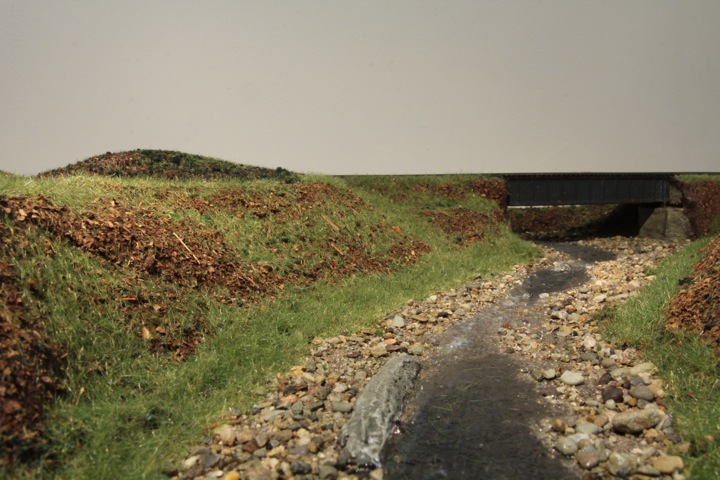
I think the river effect is better when viewed from this angle.
Based on this view, I applied a lot more gloss (thicker application) on the stretches between the pools. If you look at the upper shallower stretch, that one looks more like a continual flow than the lower. Just gotta keep at it I guess, but I think we're getting there!
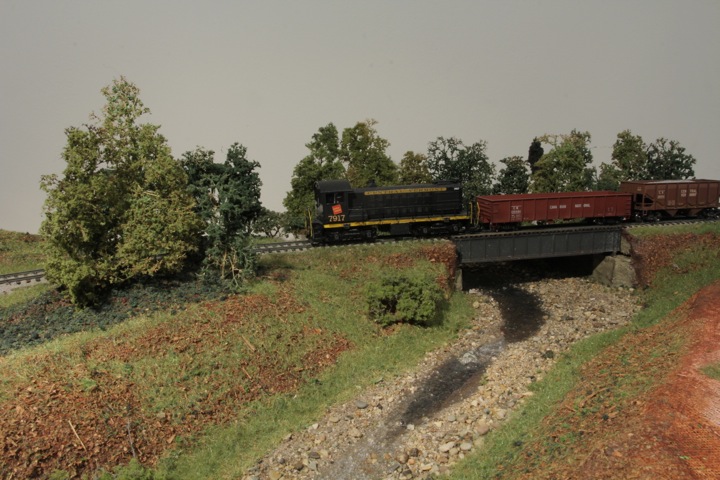
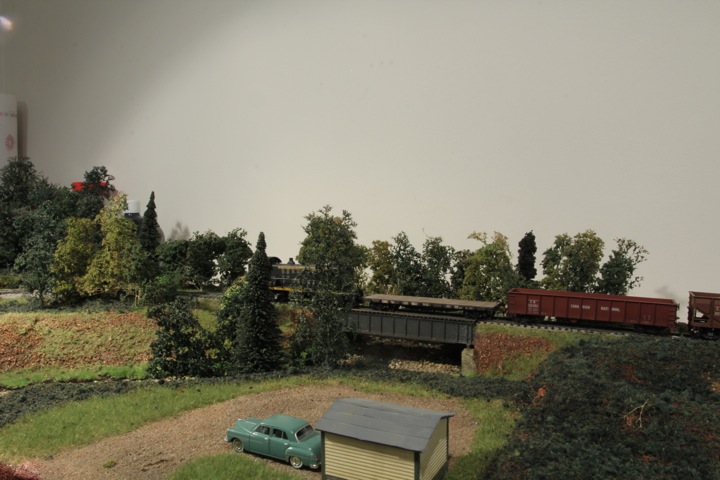
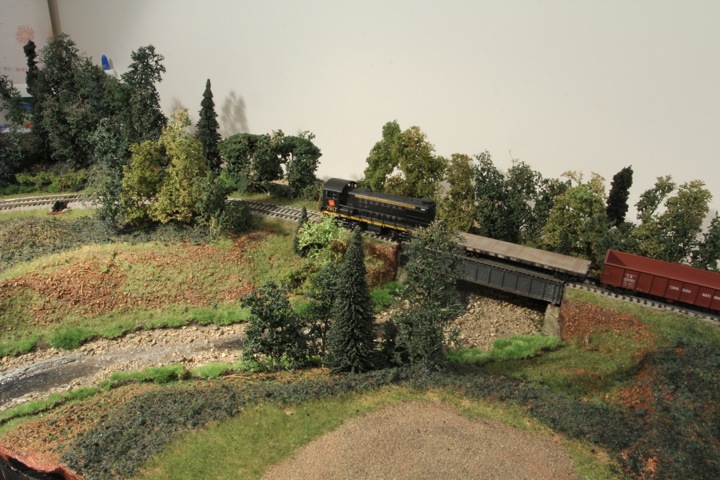
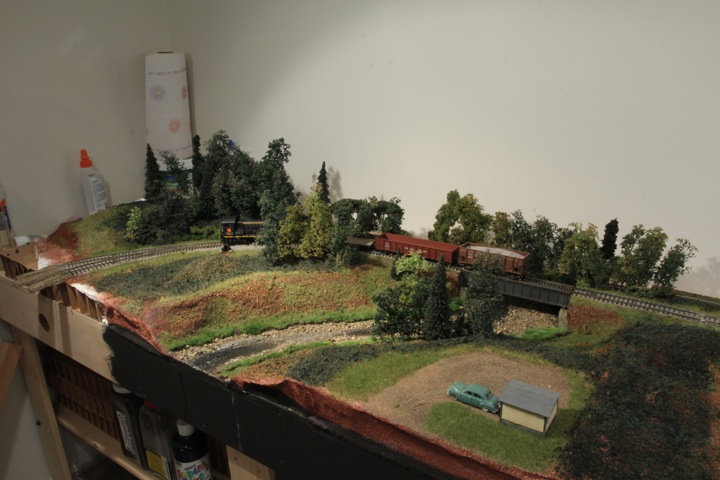
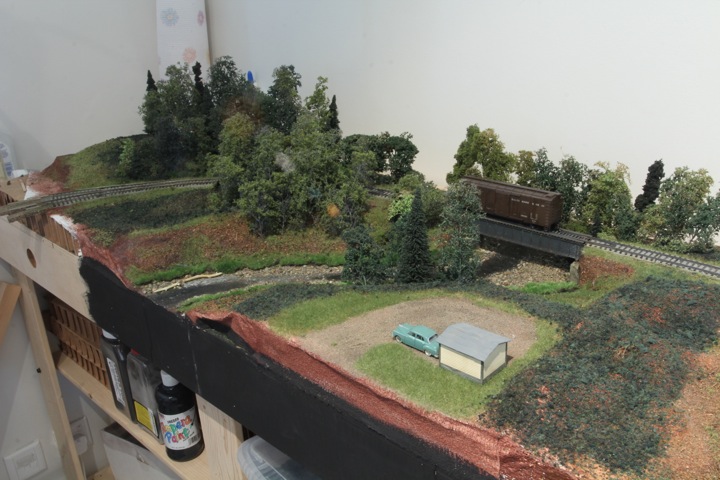
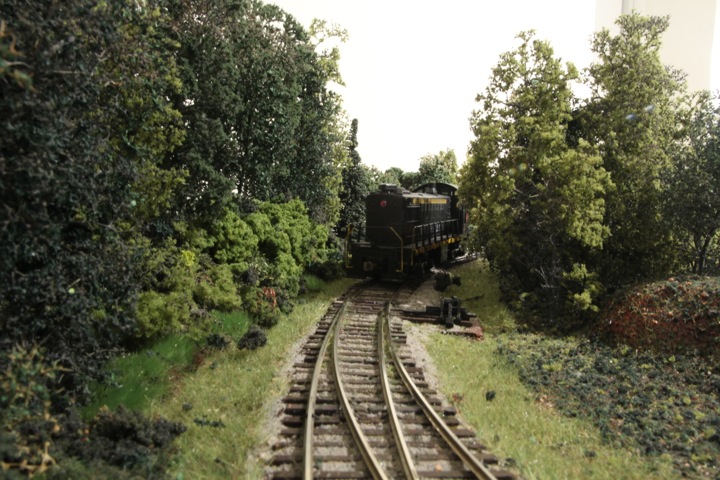
One last shot of the module as a whole. The track crew is up on the end of the branch, while a through freight comes down from St. Albans along the main.
Time to start adding in the greenery...
The water is on coat five, and as you can see hasn't dried quite yet in the thicker spots. The top was cured enough to put down some static grass, and other ground treatments.
I finally ran out of my crushed leaf mix, and have had to improvise...the back hill is way too green, but I always figure at these steps, if it looks wrong, you can just bury it with more!
May have to put a sixth coat of water on...
And now, 'ere comes the "grassinator"!

I'll have to go over the left bank again; for some reason it looks like the "grassinator" wasn't working right, and it's not standing up.
However, from the last angle, the gloss medium seems to be working.
And the switch — almost done around the track work. The back hill is WAY too green, but as I mentioned I ran out of the crushed leaves, so I'll work to bury it with foliage.
Two more coats of gloss medium, and some more grass. It just doesn't want to stand up along that bank. Time to bury it with other vegetation.
The gloss medium is still not fully cured, but I think it's working. We're at 8 coats now, I think two more should do it. The white part of the uncured sections helps a lot, I think I'll be touching this coat with some white paint before the next two coats go on.

The river needs one more coat of gloss; but I did go ahead and whiten up the rough water areas across the shallow stretches. I have been stippling every coat; I haven't been clever, to be honest I thought that's how you did it!
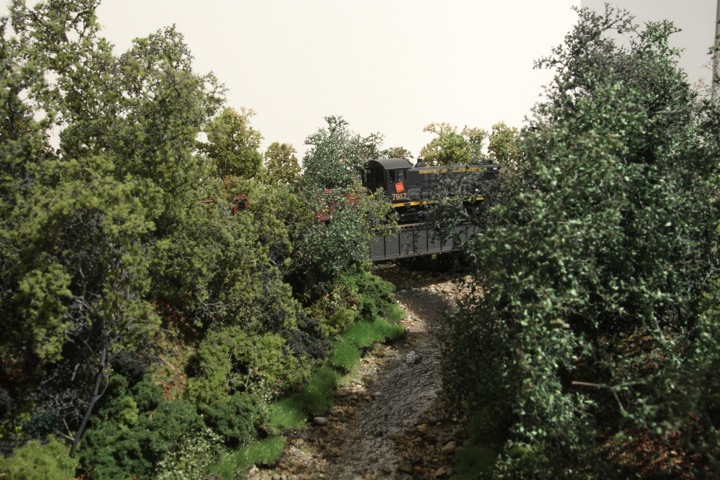
Oh yeah, trees! I started off with the back bank, and will try to work myself forward. Most of this module will be tree'd, so I have a lot of trees to make up.
The ones here are "rebuilt" trees, they were used on the other layouts, and have been stuffed into a storage box for a couple of years now. As I pulled them out, I re-did the foliage.
Creating enough trees to fill this will take some time, so updates maybe a bit less frequent.
Been working on trees, its a bit of a slow process, what with the priming, flocking, and planting. I only have room to do a batch of 20 at a time, so just a couple more sets and this corner will be adequately filled out.
The new grass along the river's edge is pot-topper - its just laid there and not glued. I'm still eyeballing it to see if I like it. So far I do, I kind of like how it looks like the water undercut it.
Once the wooded areas are filled in, and the edge of the trees fluffed out, I think it will work.
I'm not sure what I'm doing with this clearing in the front - I hadn't meant it originally, but for some reason I've added it. I figure if I can't figure it out, I'll just plant some more trees!
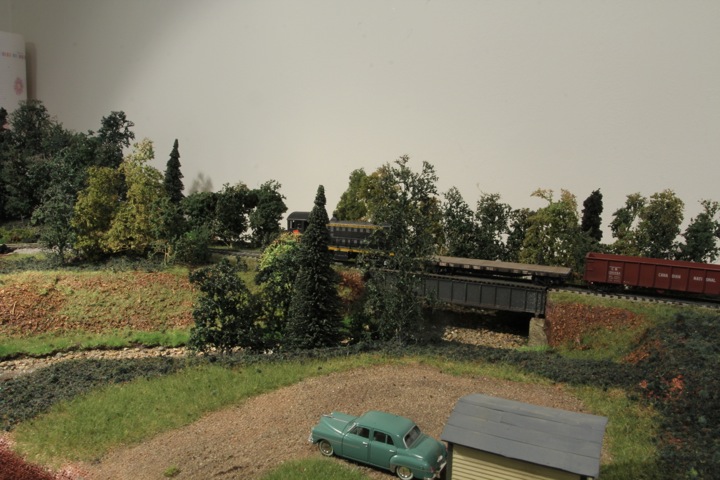
And here's the entire module in its current guise. Guess I need a better background than glue and paper towels!
Another batch of trees processed and planted.
At least two more batches of trees for the left bank I'm thinking, than a slew for the right.
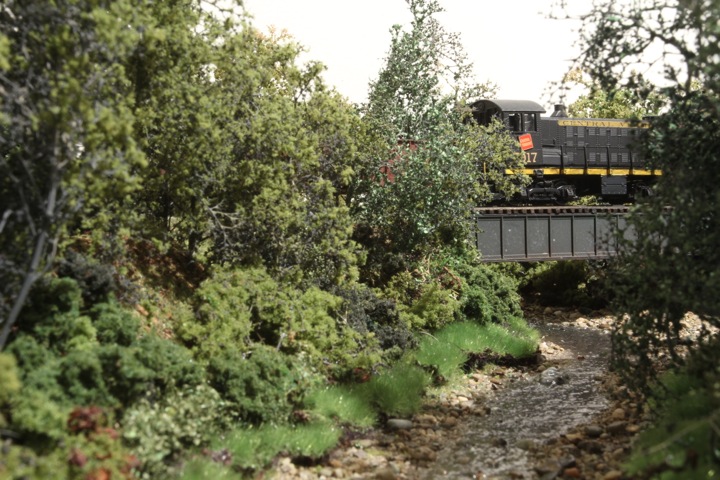
From these angles, I think the river is looking pretty good — for nothing but gloss medium, applied in a lot of coats. I'm still not 100% sure on the plant toppers, as they are a bit shiny.
In order to fix the pot toppers, a touch of paint. As my air brush was kaputt, it was drybrushing for me. I used a light tan color, and hit the tops of the pot toppers. I like the effect.
They are still a bit shiny, but the drybrushed poly scale aged concrete does help.
In case anyone is wondering about the picture, this was a merged focus shot (as you can see from the edges) using the free windows software. The picture is only using a single overhead room light, with each exposure taking 25 seconds.