The End
Ah, the joys of apartment living. The day was expected, and eventual; it was only a matter of time before it was ordered and delivered to our doorstep. Moving day.
To the model railroader, especially those with a layout, those can be dreaded words. As unhappy as I was to deal with it, I was hoping my plans for this eventuality would pan out.
As the layout was built sectionally (but not as true modules), it was designed to be separated for a move, and it was now time to break it apart.
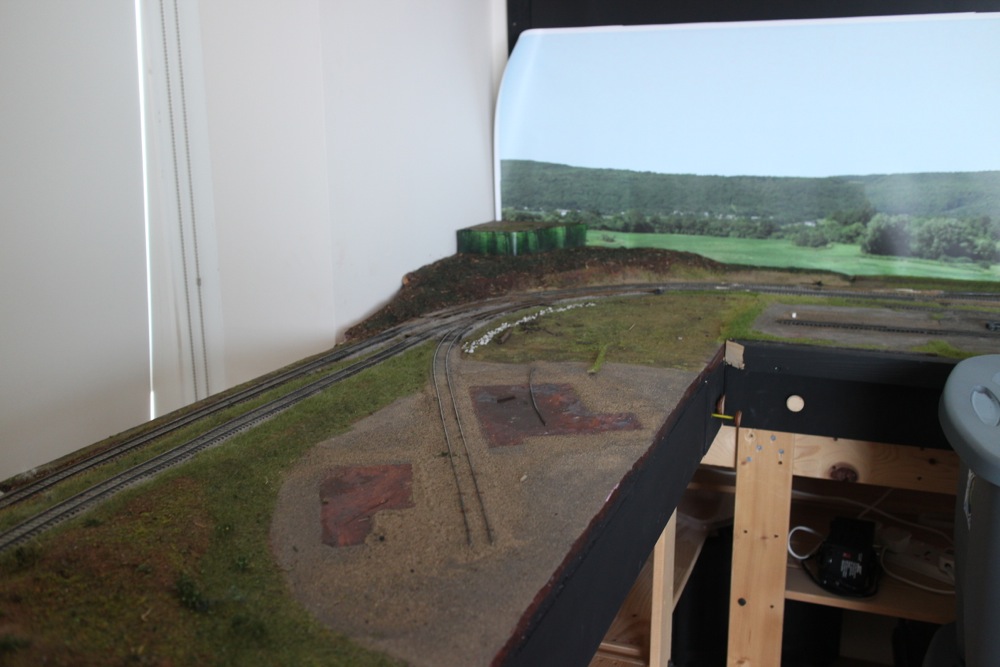
I started by removing all the structures on the layout.
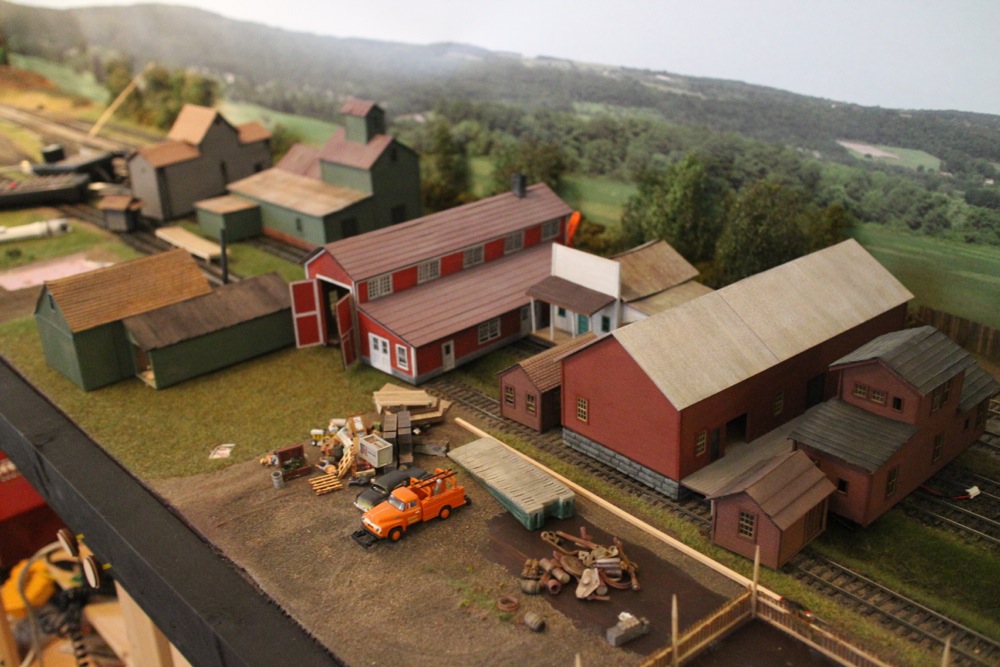
For the ones I had bothered to mount (a practice I do recommend), removal of the building was easy.

Same with other scenic parts - this fencing was just spiked into the foam using toothpicks, and popped right out.

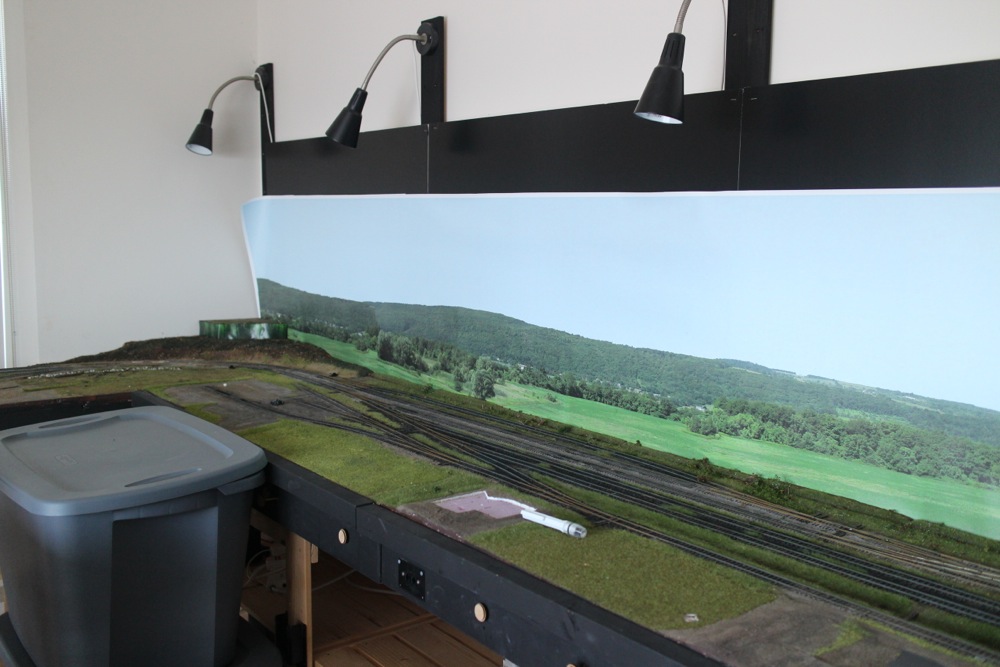
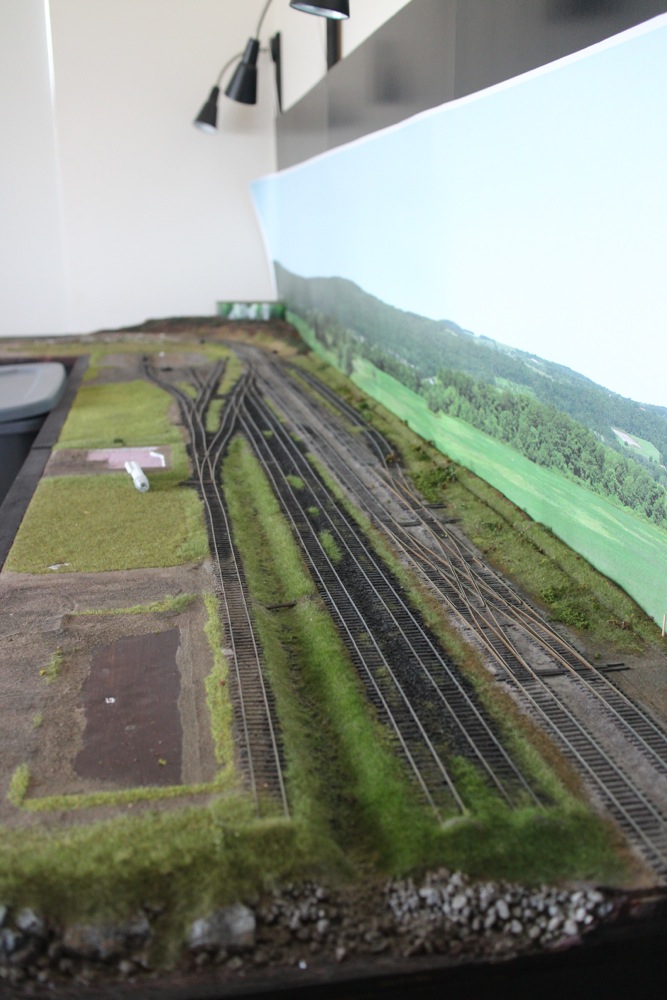
Here it is picked clean. The trees and foliage went into separate boxes, as well as other smaller scenic bits like people, cars, and small details.
Moment of Truth
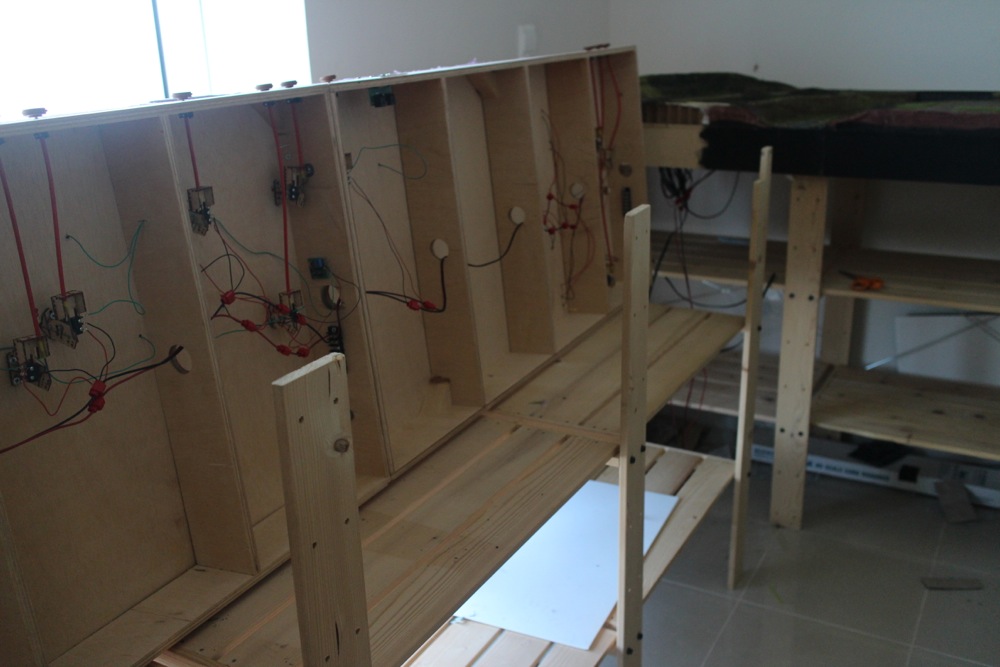
I reversed my construction order, and disconnected modules 6 & 7 as one piece (as they were assembled that way). Disconnecting wires from below took a minute, and quick work with the cordless drill removed the screws holding them together with module 5. As this join didn't have full scenery, cutting the gap was easy.
Then it was an easy matter to flip 6 & 7 up on it's side, to disconnect wiring, and start the cut.
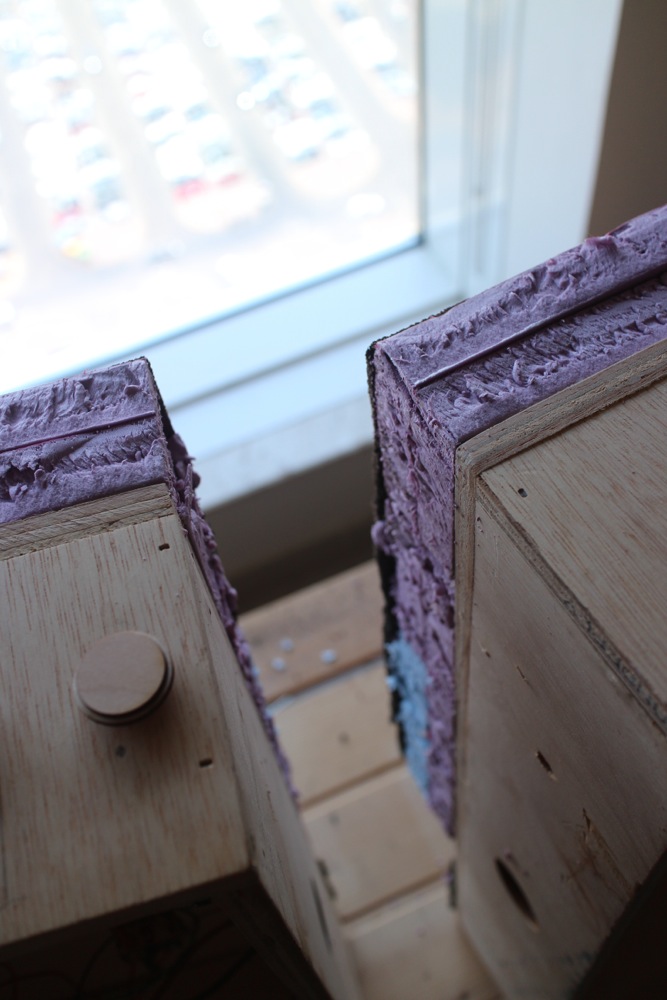
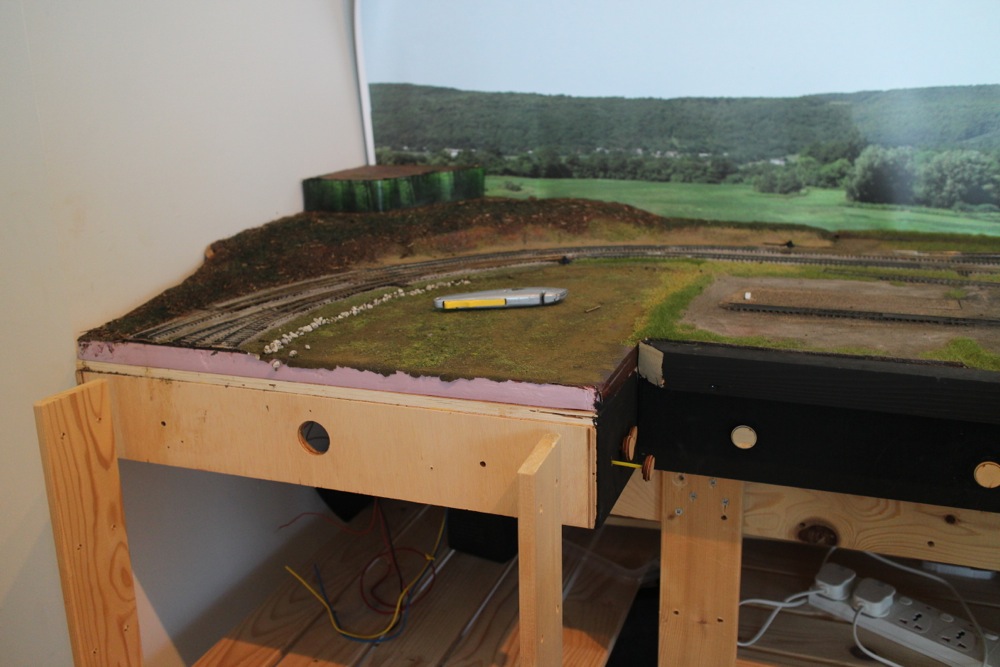
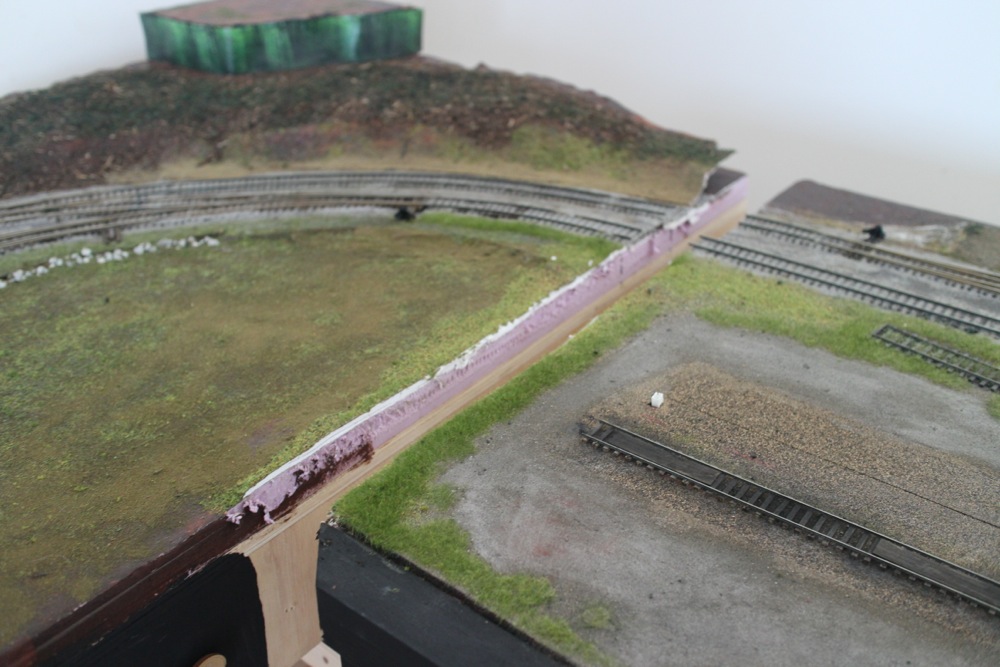
I was a bit concerned about this cut, as I just skipped past dealing with it during construction. The other joins I had planned for, but I built this one a bit more freely.
In the end, the cut came out well, and pretty clean for 2 inches of foam!
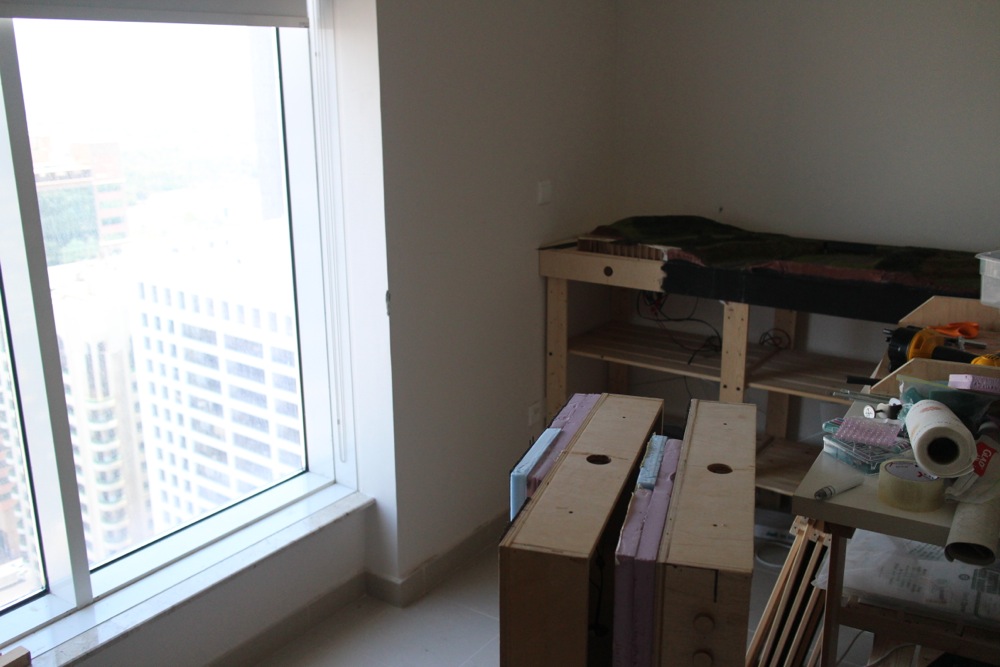
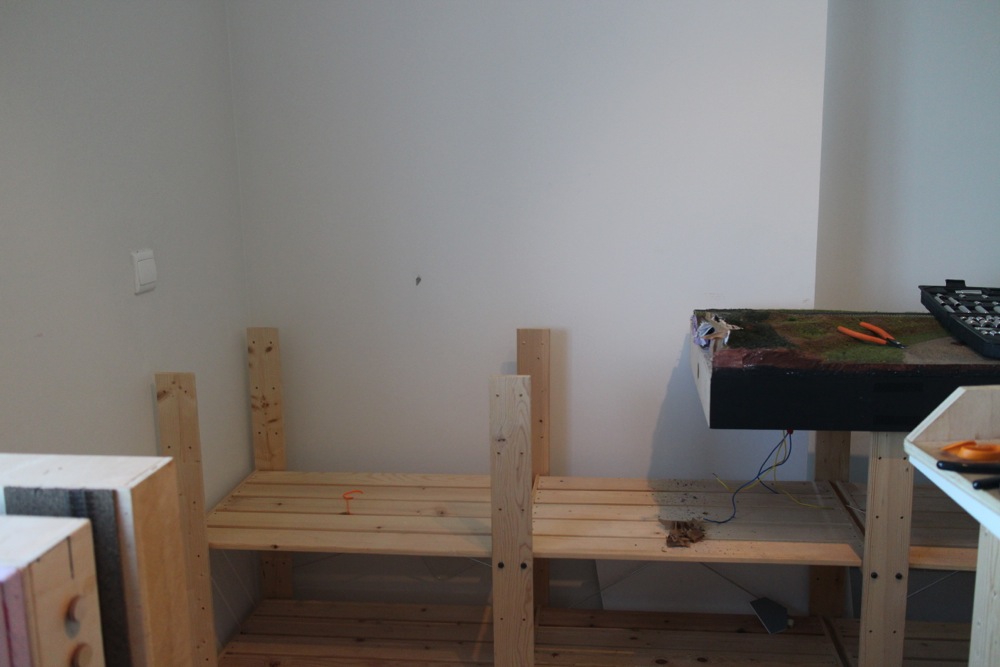
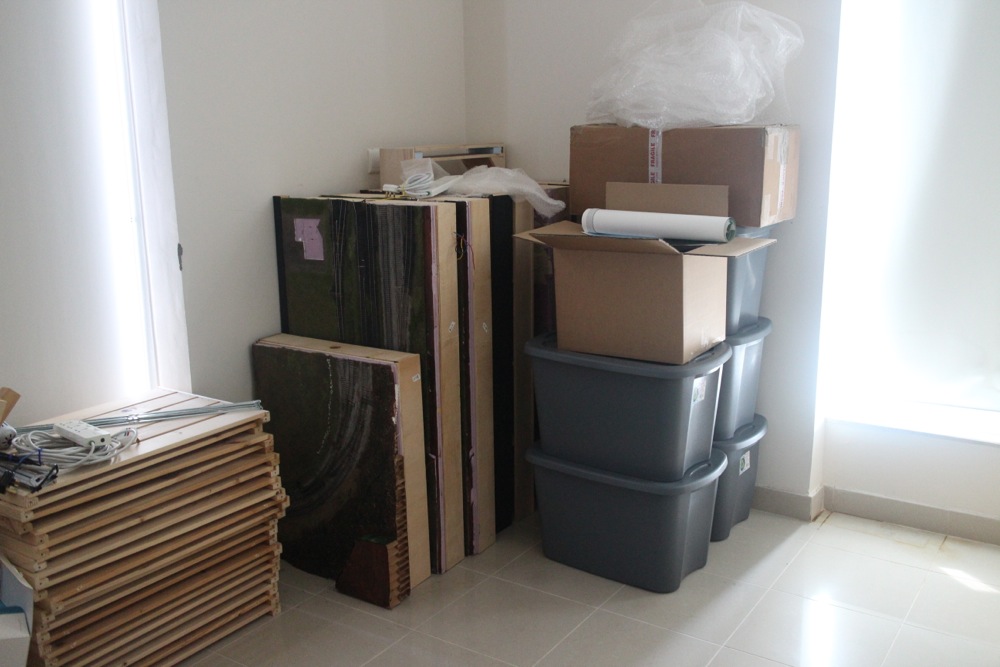
As I'm packing for the move, I pulled down and disassembled the Gorm shelving supporting the layout as I advanced.
Module 5 was the next to go, and popped out nice and easy.
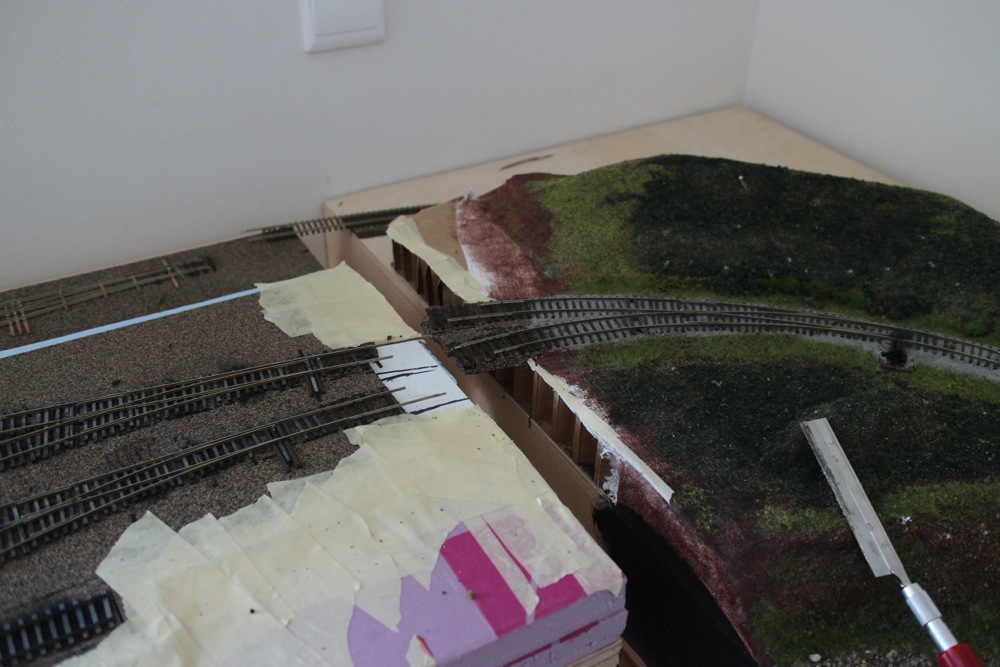
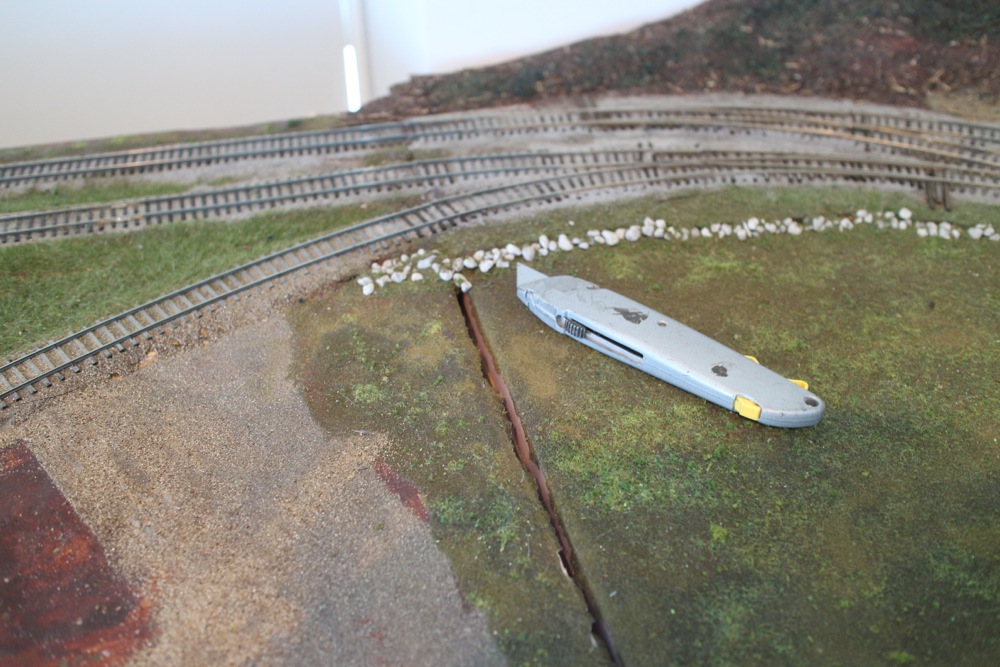
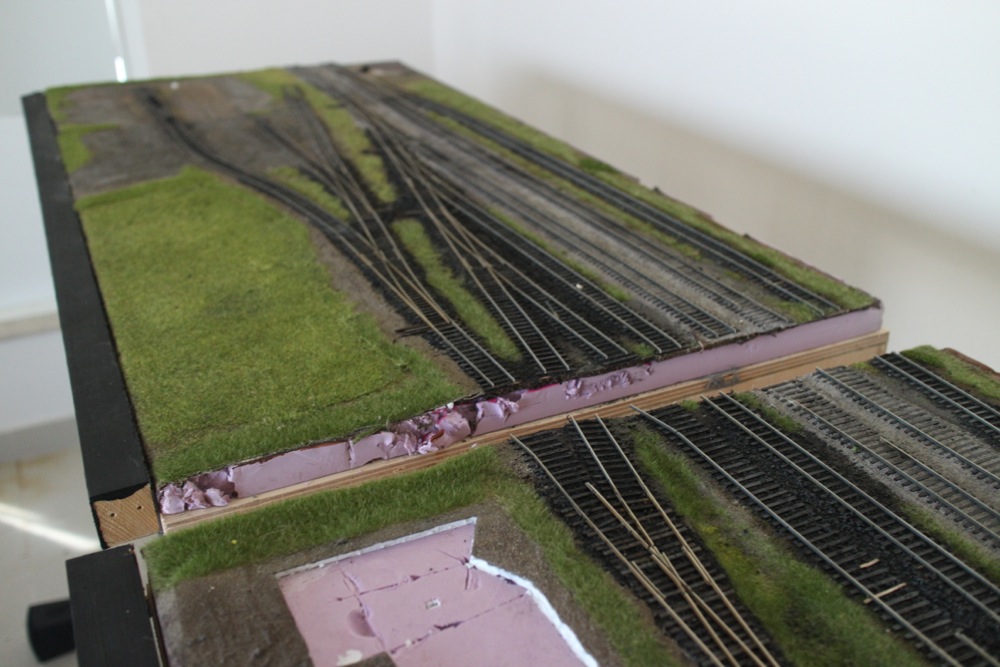
The join between module 4 and module 3 was one that was planned for, and you can see how clean the cut was. Nothing more than a knife and rail snippers were needed.
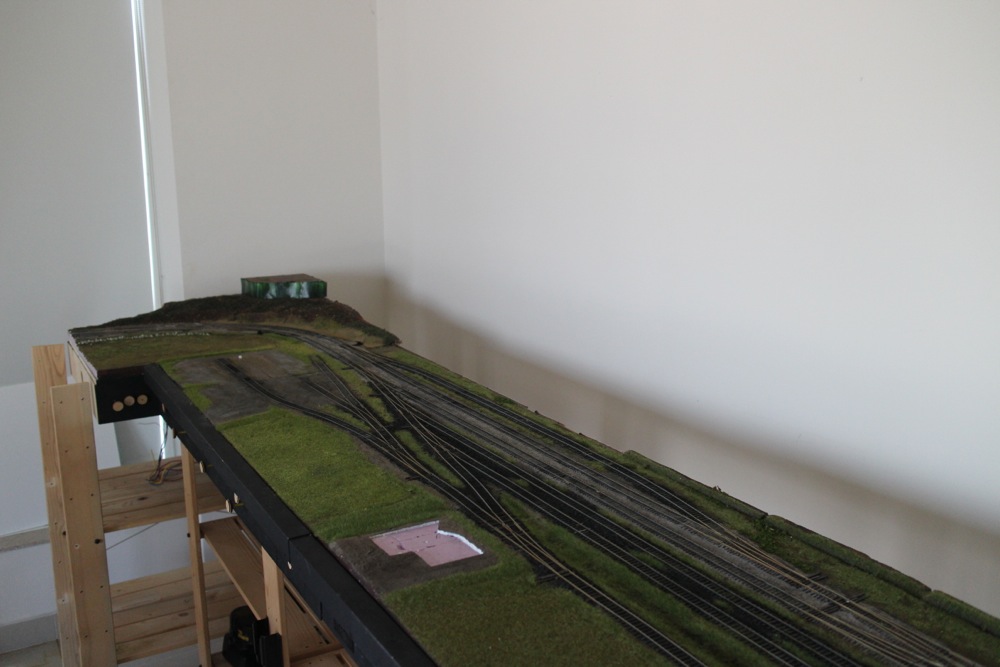
Only the first three modules had the backdrop, so once the rest were removed, it was much easer to pull them away from the wall, and take it down.
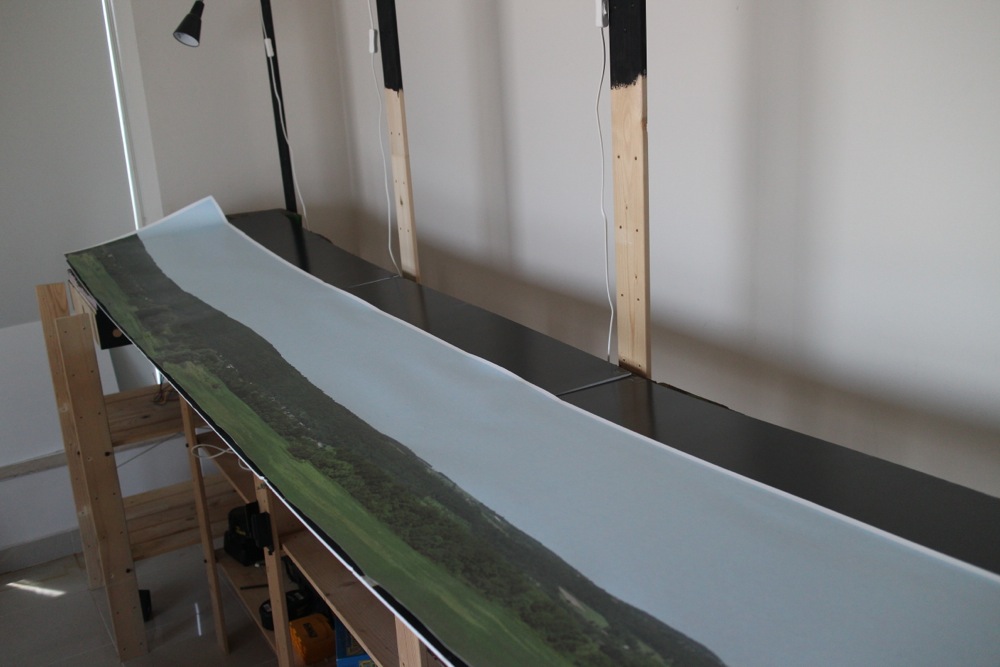
Unfortunately, the 3M tape we used was too good, and the backdrop wasn't salvageable. Parts maybe, but the thing as a whole was wrecked. Unfortunate, but not a big deal, as it served its purpose nicely!
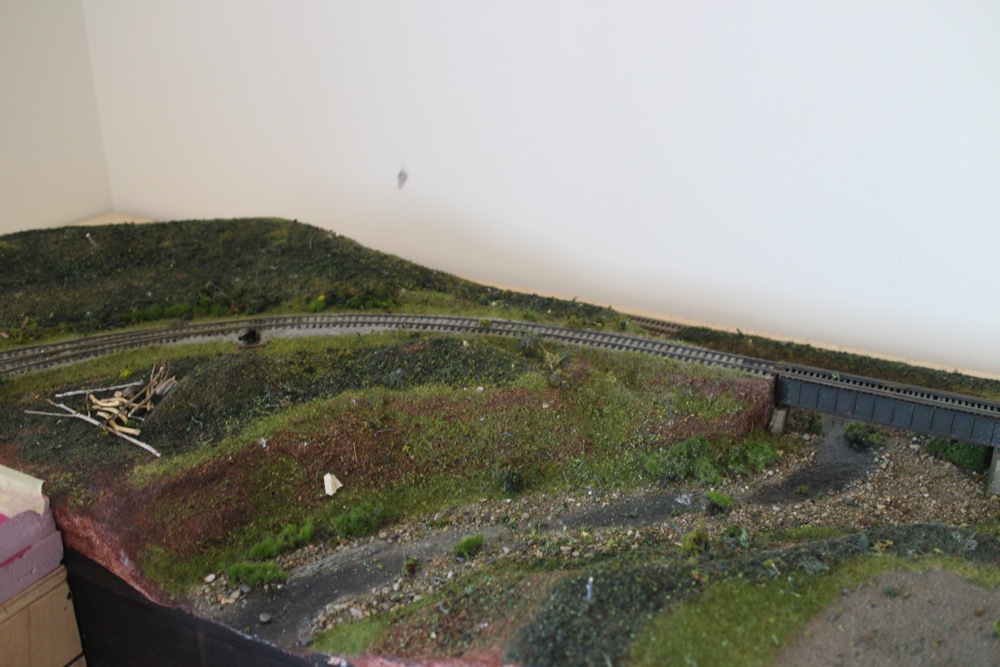
With that down, as well as the lighting, it was easy to separate module 3 and 2, as again this was a planned joint
Likewise, the first two modules separated just as easily.
And that's it! She's cut up and ready for the move.
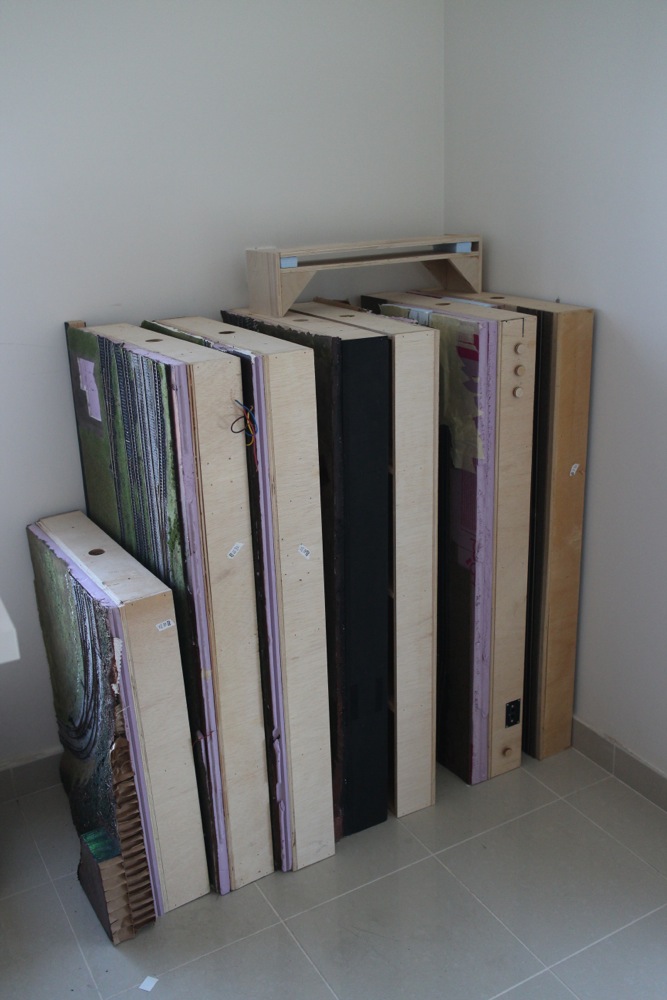
I realize that the real test would be to put it back together. I'm fairly confident that with some slight cursing, I could get it operational in fairly short order, but I'm still thinking hard about changing directions, so while that may not be necessary, it's certainly nice to have the bases covered.
I can't recommend a modular or sectional approach enough.