A Bridge to Nowhere
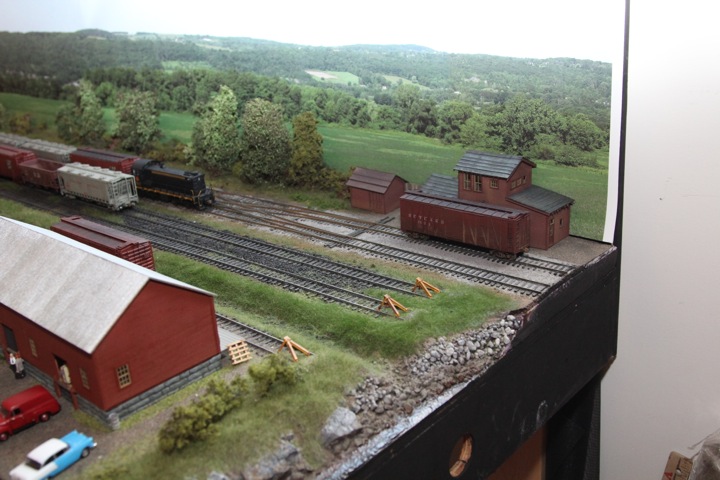
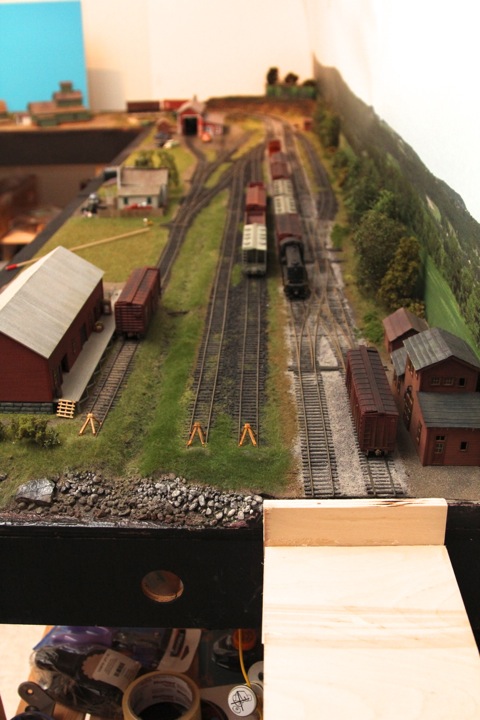
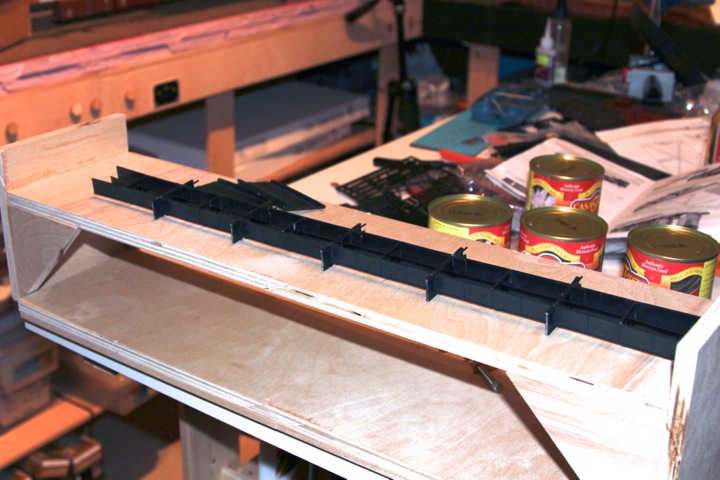
One point of failure on the layout is the double crossover, a failure in that it doesn't allow enough switching room past the crossover on the end -
basically there is enough room for a single loco to escape, but nothing more.
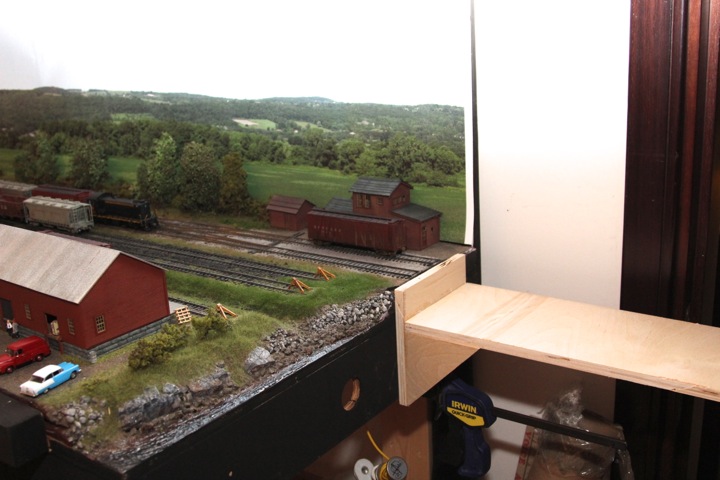
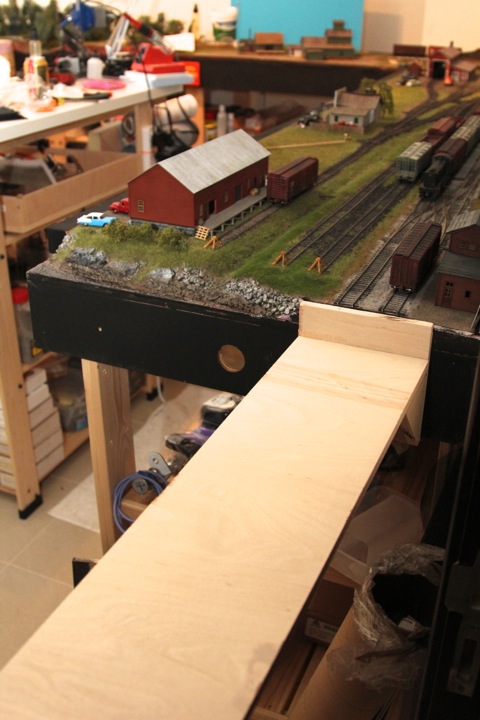
To remedy this, I decided to do a clamp on bridge "mini-module" to make this part of the layout more functional.
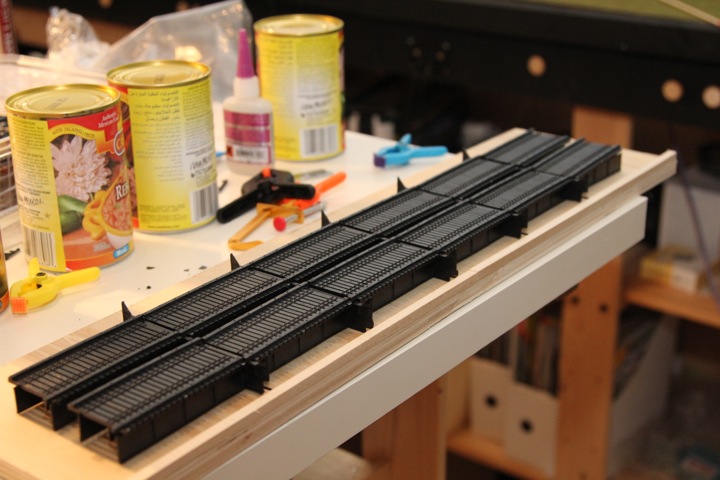
There is no bridge, really on the prototype to duplicate here, so I've gone with two of the Central Valley 150ft. HO scale Truss Bridges. My original idea is fluctuating between combining them into a single bridge, or running them in parallel.
The problem area
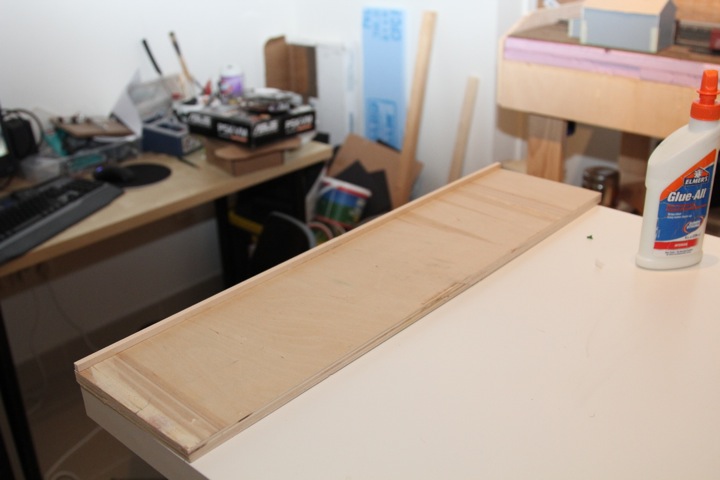
The base for the module I created last summer while home in New Hampshire where I had access to tools. I cut the lumber and brought it home in my luggage, only assembling it once I arrived back in the Middle East.
Here it is clamped in place.
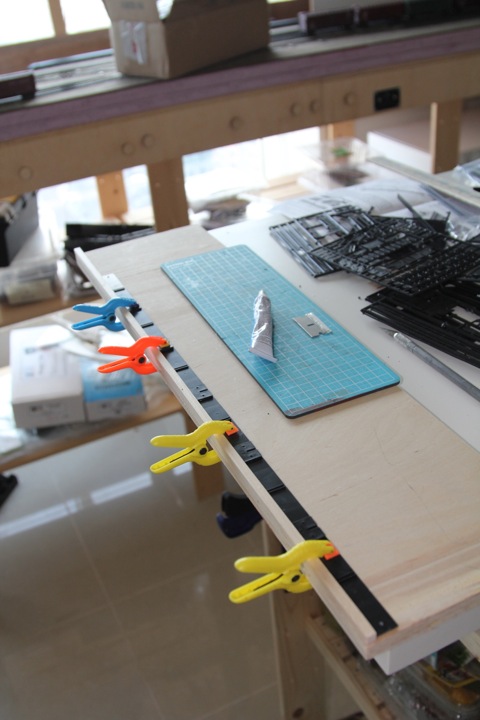
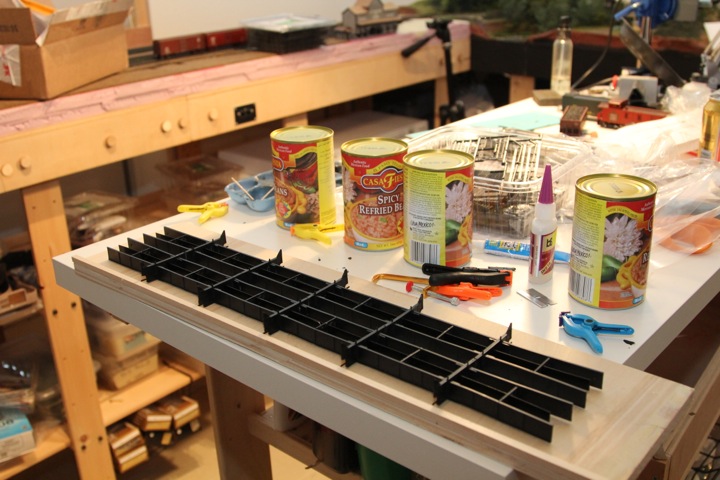
With that sorted out, the next step was to begin bridge construction. The instructions recommend assembling a flat edge jig; I had an extra piece of plywood from the build that worked as a base. The edge are thicker bass wood strips that were part of a Micro Mark strip assortment that I also had on hand.
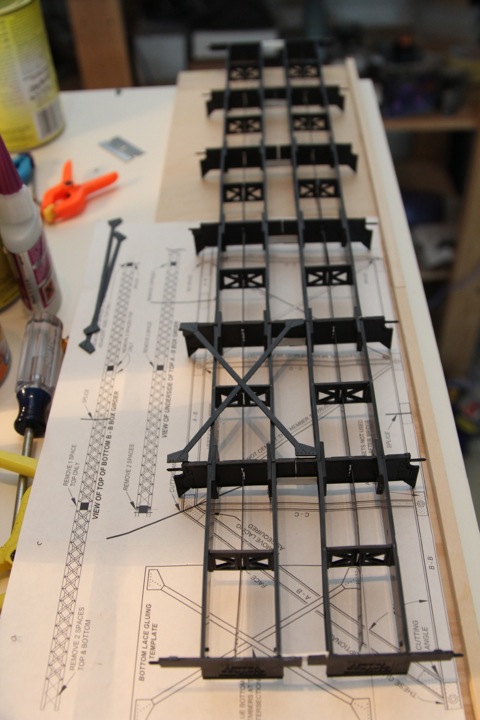
Bridge construction began with the bridge decking. First up per the instructions was gluing together the sides via included splice plates. The straight edge jig naturally came in very handy. Here they are glued and clamped in place.
I've been debating between making two bridges, or one double width one. After getting the decking roughly assembled (other than the sides, no glue yet), it was clear that getting two side by side would be less preferable than simply creating a double width bridge. You can see in this image, how narrow the two rails are.
Looking at the bridge parts, I decided to simply trim off the side of each where it goes up into an angle. I'll build each deck, than splice the two of them together, and run some additional decking across the middle to help hide the join.
With that decision, right or wrong, behind me, it was time to glue up the first deck. It was surprising to me how flexible it was simply assembled, the gluing process quickly made the deck a lot more solid. The trimmed side is nearer to the camera. Here it is in the module base.
Now with the idea at least roughed out, it was much easier go ahead and build the deck from the second kit.
In this shot, you can see what was trimmed from each deck, as the two are laid side by side
Without gluing this into place, I wanted to check clearances, and find out what would need to be covered in the center.
As it turns out, not much! this means splice plates along the center don't need to be that pretty, as they will be nigh invisible. A few boards across, running lengthwise, and it should look decent.
It was time to join them. I made splice plate strips from a larger sheet of plastic card, and glued them carefully along just one side of one bridge deck.
Pushed together, the splice plate was then glued (with clamps) to the other bridge deck
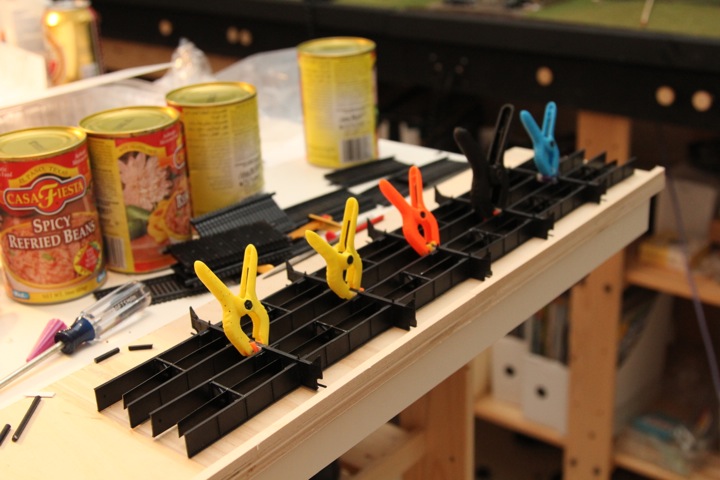
Once that was dry, a second, matching set was applied to the opposite side of each cross piece.
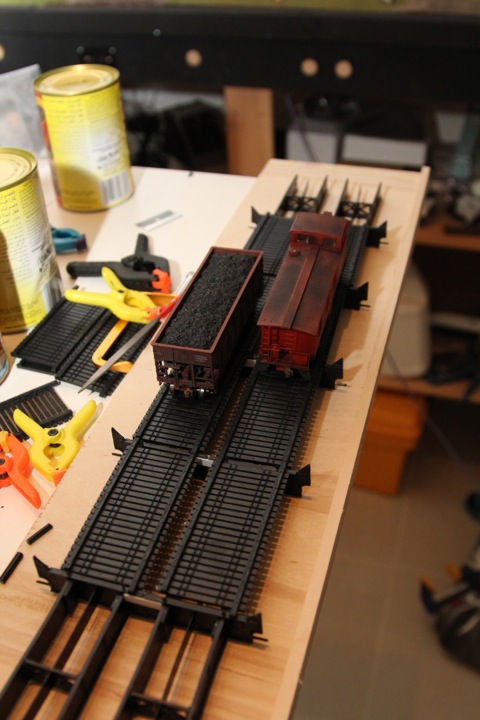
I laid the decking on again (loosely) to see how much of this would be exposed. Enough to notice?
Finally, just to check car clearance. I think we'll be ok!
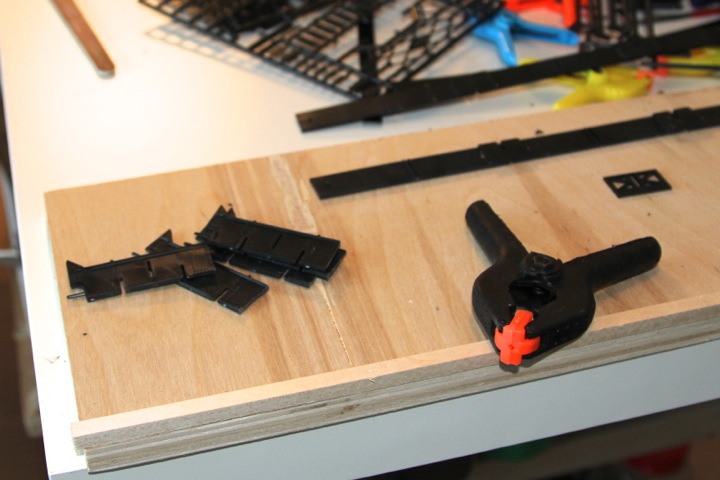
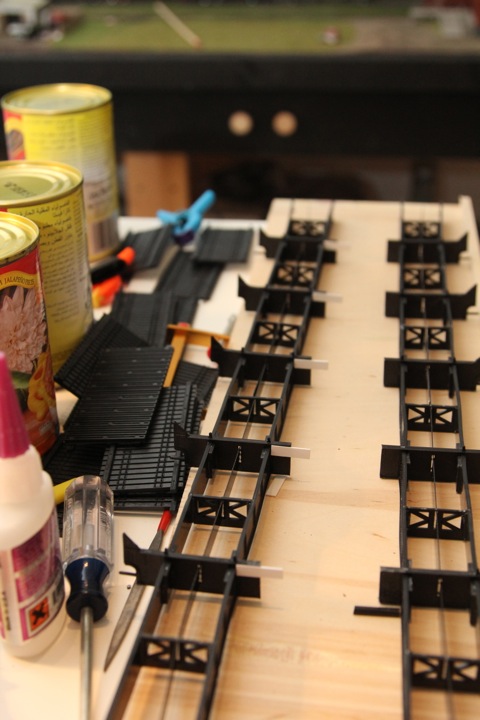
I forgot to do the ends, so that step came next. Note that these also required being cut down to fit.
For sizing, I added to my jig another piece of wood to keep the entire structure straight. With it in place, it was easy to add splicing plates for each end, and ensured a good fit.
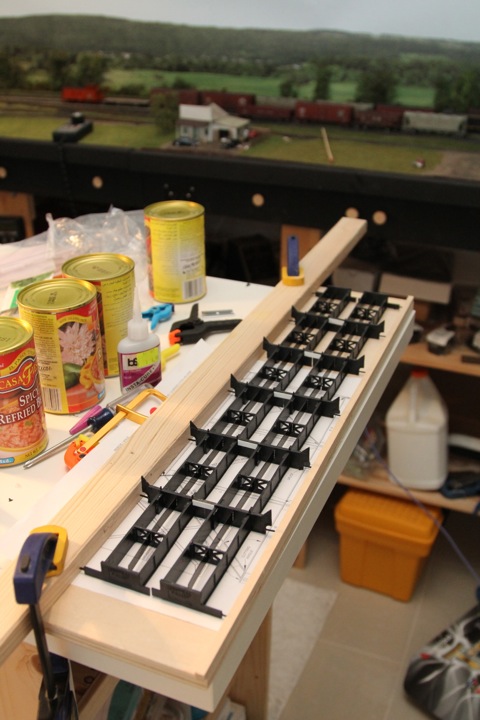
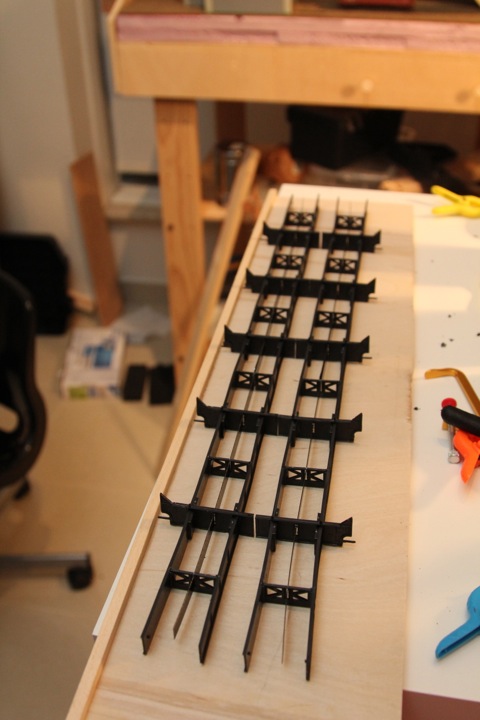
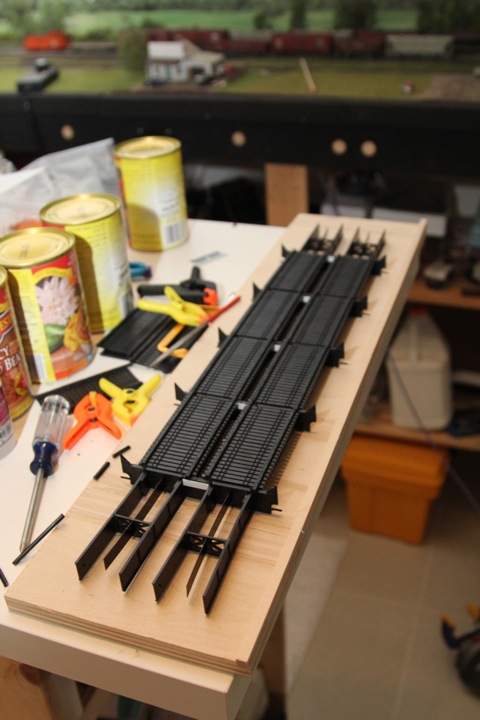
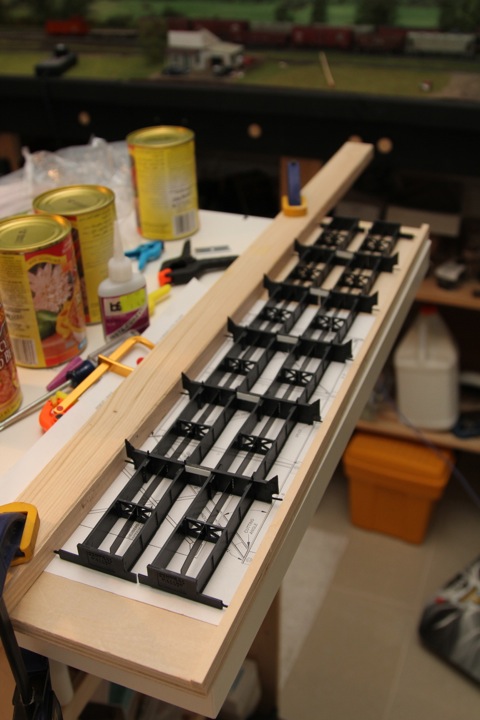
Now to work underneath. The kit comes with these cross braces, and they provide a nice simple drawing template (visible under the bridge) to ensure the angles come out right. At the time, I was not sure how to approach this, so I went ahead and did one as a test.
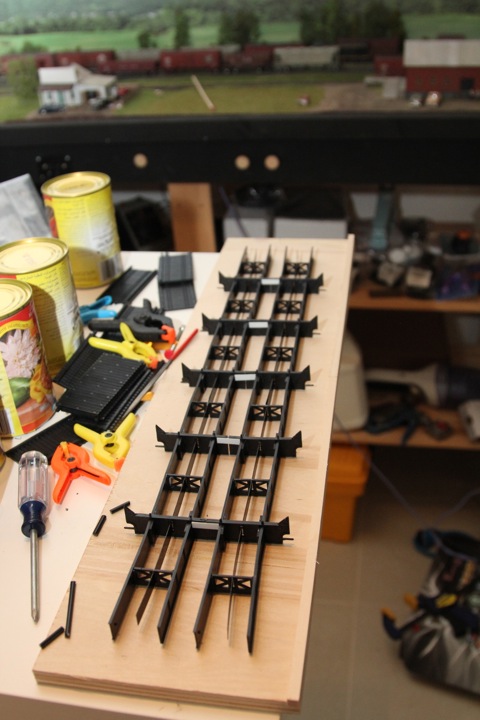
After playing with a few possible configurations, I finally decided to overlap them thusly. I'm not sure on the prototypical nature of this, but as these will be mostly invisible once the bridge is in place, I really don't care that much.
The blue foam is there to help pin them in place while gluing; T pins work great for this process.
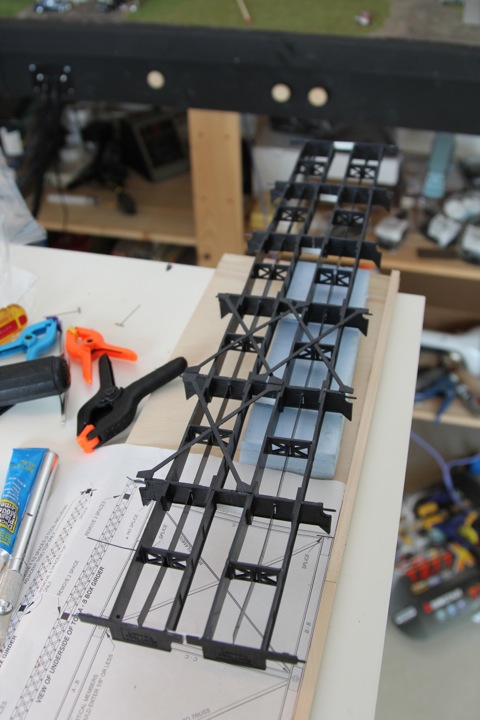
Three down, 9 more pairs to go...
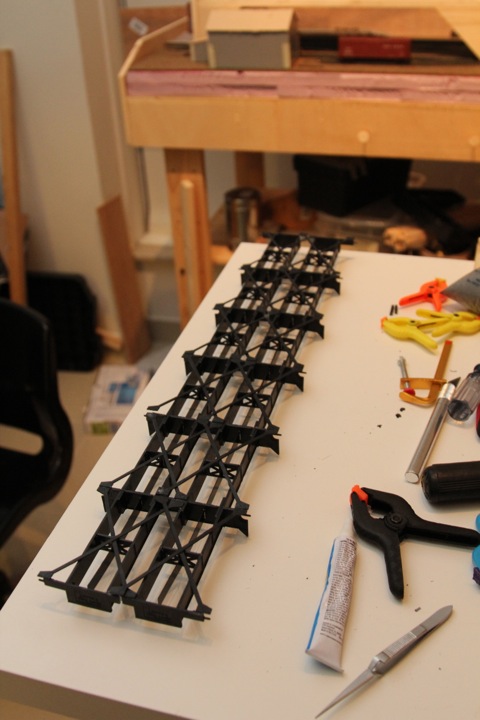
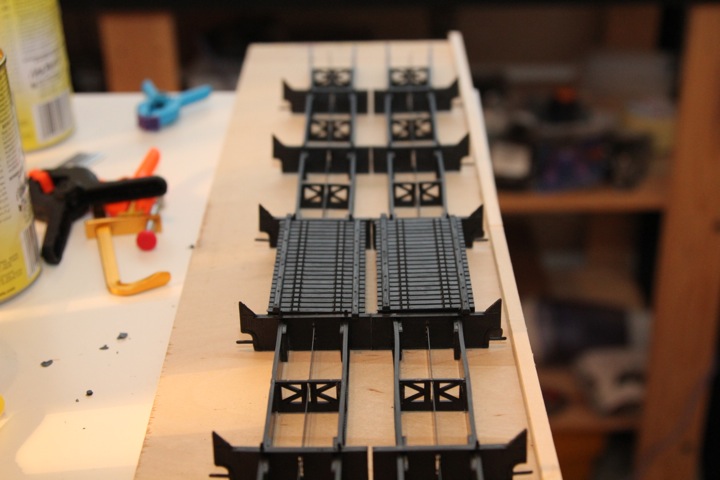
A few days later, and the bottom is finally done.