Scenery — Water
I used plaster cloth over the foam boards - at first I just draped it over the rough foam, but ended up rasping down the foam edges to make a smoother slope.
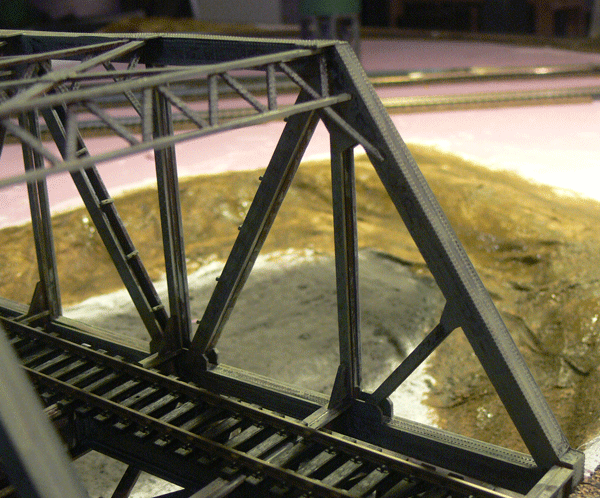
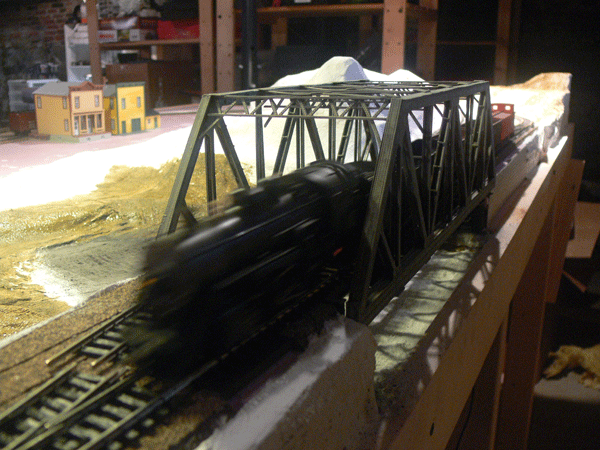
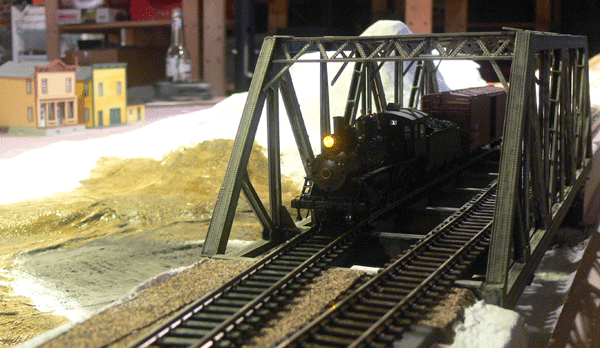
The River/Bridge
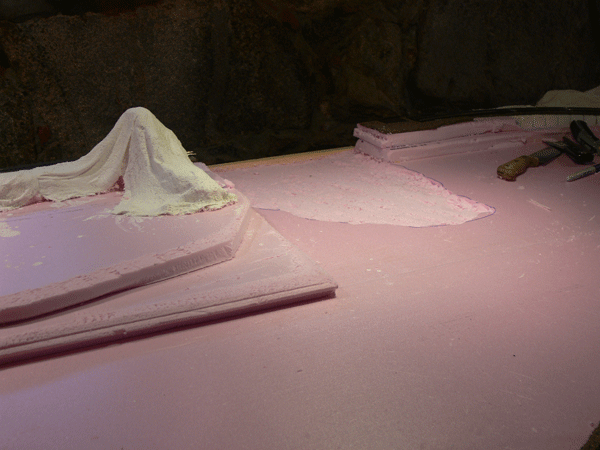
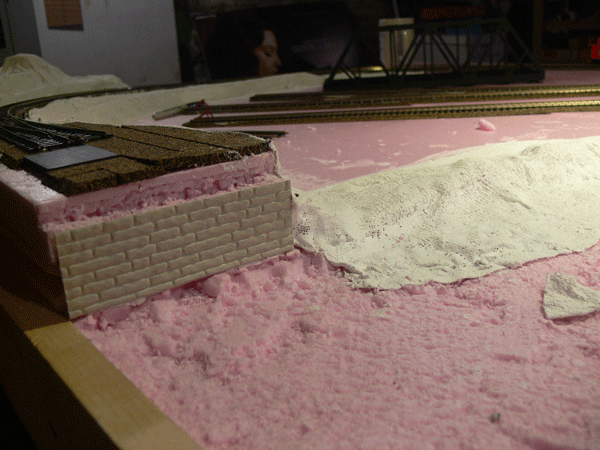
First up was drawing out the shape of the water feature, and than scoring it a hundred times to begin breaking it up.
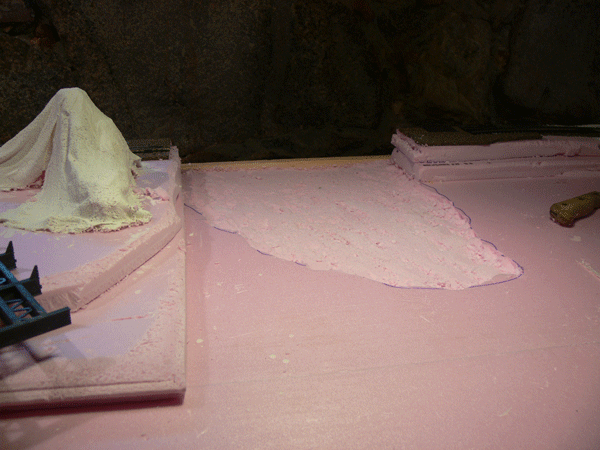
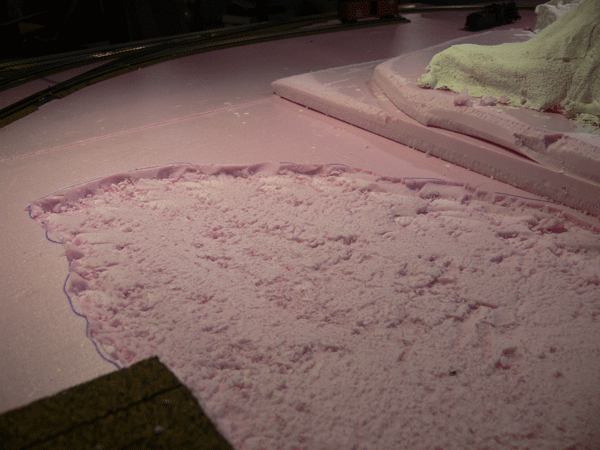
Once I had the area cut down about a half inch, I used the mighty rasp to smooth out the bottom, and make it more bowl shaped.

To build up the depth, I added a small ring of damp paper towels to the edge.
And than draped the area with the wet plaster cloth.
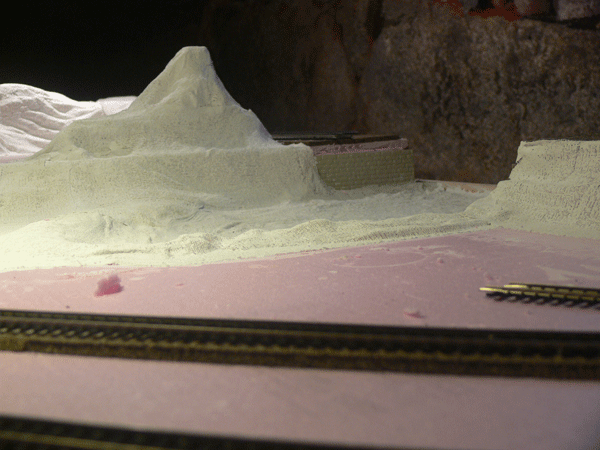
I ran short of plaster cloth (used up two rolls, or 20 square feet), so when I get another roll, I'll fill this all in.

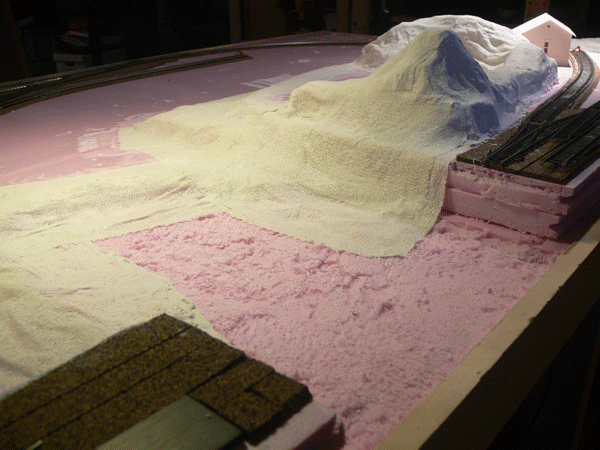
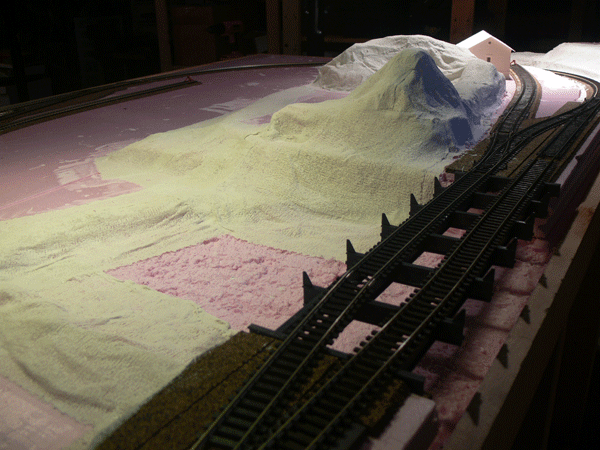
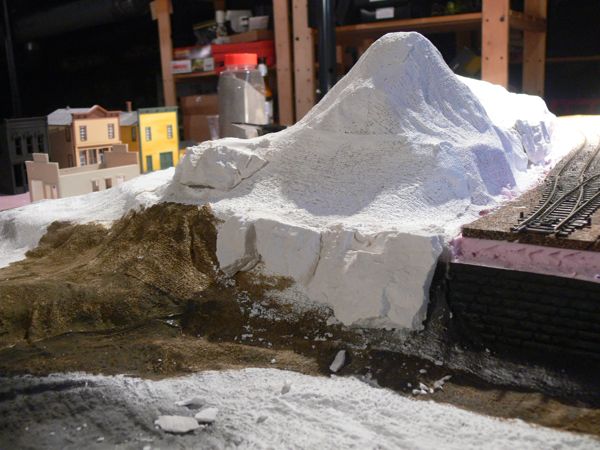
It should look ok. I'm not overly pleased with the hills in the center, that was me trying to use old foam. Once I get some rocks cast on it though, and lots of trees, it should be ok.
The East Hill Area
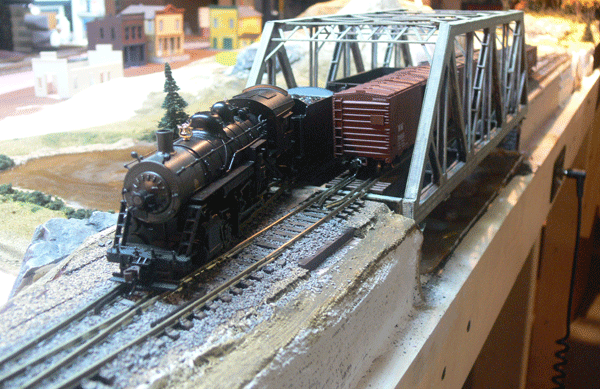
I spent a bit of time working on the Walther's Bridge from their Cornerstone Series, and received a few kits I was waiting for, including Wally's Warehouse and J.C. Landry Feed and Supply from the Walthers Gold Ribbon Series Easy to build plastic kits. Along with the Walthers kits, I got two DPM kits, Kelly's Saloon, and Schultz's Garage, and the engine house also arrived.
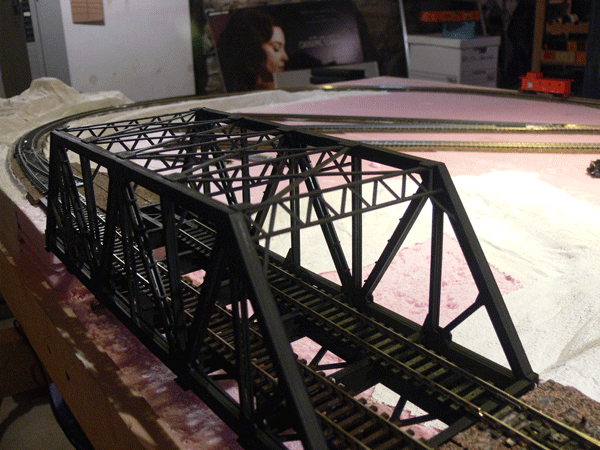
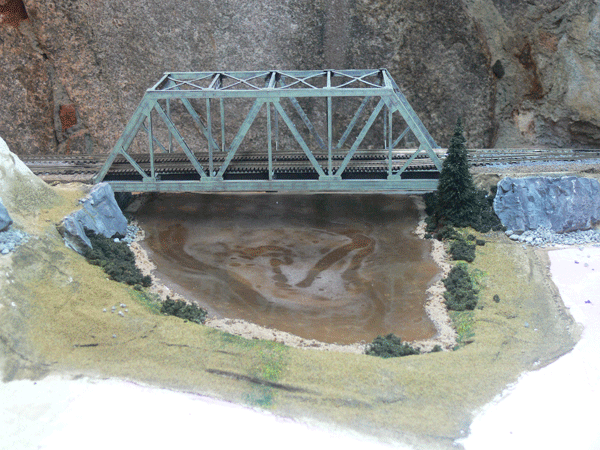
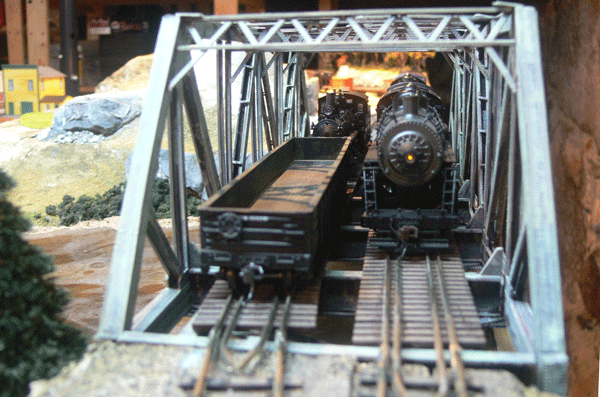
The Walther's Cornerstone Series Bridge. This was kind of a bear to put together, there were a bit more fiddly bits than I was looking for. Still, the end result isn't too bad - here it is primed and ready for painting. I won't put it down permanently until the water feature is totally complete.
We got down to Connecticut this last week and stopped in at Timemachine Hobbies. Don't let their website dissuade you, they have a ton of stuff on hand, including a lot of European manufactures, if that's your cup of tea. I grabbed a bunch of stuff, including rock molds, but staring at they Hydrocal, I said - nah, I have some. Guess what - I don't. so I'll have to wait to cast some rocks.
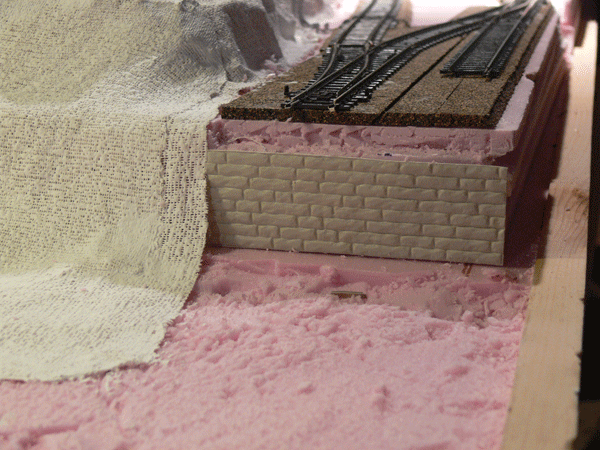
One thing I picked up was this Plastruct molded sheet for the bridge abutments.
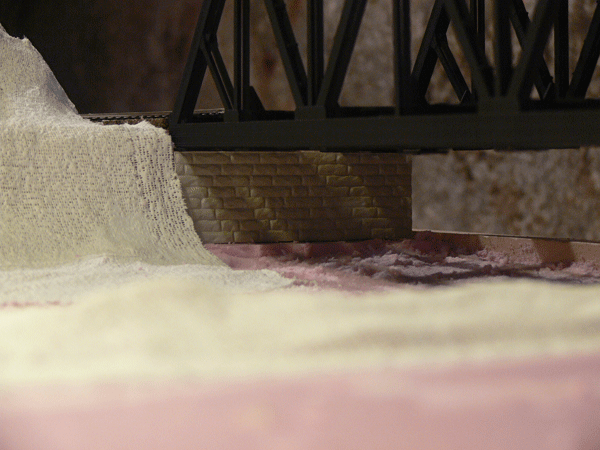
Under the bridge, I think it will look ok.
And the other approach.
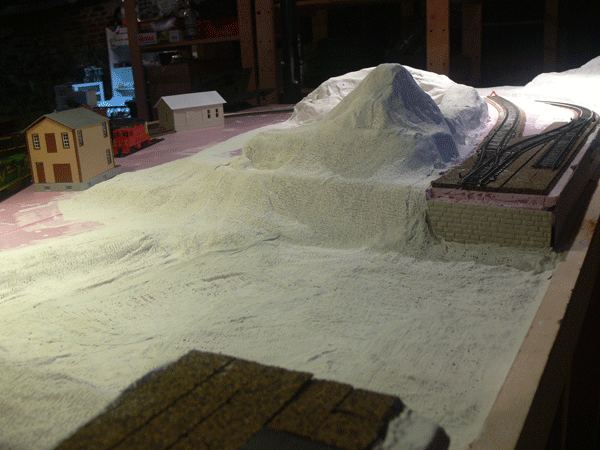
I also got a lot more plaster cloth, so I finished off the water area, and the surrounding slopes.
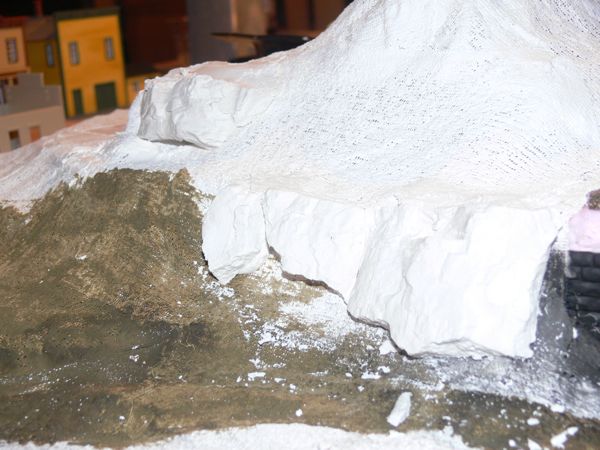
I put in a few rock castings near the bridge.

I used a trick I figured out elsewhere on this. First up was a "rusty" wash of Citadel's Dark Flesh. It actually doesn't look too bad like this.
And than repeated light coats of Tamiya's JF Gray. This is a slightly greenish gray.
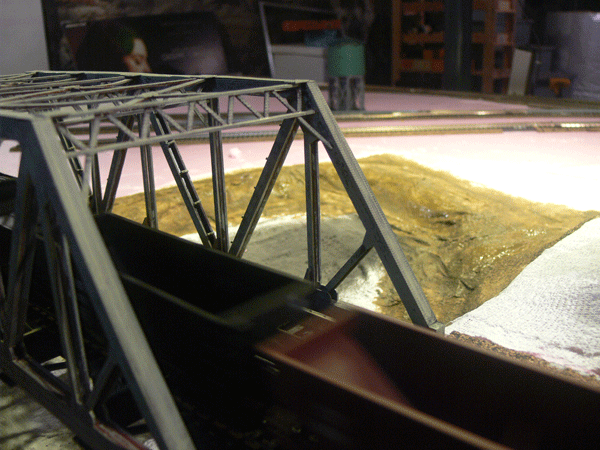
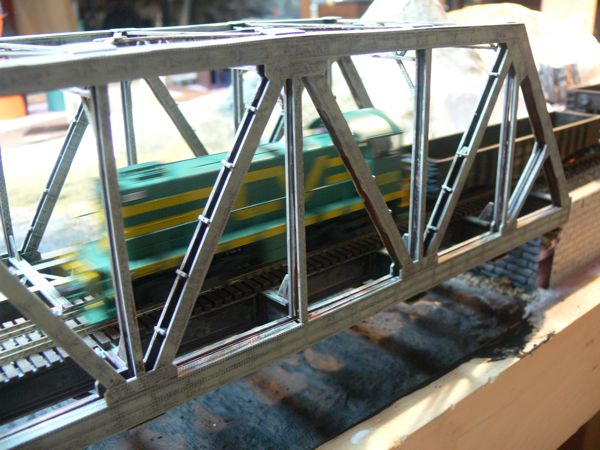
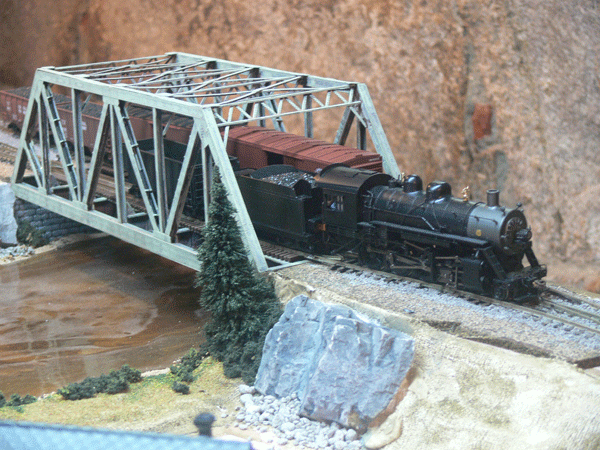
Handling traffic.
The American sits on the siding.
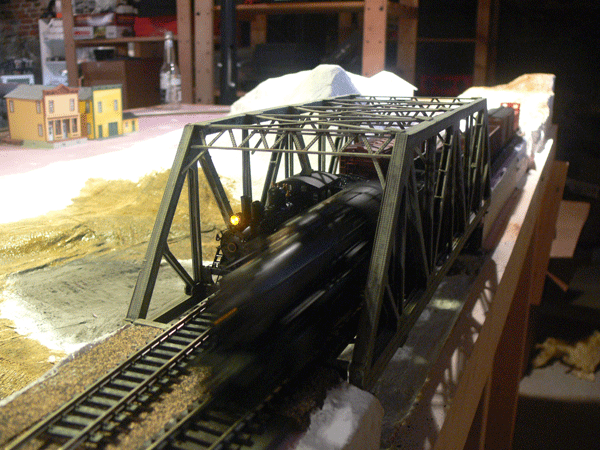
While the Consolidation rumbles past.

I have the micro engineering bridge flex track cut to fit (5-30-08)
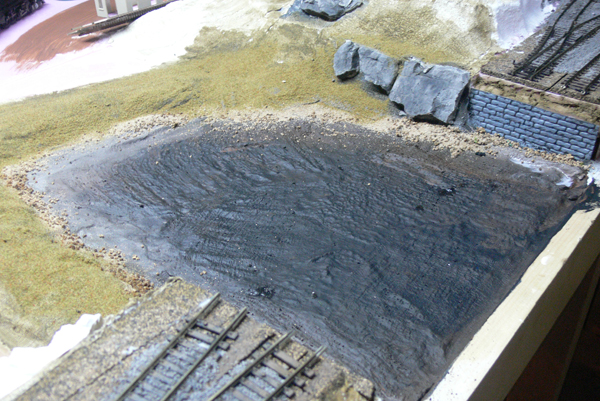
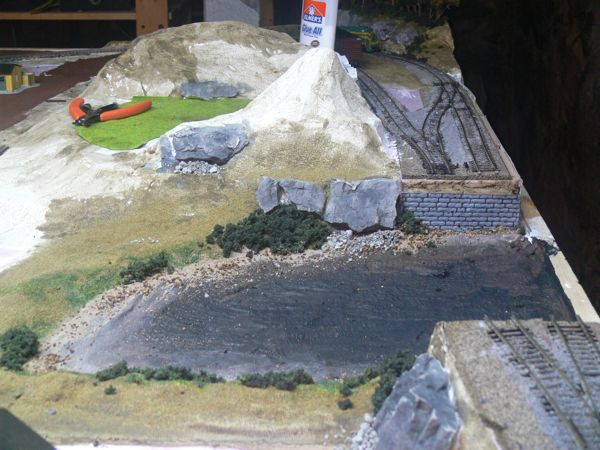
The water area is almost ready for the water, i need a few more green effects first (6-2-08)
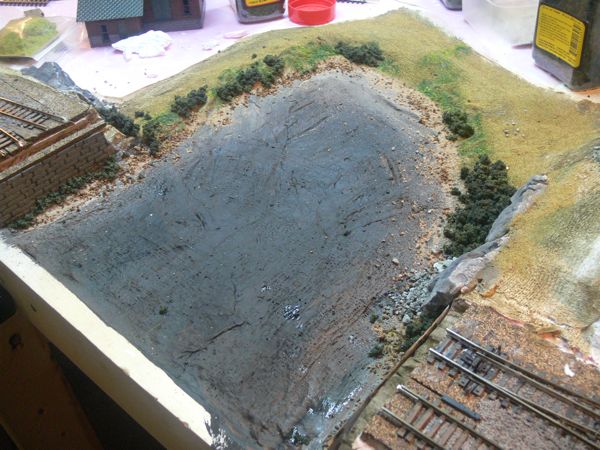
At this stage, ti's almost ready for the water - I just need to make and install a small dock at the end closest to the viewer. (6-4-2008)
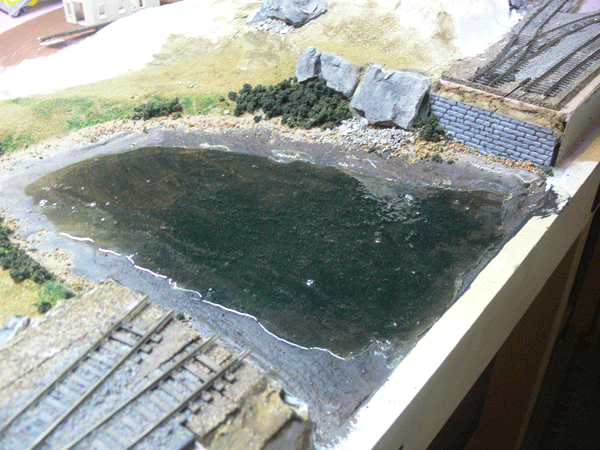
This is a good shot of the abutment made of the plastic card. Note that with successively lighter grays, it comes out looking pretty decently. (6-4-2008)
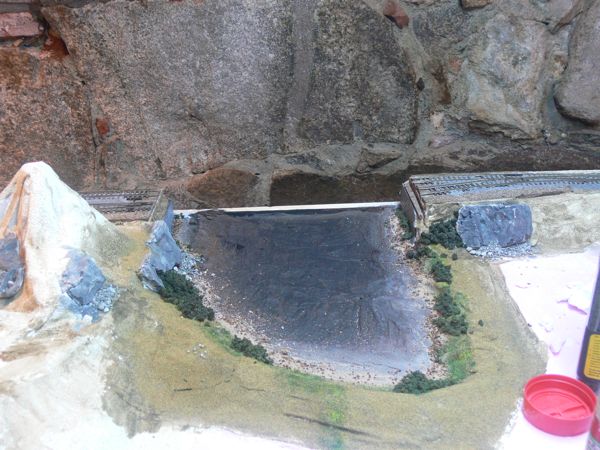
The first bag of Woodland Scenics Water Effects didn't cover as much as I would have liked. (6-9-2008)
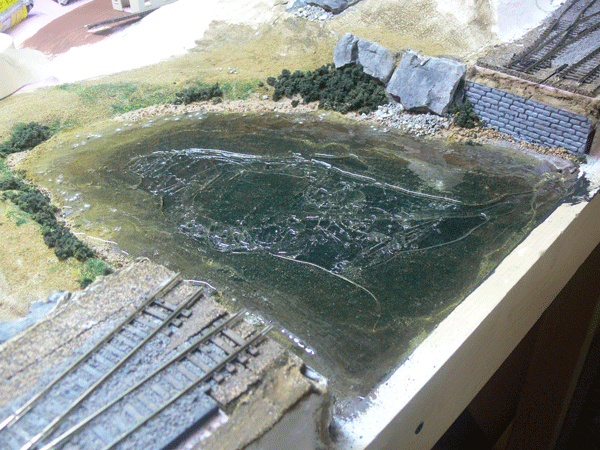
Nor did bag two (6-9-2008)
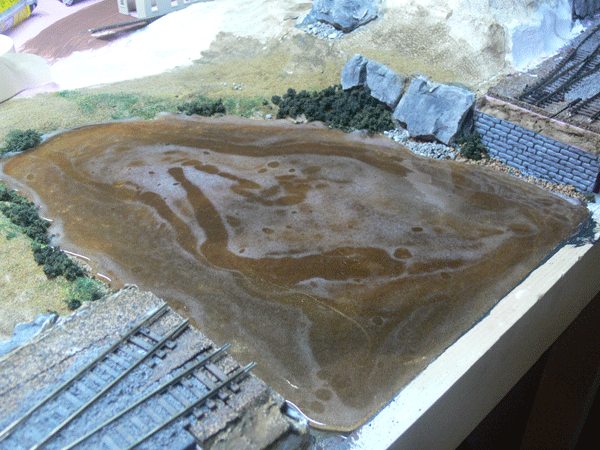
Finally I walked back to my local game store (Triple Play) again to buy out the rest of their bags. Four bags to cover this area. (6-9-2008)

I had presumed it would fill in, but instead it made it's own level. This stuff hardens so fast it doesn't get a chance to "flow". (6-9-2008)
I fixed the bad edging with more sand. I'm not 100% with the outcome, but it does kind of look like pond scum. (6-9-2008)
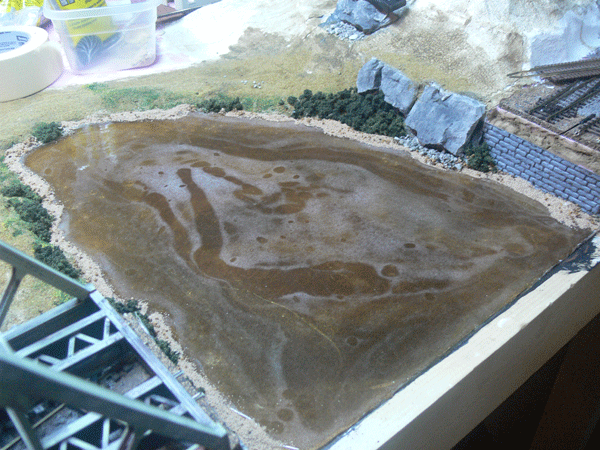
With the bridge in place. (6-9-2008)
(6-4-2008)
(6-9-2008)
(6-9-2008)
(6-9-2008)