Scenery
With the construction behind us, it's time to move to the fun part, scenery. Based on this track plan,

I've decided to modify some of the structures/features. I've listed the revised list below.
▶ Business & Warehouse (Wally's Warehouse, Walthers;
▶ Engine House & Servicing.
▶ Freight Depot (Design Preservation Models)
▶ removed
▶ Business
▶ removed
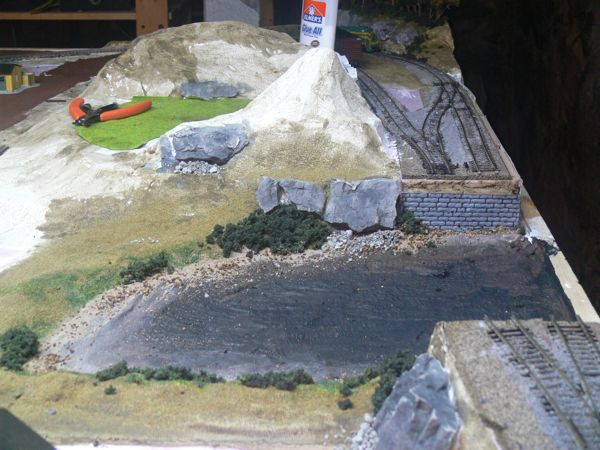
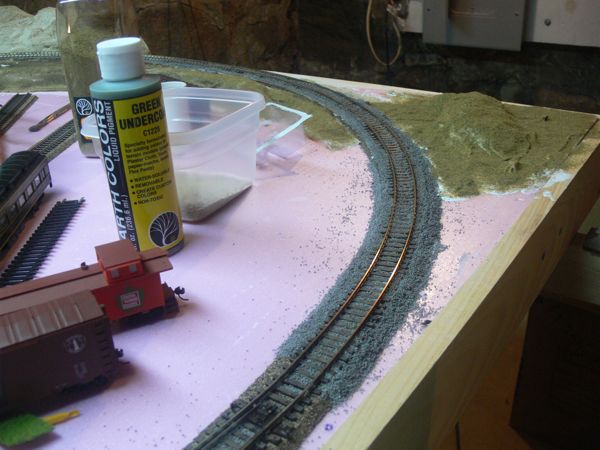
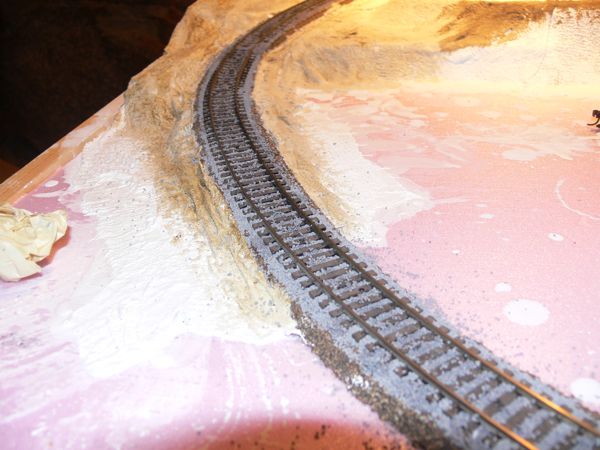
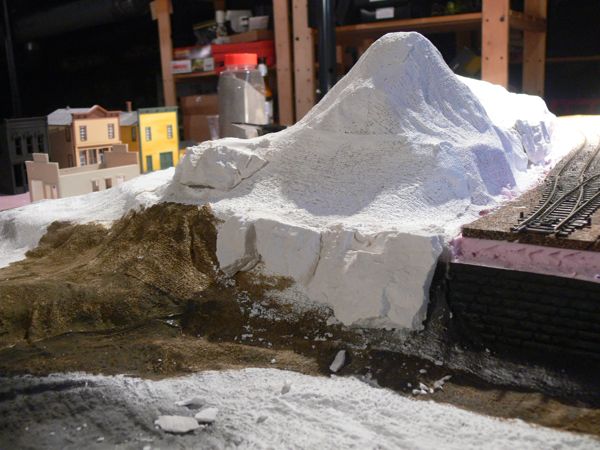
I used plaster cloth over the foam boards - at first I just draped it over the rough foam, but ended up rasping down the foam edges to make a smoother slope.
The River/West Hill
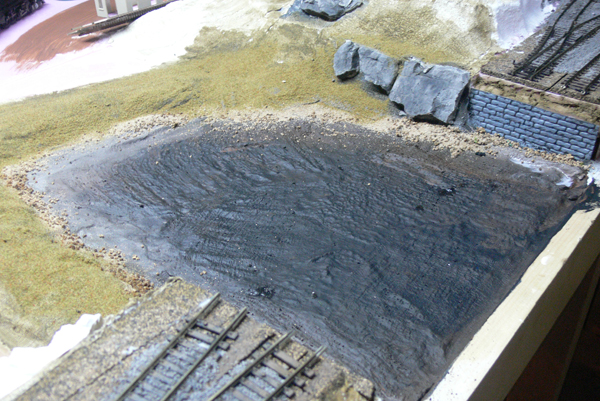
First up was drawing out the shape of the water feature, and than scoring it a hundred times to begin breaking it up.
Once I had the area cut down about a half inch, I used the mighty rasp to smooth out the bottom, and make it more bowl shaped.

To build up the depth, I added a small ring of damp paper towels to the edge.
And than draped the area with the wet plaster cloth.
I ran short of plaster cloth (used up two rolls, or 20 square feet), so when I get another roll, I'll fill this all in.

It should look ok. I'm not overly pleased with the hills in the center, that was me trying to use old foam. Once I get some rocks cast on it though, and lots of trees, it should be ok.
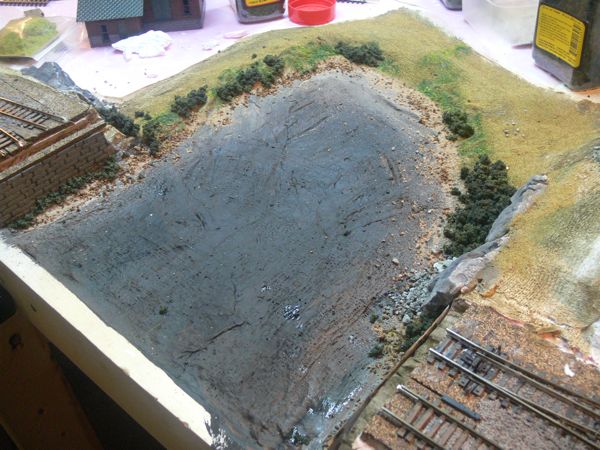
The west hill is done, as far as the plaster cloth goes.
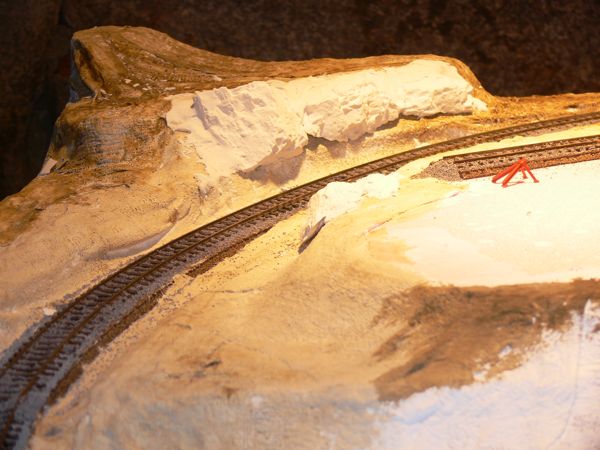
The East Hill Area
The DPM Freight Depot will be placed here.
You can se the shaved slopes in these pictures.
And with the plaster cloth over it. This was a really easy application.

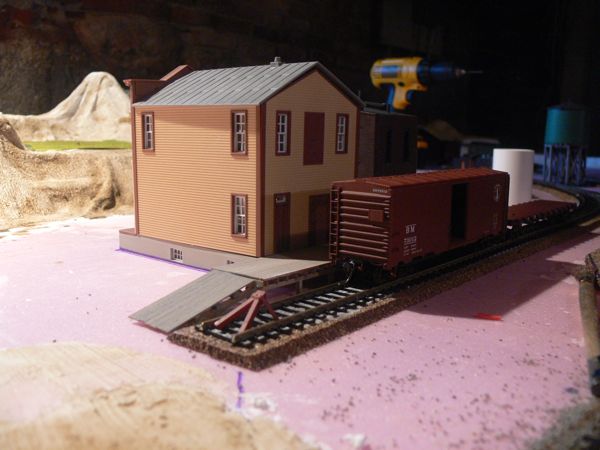
Spotting a box car at the East Hill Depot.
Here the consolidation backs in.
And the 4-4-0 pulls the box car out while the 2-8-0 moves a pa sanger car along the main line.
I spent a bit of time working on the Walthers Bridge from their Cornerstone Series, and received a few kits I was waiting for, including Wally's Warehouse and J.C. Landry Feed and Supply from the Walthers Gold Ribbon Series Easy to build plastic kits. Along with the Walthers kits, I got two DPM kits, Kelly's Saloon, and Schultz's Garage, and the engine house also arrived.
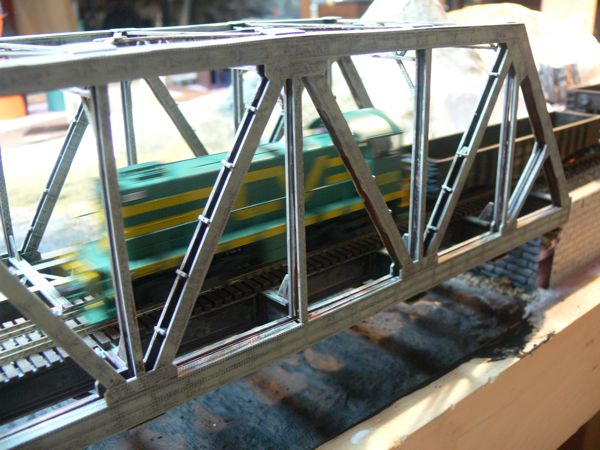
The Walthers Cornerstone Series Bridge. This was kind of a bear to put together, there were a bit more fiddly bits than I was looking for. Still, the end result isn't too bad - here it is primed and ready for painting. I won't put it down permanently until the water feature is totally complete.
J.C. Landry Feed and Supply(left) and Wally's Warehouse (right) from the Walthers Gold Ribbon Series. These were super fast to assemble, as things just snap in place. The kits also come with a ton of detailing supplies, none of which are in place currently. Both buildings are simply held together without glue, meaning I can go back and repaint/weather them in sections. For now, I'm simply playing with their placement.
The back sides. I'm missed the fact that Wally's didn't' have it's own loading dock like J.C. Landry's, so I'll have to pick up another one before the building gets a final placement.
We got down to Connecticut this last week and stopped in at Timemachine Hobbies. Don't let their website dissuade you, they have a ton of stuff on hand, including a lot of European manufactures, if that's your cup of tea. I grabbed a bunch of stuff, including rock molds, but staring at they Hydrocal, I said - nah, I have some. Guess what - I don't. so I'll have to wait to cast some rocks.
One thing I picked up was this Plastruct molded sheet for the bridge abutments.
Under the bridge, I think it will look ok.
And the other approach.
I also got a lot more plaster cloth, so I finished off the water area, and the surrounding slopes.
As i was unable to cast rocks, I spent most of the afternoon painting. First up was the bridge.

I used a trick I figured out elsewhere on this. First up was a "rusty" wash of Citadel's Dark Flesh. It actually doesn't look too bad like this.
And than repeated light coats of Tamiya's JF Gray. This is a slightly greenish gray.
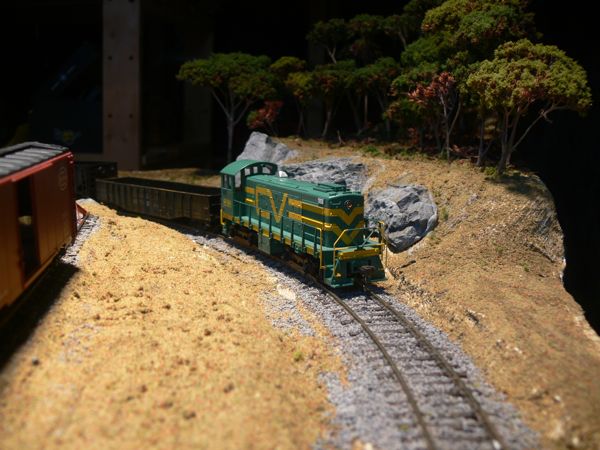
Handling traffic.
The American sits on the siding.
While the Consolidation rumbles past.

I have the micro engineering bridge flex track cut to fit (5-30-08)
The water area is almost ready for the water, i need a few more green effects first (6-2-08)
I ringed the area with some greenery and talus debris. (6-4-2008)
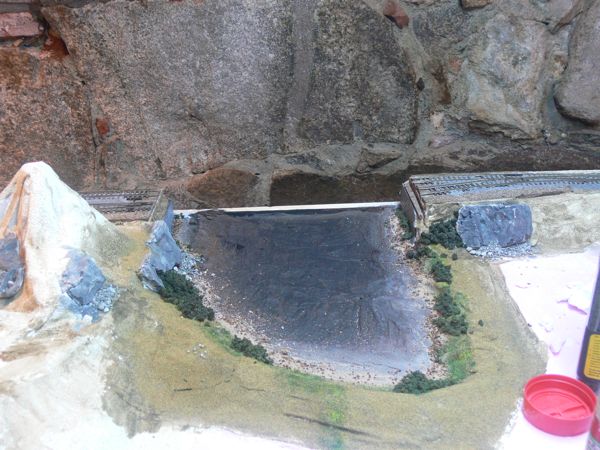
At this stage, ti's almost ready for the water - I just need to make and install a small dock at the end closest to the viewer. (6-4-2008)
This is a good shot of the abutement made of the plasticard. Note that with successivly lighter grays, it comes out looking pretty decently. (6-4-2008)
The first bag of Woodland Scenics Water Effects didnt' cover as much as I would have liked. (6-9-2008)
Nor did bag two (6-9-2008)
Finally I walked back to my local game store (Triple Play) again to buy out the rest of their bags. Four bags to cover this area. (6-9-2008)

I had presumed it would fill in, but instead it made it's own level. This stuff hardens so fast it doesn't get a chance to "flow". (6-9-2008)
I fixed the bad edgeing with more sand. I'm not 100% with the outcome, but it does kind of look like pond scum. (6-9-2008)
With the bridge in place. (6-9-2008)
(6-4-2008)
(6-9-2008)
(6-9-2008)
(6-9-2008)
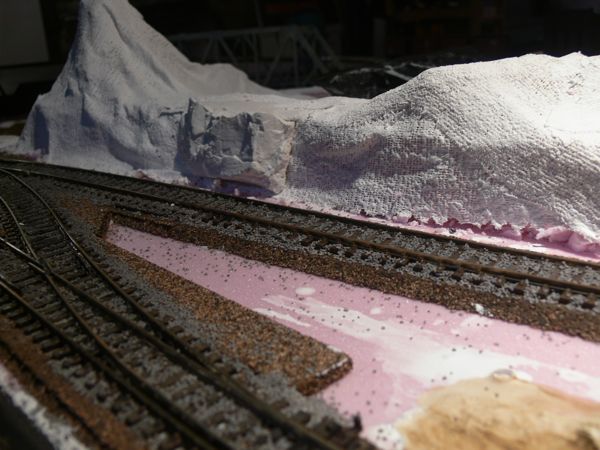
The rest of the layout is getting ballasted (6-4-2008)
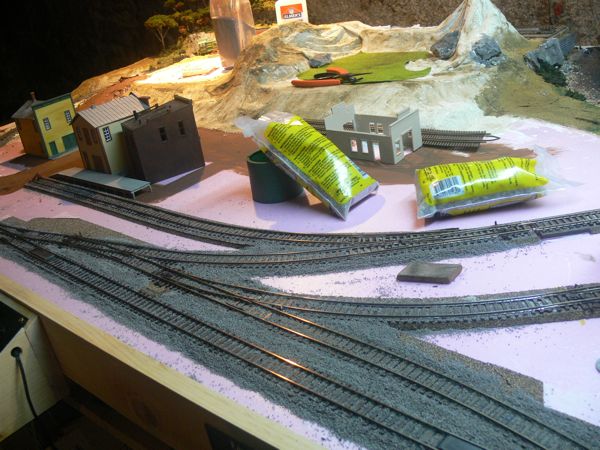
Including the main yard.
Besides the bridge, I hit one of the Walthers buildings with a coat of fresh paint.
That's Citadel's Bubonic Brown as a wash on the siding of Wally's Warehouse, and Poly Scale Dark Green for the trim.
It already looks much better.
Finally, I gave Woodland Scenic's Tint a try, and hit a bunch of the plaster cloth.
The tint actually does a decent job with coverage, and spreads pretty well.
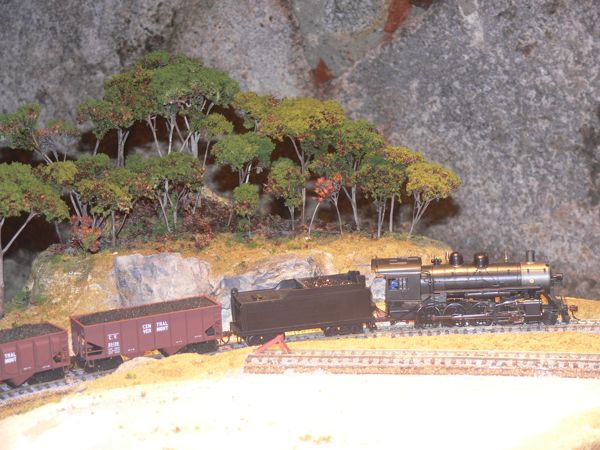
The Consolidation climbs the West Hill.
While the American shunts at the West Hill Depot.
Ballast! This was my first attempt at ballasting, and it needs a bit of rework.
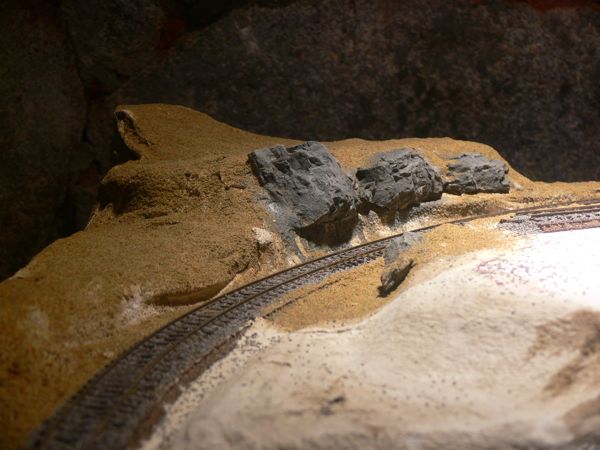
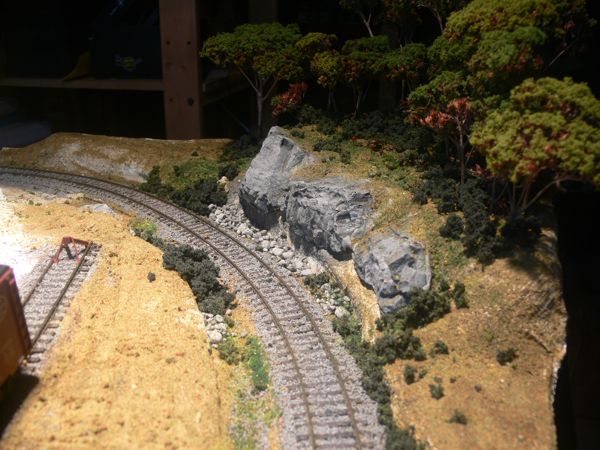
I cast my first rocks using Woodland Scenics hydrocal and molds. They actually released pretty well from the molds. I attached them with more hydrocal to the sub structure.
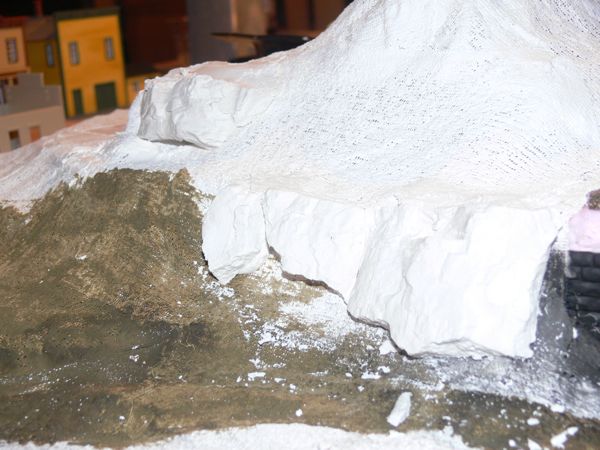
Some other rock castings near the bridge.
and i had one left for his side wall.
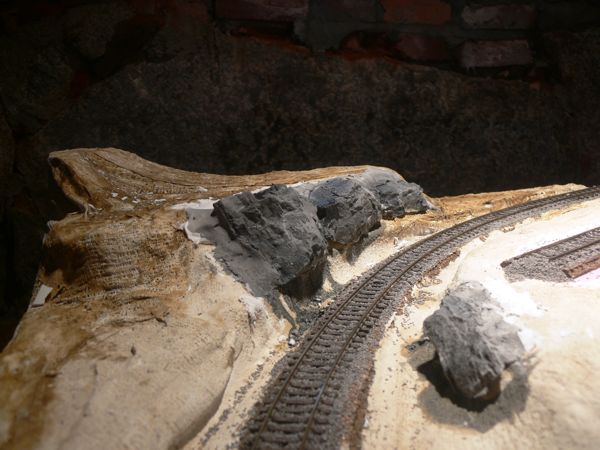
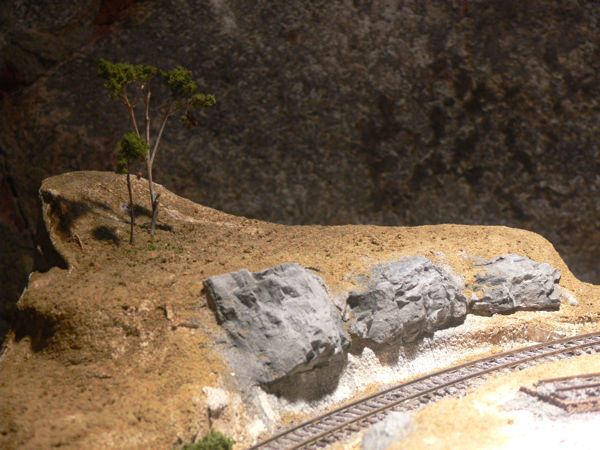
I painted them per the Woodland Scenic instructions, these got a primary wash of slate gray, than a very watered down black.
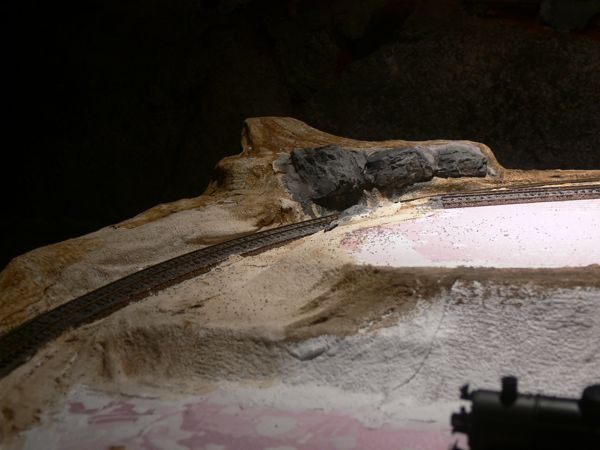
Once that was all dry, I painted the surface with glue/water and sprinkled on some Woodland scenics ground cover. I'd like to get this one corner "finished" before moving to other parts of the layout.


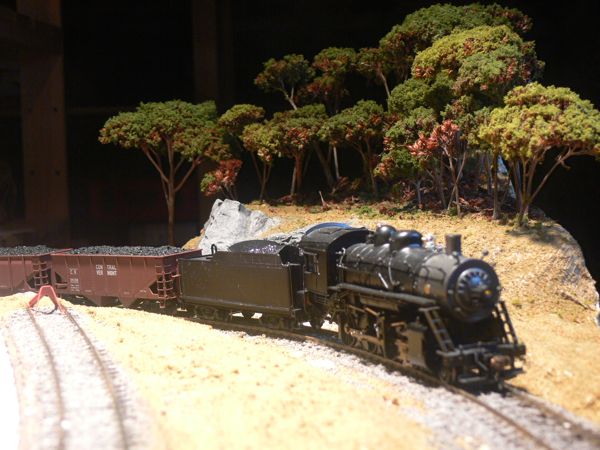
Consolidation #5 coming up the hill
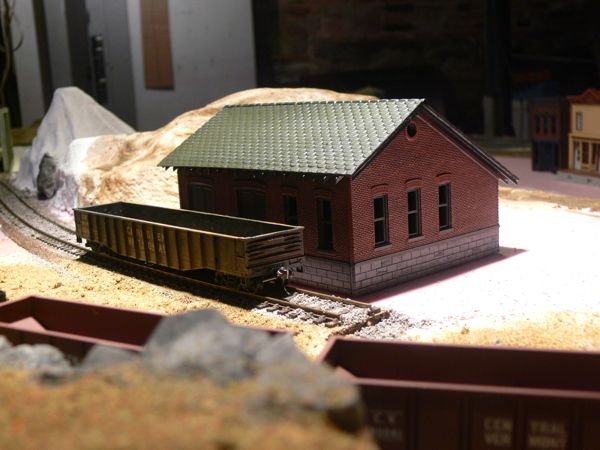
The freight epot is finished from a painting standpoint, but is not going to stay here. Crosby's Coal is destined for this spot.
Now for some Trees....
Who doesn't need trees? I thought I'd try Woodland Scenics Forest Canopy series. Here are the first two.
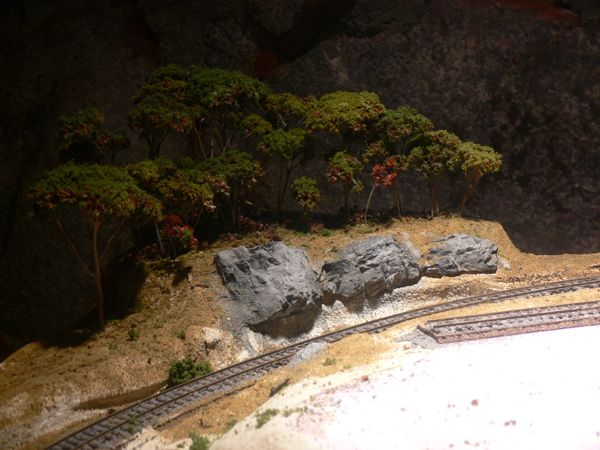
And most of the box in place. I had ordered another color flock, to mix up the trees a bit.
The trees look good, but I wish they covered more square footage for the cost.
#808 approaches the hill (yeah, I'm getting tired of this shot too, but it's the only spot thats' even partially scenicked.(6-4-2008)
I added bushes, talus, etc to the corner. Not too bad overall. (6-4-2008)
Ok, back to building construction
This DPM kit, Kelly's Saloon, is ready for primer.

I broke one of the two sided chimney's while assembling it, so decided to rework the roof instead. The roof surface is 150 grit sand paper, I added two vent stacks, as well a a chimney and roof hatch.
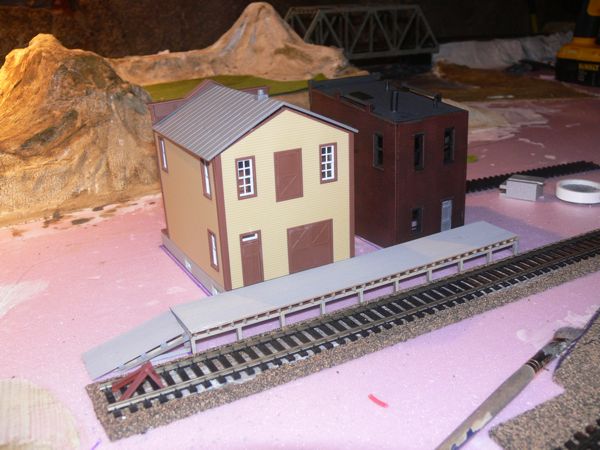
The DPM depot is also ready for painting; I used plastruct molded plastic shingles, and added the roof supports.

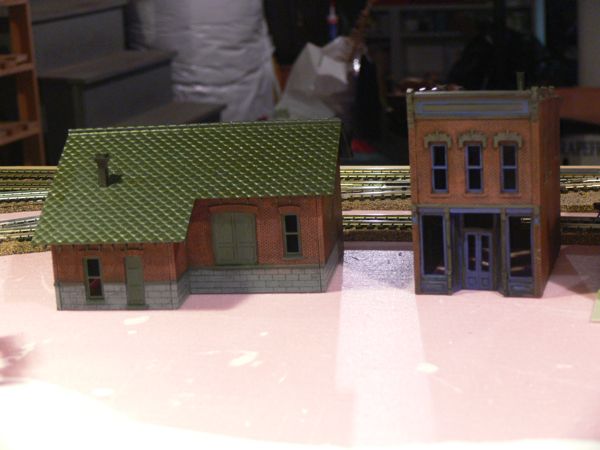
The two of them after painting. Both still need a "grimy black" wash.
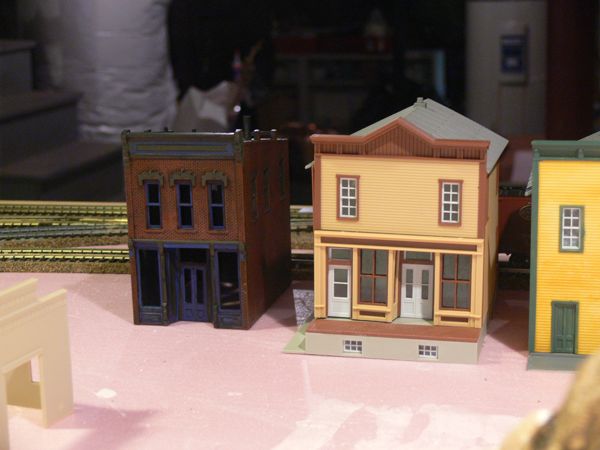
I really need to come back an paint that middle building to get the plastic sheen off.
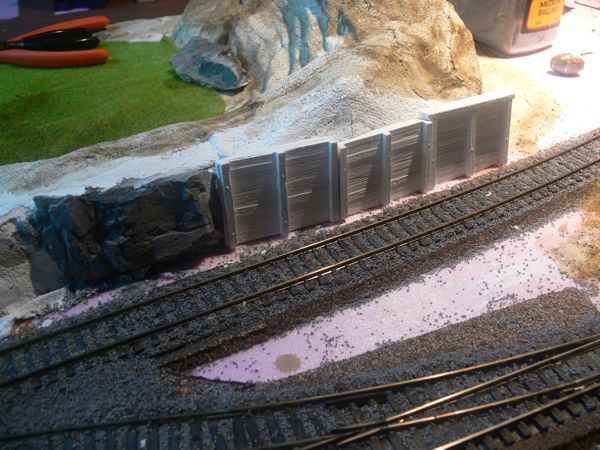
Next up was a loading dock for town.

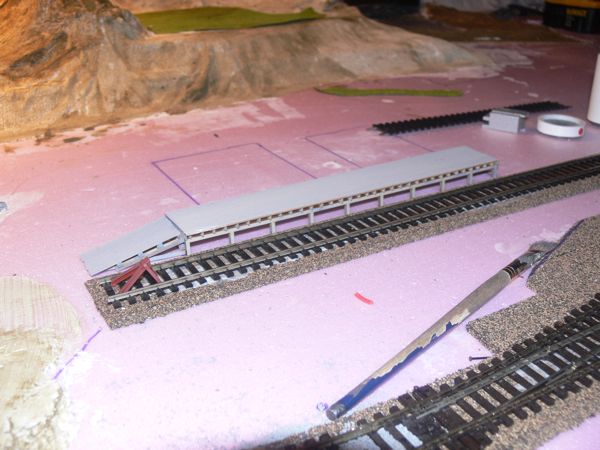
This kit was self described as "tedious". And it was, but it was a good learning experience for me with a lasercut kit.
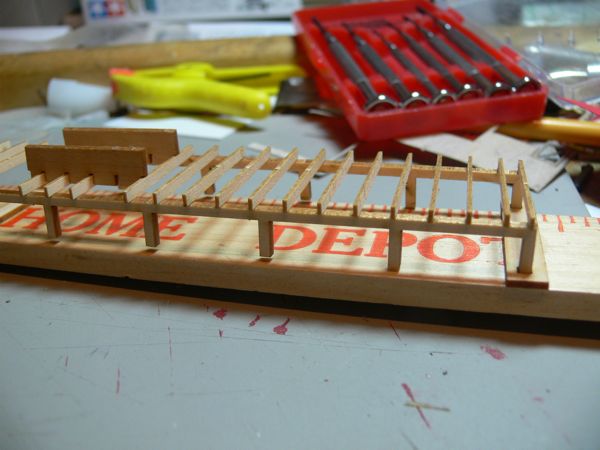
The kit had a few forms, such as the bottom ones glued to the yard stick that hold the legs in place. The upper spacer form was not easy to use, but it did work to keep the ribs in place.
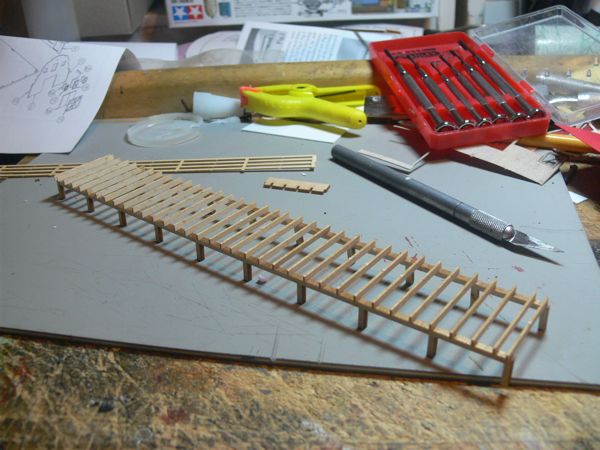
Once finished, it does look good.
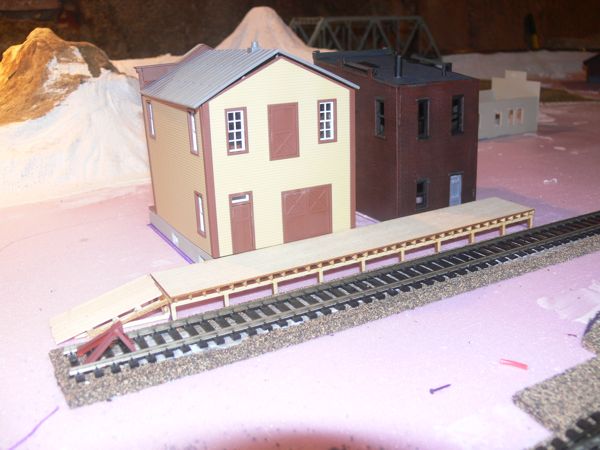
And with the top in place, as well as a scratch built ramp. The ramp needs a little tweeking.
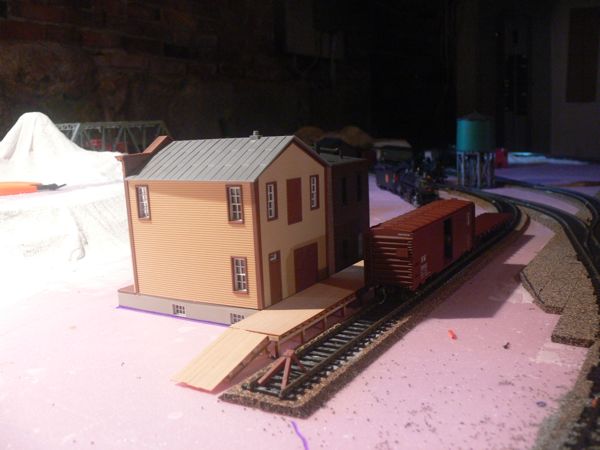
I painted the loading dock with Citadel fortress gray, very watered down. (5-30-08)
(5-30-08)
(5-30-08)