Scenery — Road Crossing
I've been working on a road crossing for my layout, and I thought I'd share my experiences. Note that this is NOT the correct or only way to do this, rather this is simply my experience and I hope it may help others.

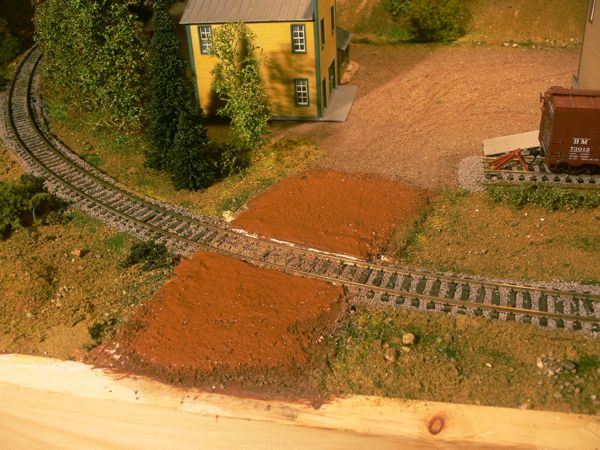
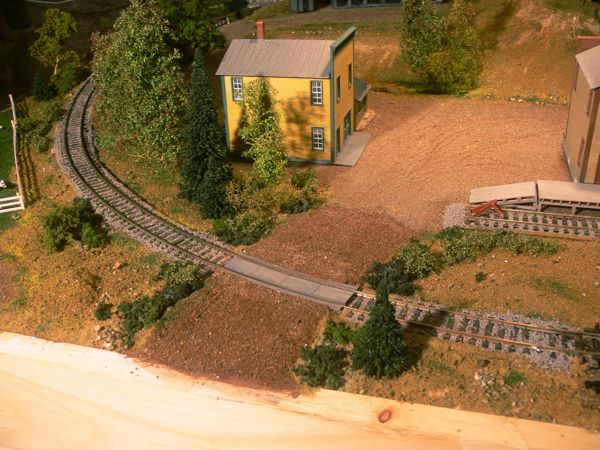
After receiving the wooden crossing parts, I sized them up on the outside edge of the rail, and realized that I needed to raise the road a fair amount. As I had Hydrocal on hand, well, that was the material used.
July 27 2008
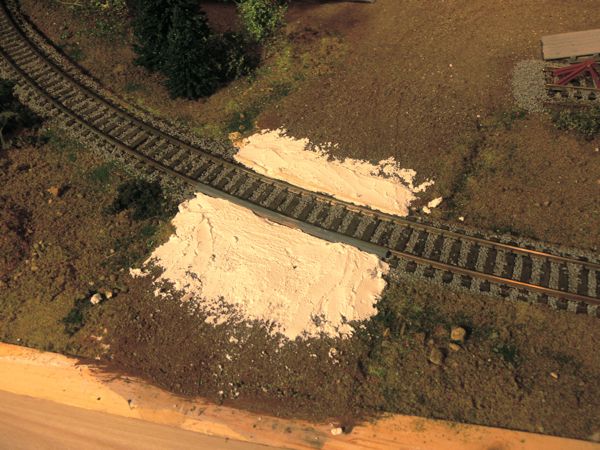
You can see the wooden (gray) crossing piece here on the outside rail
July 27 2008
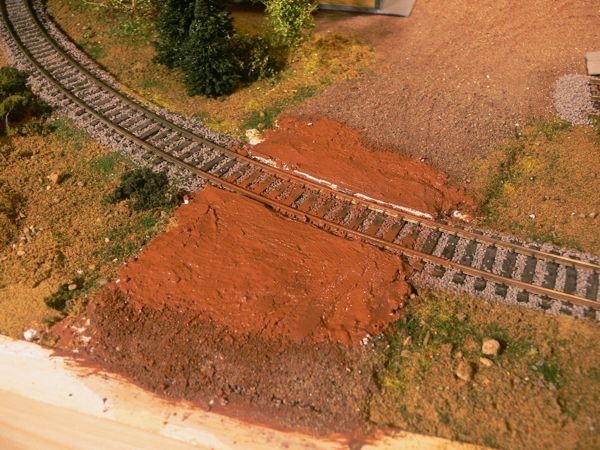
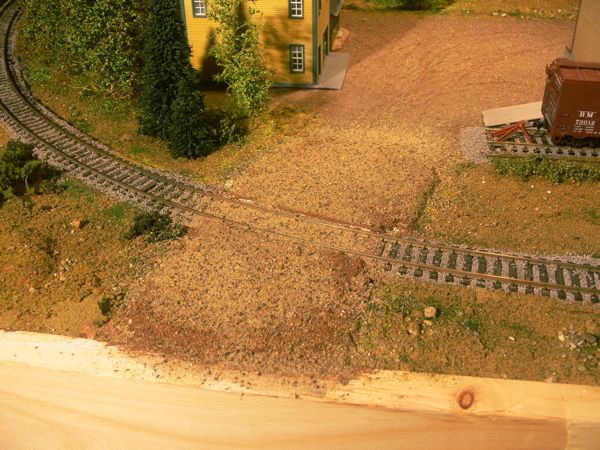
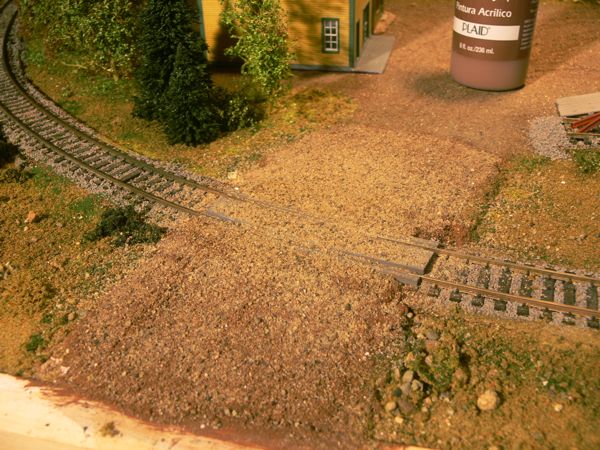
Once dry, I began doing the road surface in an identical manner to the rest of my roads. Step one was the brown Apple Barrel paint.
July 27 2008
Than a heavy sprinkling of sand
July 27 2008
And than after that dried, I vacuumed off the excess.
July 27 2008
More paint
July 27 2008
and more sand.
July 27 2008
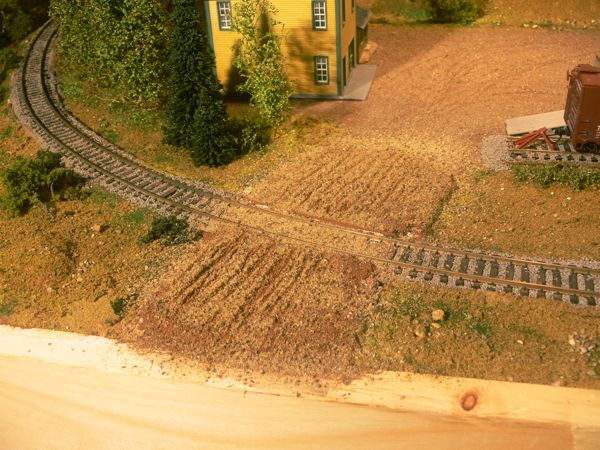
While this is still wet, drag ruts in it. I just use a large pair of tweezers (parallel lines).
July 27 2008

And when that's dry, vacuum again.
July 27 2008
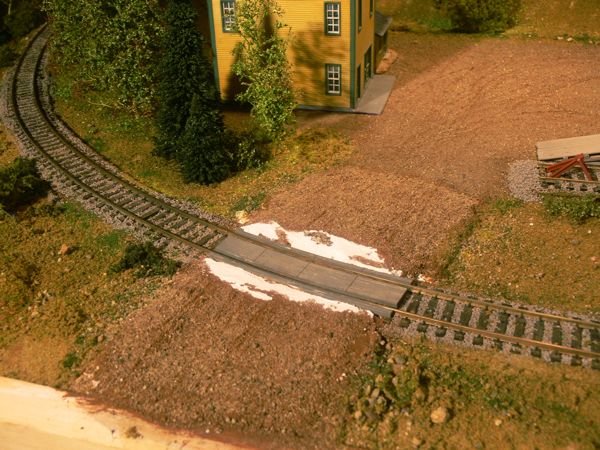
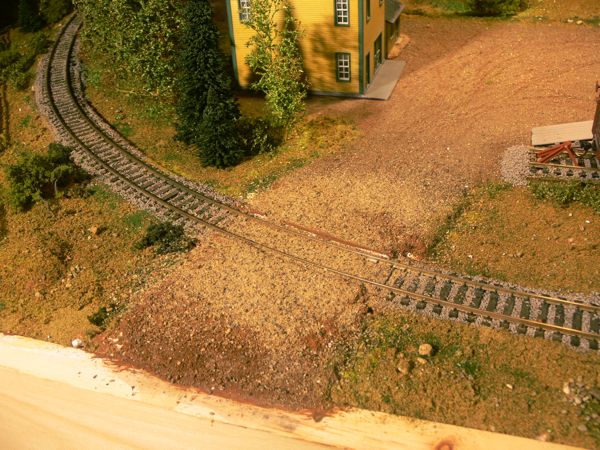
I realized that I had screwed up when I put down the Hydocal, I was too high on the sides. This made the sides of the trucks "grab", and the cars would derail. I also sanded down the wood crossing pieces on a flat piece of sandpaper, in order to make sure they sat at or below rail height. Also important to avoid derailment.
Next time, I'll do this step before painting.
July 27 2008
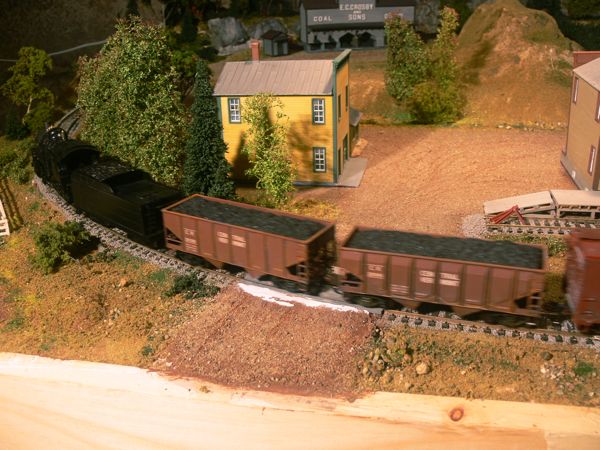
As you can see, this moving freight has no problems after reshaping the road.
July 27 2008
More paint, and more sand!
July 27 2008
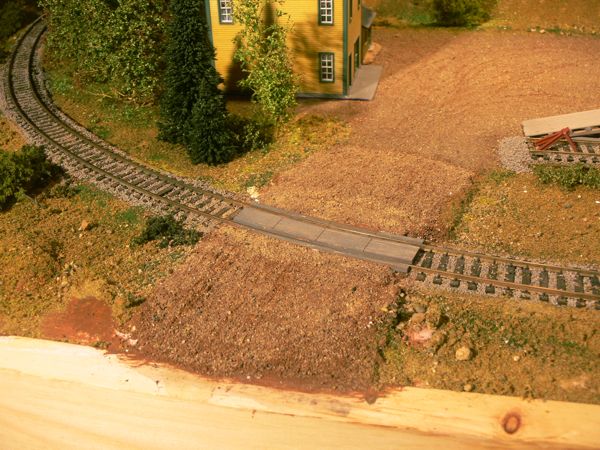
Vacuumed off, I added a little more sand
July 27 2008
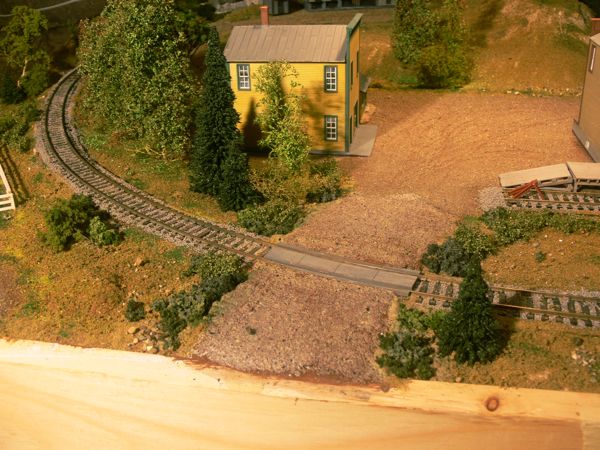
And bushes/shrubs along the road edge.
July 27 2008
I gave it all a wet coat of mat medium (water, glue, alcohol), including the bushes to hold it all in place. The next morning, it looked like this. I'm not sure why it's darker than the the town area as it's exactly the same materials used; I'm waiting to see if it lightens up as time goes by.
July 27 2008

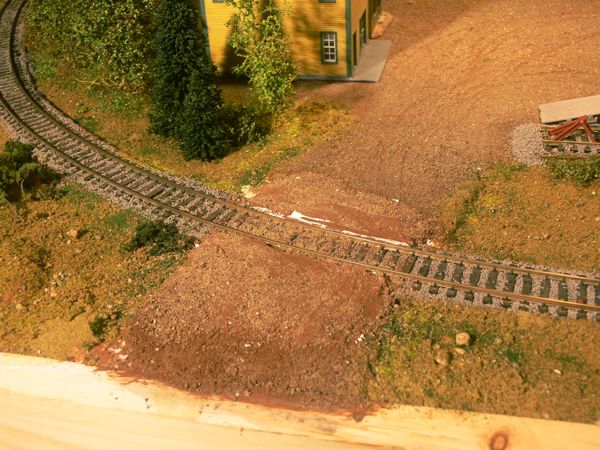
Checking clearances, yet again.
July 27 2008