With the shelf assembled, I started in on preparing the existing wiring. Well, while trying to strip the end of the wire of one of the truck feeds, I pulled the wire right off. Doh!
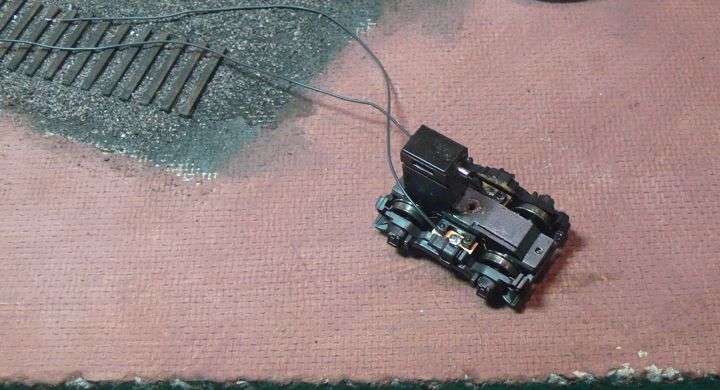
In for penny, in for a pound. Off came the truck
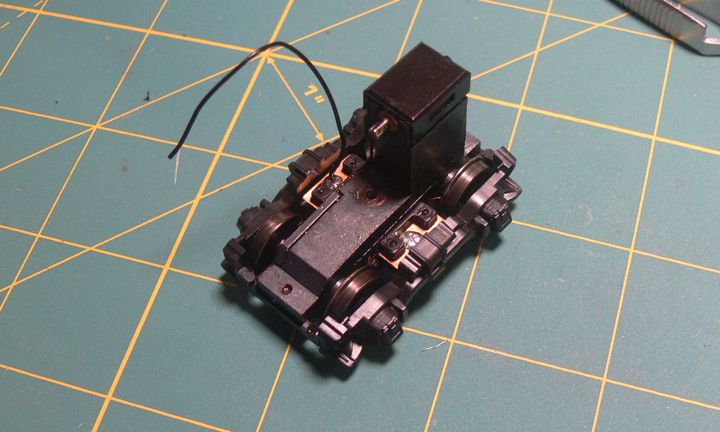
And I soldered in two new (long) wires. I wish I had both red and black, but in this gauge this was all I had on hand.

I put the truck back in, and connected the truck feeds together.
Wiring Up!
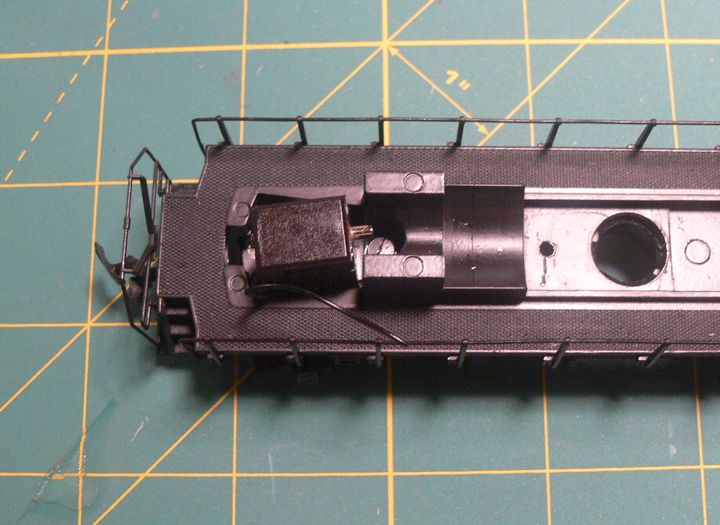
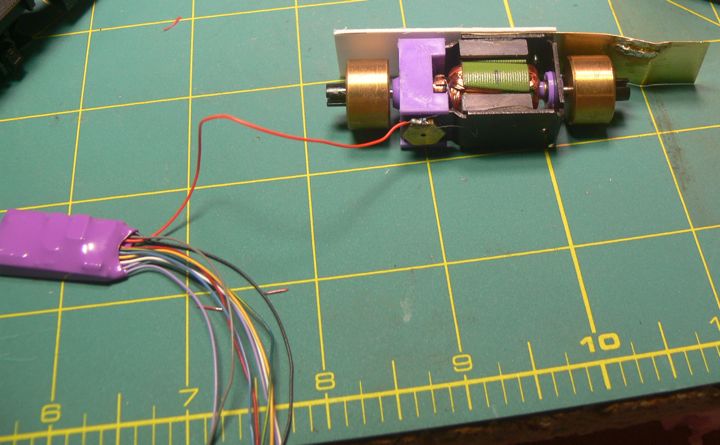
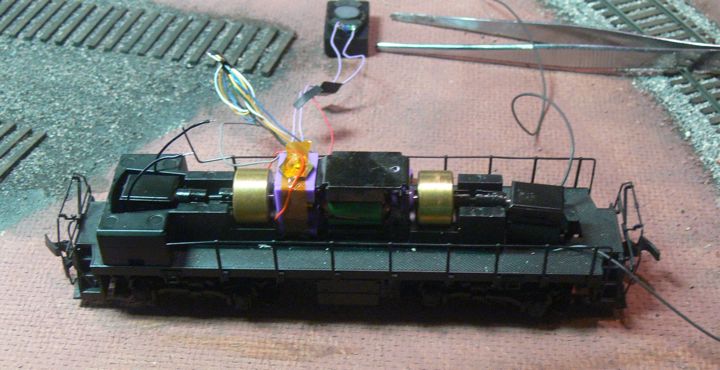
With the trucks repaired, I took a look at isolating the motor. I first had two layers of electrical tape in the well on the frame where the motor sits, but there is so little clearance that the motor would not seat properly. There certainly isn't enough room on this model for silicon. I broke out the multi meter, and was surprised to find that the frame really isn't that conductive.
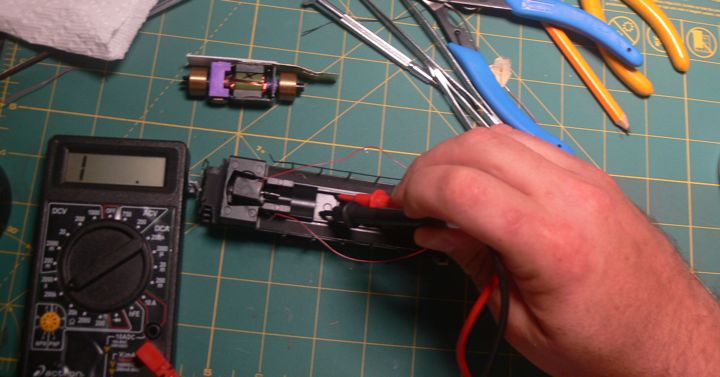
Probably because of the paint, but I didn't want to take an chances. I decided to put tape on the bottom of the motor instead of in the well. Before that though, I needed to wire up the bottom engine lead. due to the tight clearance, I attached the lead to the side of the motor contact instead of along the bottom.
And with that in place, I was able to tape the bottom of the motor.
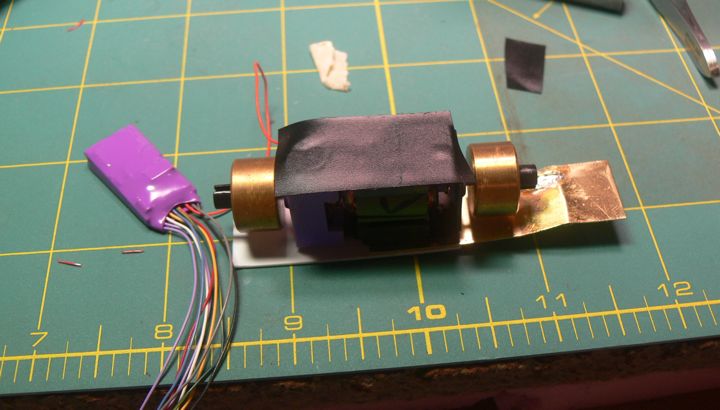
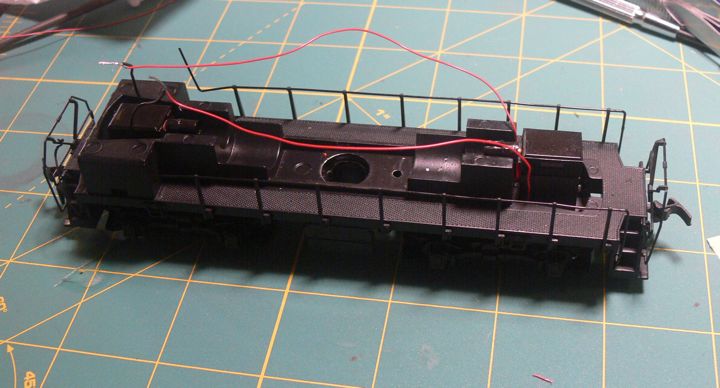
With a little effort, the motor fits nice and tight. With it in place, I attached the upper motor lead, this time using the large flat surface.

After that, the shelf went back on, and I soldered up the truck leads, and collected the loose wires for a quick road test.
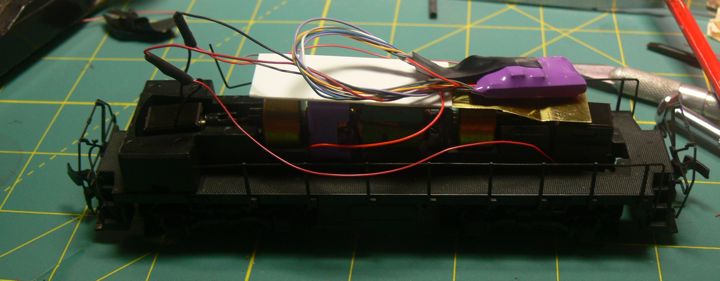
On the layout, the loco responded to it's address, and moved under control! Heck, its even went in the right direction! I pulled it off, and connected the speaker.
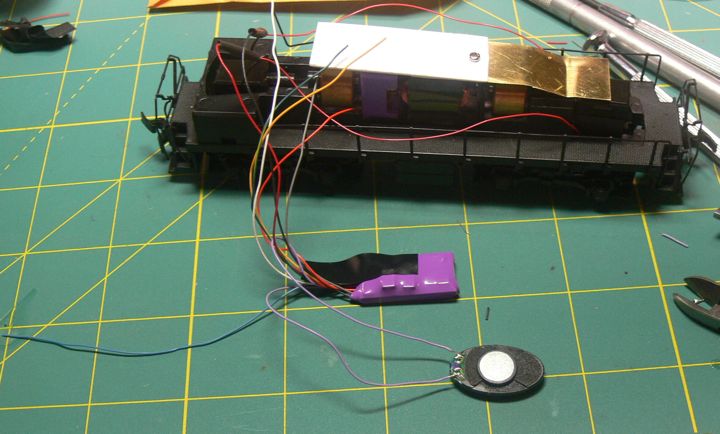
Again, a quick road test proved that this was a Tsunami, as some very weak and tinny sounds could be heard, all in time to the DCC controller. I tucked everything away, and was able to get the body shell to fit over it all.
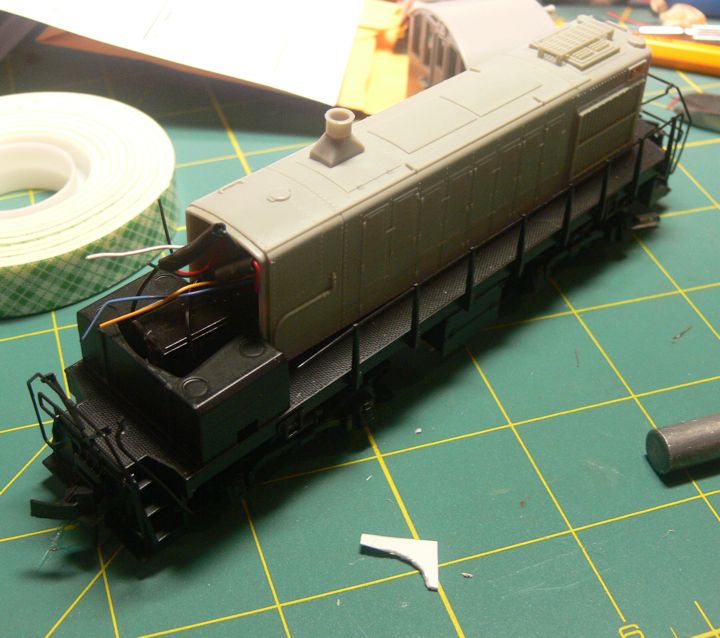
I assembled the entire model, and took it out. The sound is very weak, in part no doubt to that small speaker (which does, just, fit under the hood). I don't know how to change that other than to put the speaker in the cab, which is something I don't really want to do. Before I begin on lights, I do want to get the sound better, so we are not done yet!
here's a short you tube video of how it sounds at this stage.
Based on the results of this test and some great feedback, I ordered a speaker baffle.
Once the parts came in from Litchfield Station, I began by taking the entire thing apart, again, so I could rewire the truck leads.
the wire I got from Litchfield was nice and flexible, and went together easy. I now regret not having done the other truck while I had it apart!
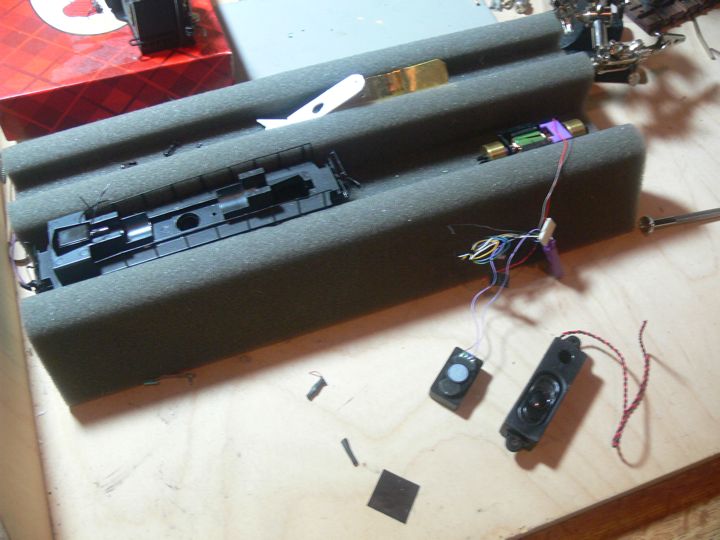
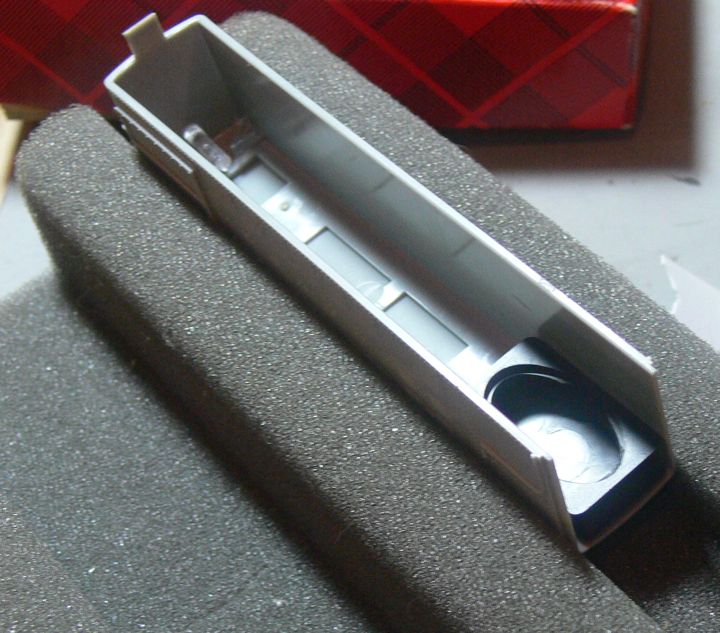
The speaker enclosure was next. Besides the big honkers (to the right) I got that won't fit, I also was half way smart enough to get the right enclosure for the small speaker I am using.
But now how to fit this thing in there? I started by putting things back together again (getting good at this, actually).
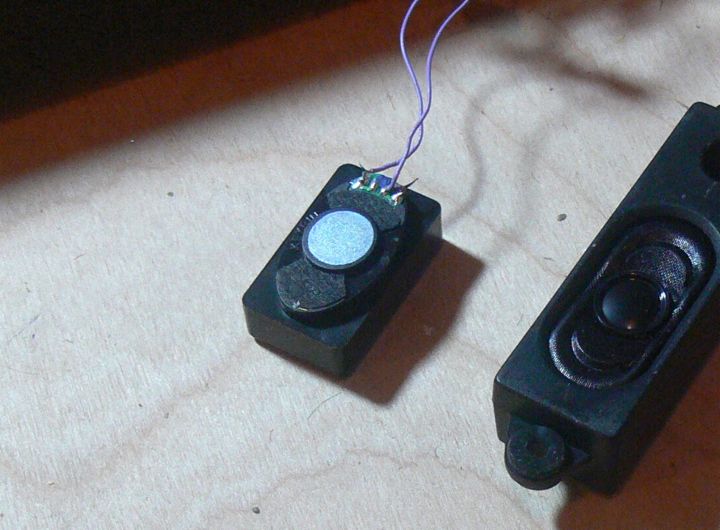
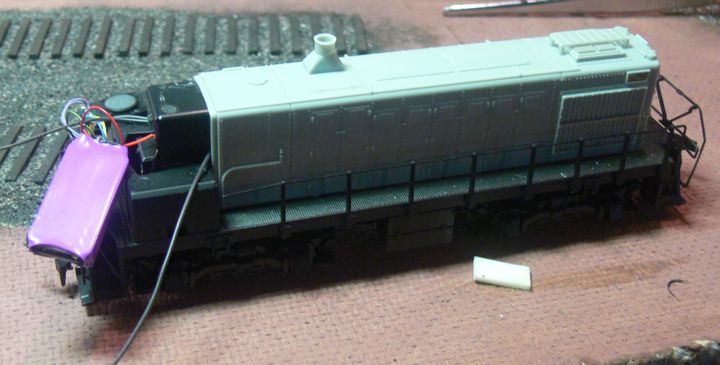
and quickly found out from testing that the speaker with enclosure is a lot bigger. I came around to the idea of having the speaker stuck on the top rear part of the hood
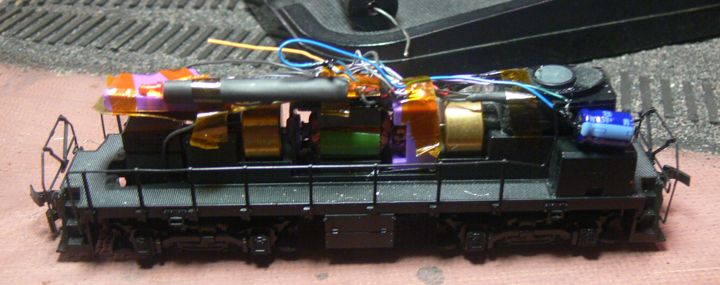
But that wouldn't close either. Finally I had to slide it back into the cab area in order to clear the rearmost flywheel. (the decoder is out here just for temporary fitting).
With that kinda figured out, I went ahead and installed the front LED, and tied up the wires.

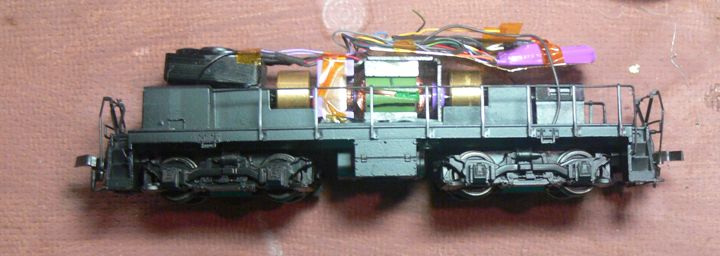
It road tested well - but was still running rough. Despite not having enough room, I went ahead and wired up the capacitor that came with the Tsunami
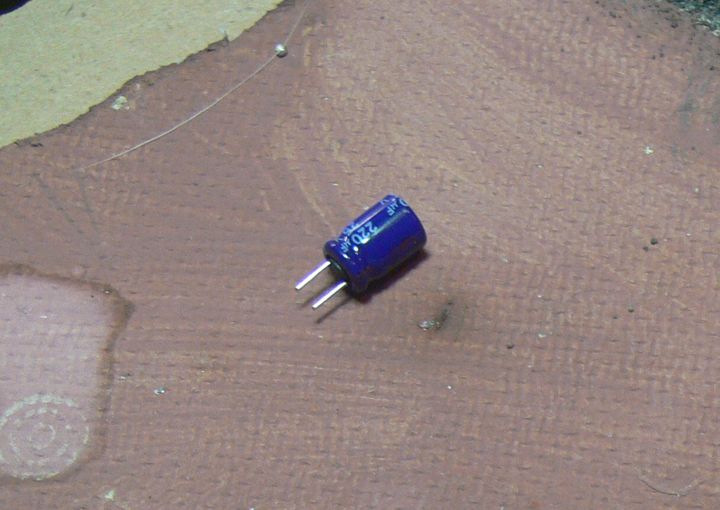
it's a large honker, and I found no place to put it but along the side of the speaker.
Does it show in the cab? Sadly yes. But a better running model is more important to me.
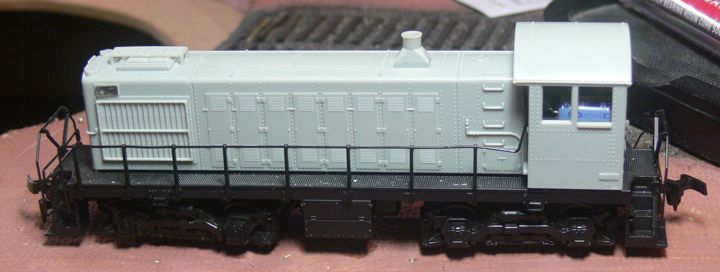
And the million dollar question - how does it run? Fantastic.
With it running smoothly, now it's time to decorate!