 Looted
Hellhound
Looted
Hellhound Looted
Hellhound
Looted
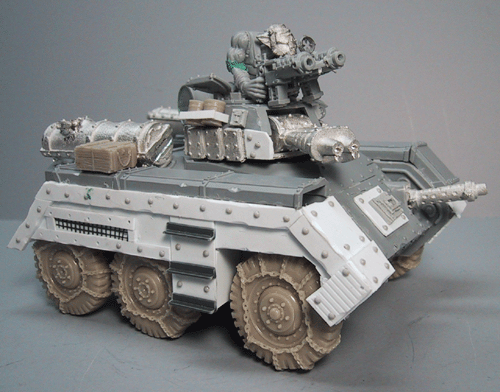
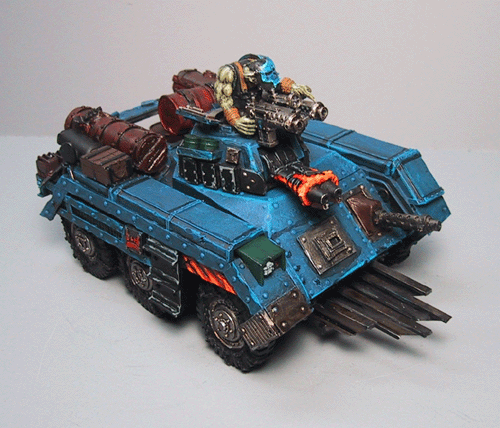
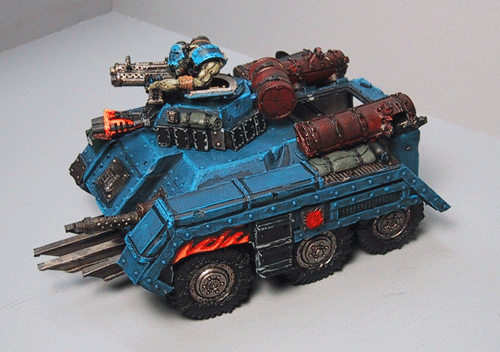
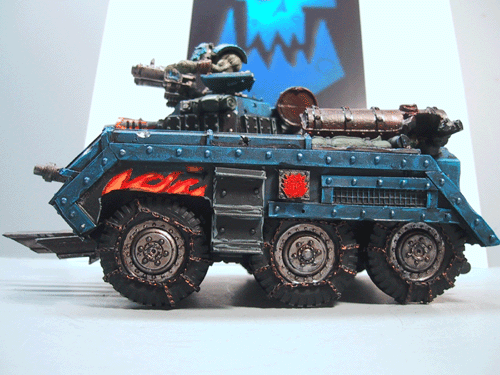
Hellhound- COMPLETED 15 May 2005- I'm working on three models at once - a basilisk, a chimera, and this looted hellhound! The lootas Tri-fecta!
If you have time, check out the rest of the site too - including the ork army list, and the other conversions.
so 'ere we go!
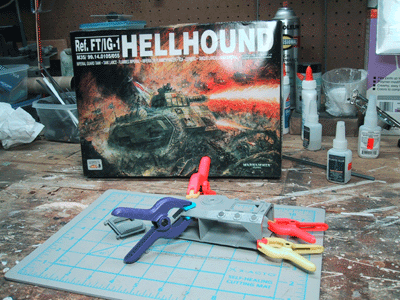 |
Fresh from the box, first step is getting the chassie assembled. |
 |
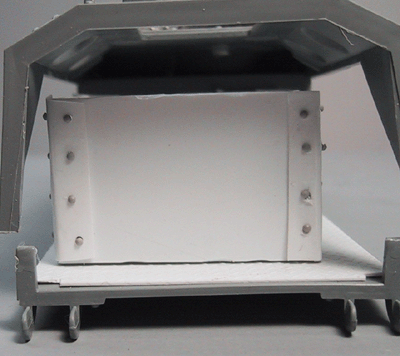
This seam is a weak point in the model, in order to strengthen it, and make the interior better, a single piece of plasticard (in this case diamond plate) goes down.. |
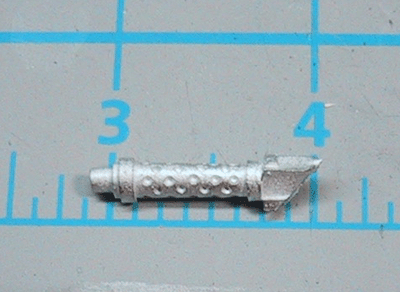 |
You have to have a front heavy bolter, and I would rather have a propa gun. So this dreadnought big shoota got cut down. |
 |
and I cut the plastic bolter off of the shroud. |
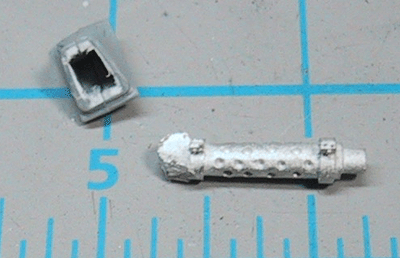 |
Some more cutting with the dremel, and the BS barrel was finally the right size. |
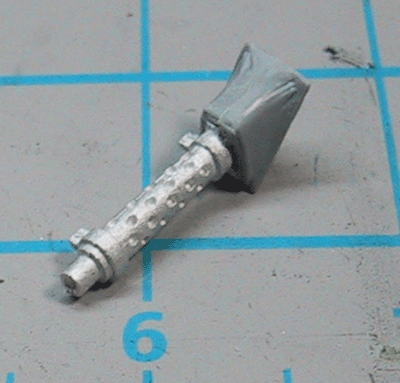 |
Voila! |
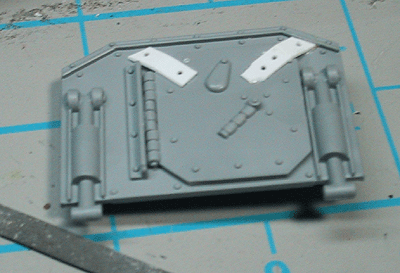 |
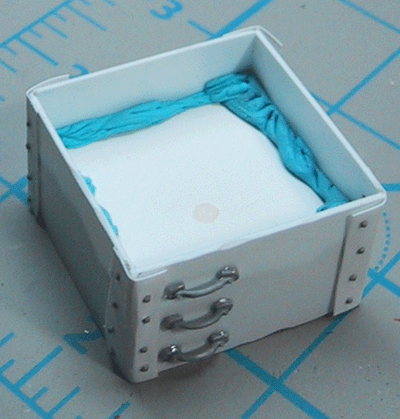
Gooba's bolting down the back door of the hellhound. |
 |
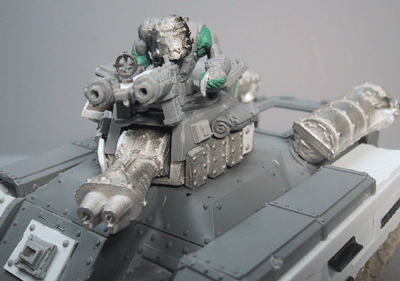
The turret is a bit plain, but I'm working on improving that. |
 |
The interior
bulkhead also got a door. |
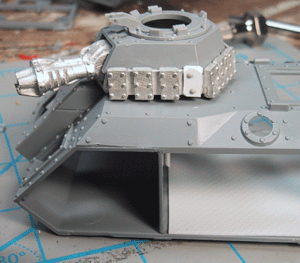 |
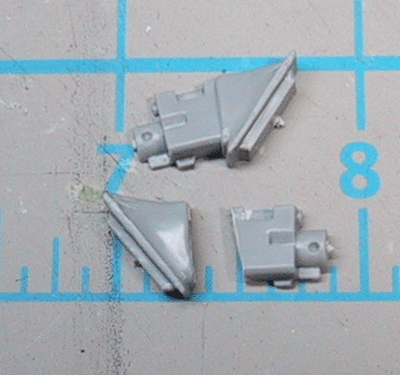
Back to the turret, I started replacing "missing" armor plates. |
 |
|
 |
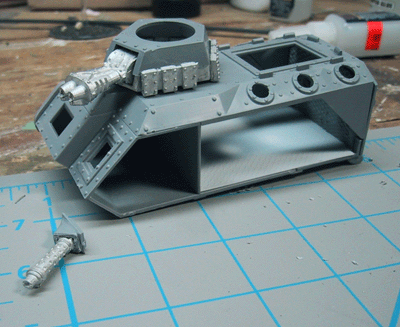
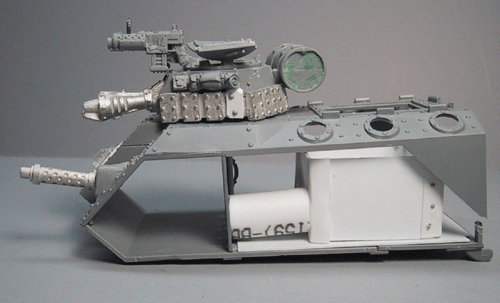
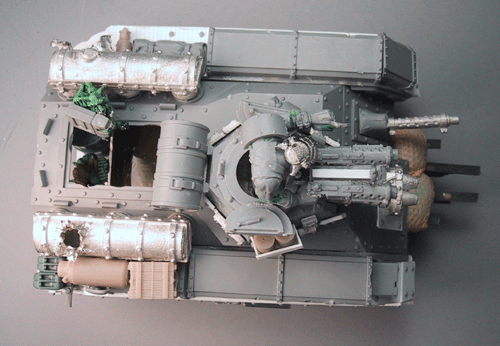
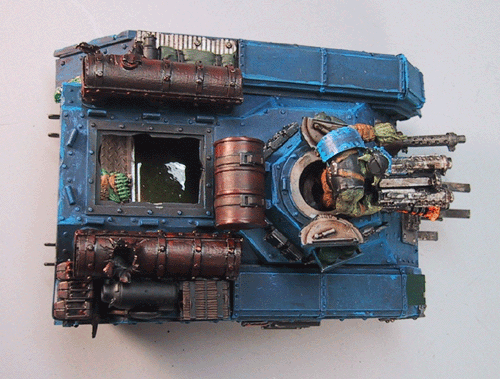
I'm still waiting for the wheels, but I got some work done on the turret and chassie. Note the glyph plates and stowage on the turret. I'm not too sure yet on the pintal mounted storm "shootaz". |
 |
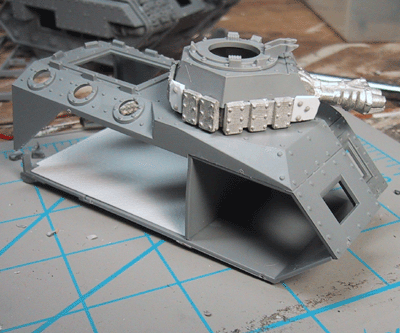
Note the glyph plate and turret stowage. The driver's hatch and glyph plate are Forgeworld. |
 |
A close up shot of the main inferno cannon reservoir. |
 |
Side shot. |
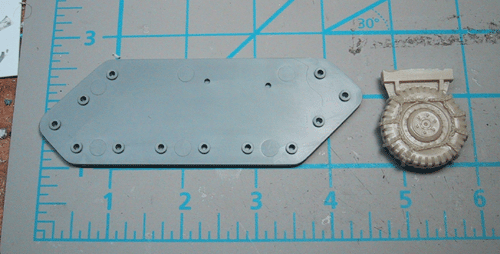 |
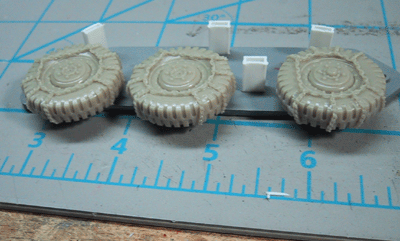
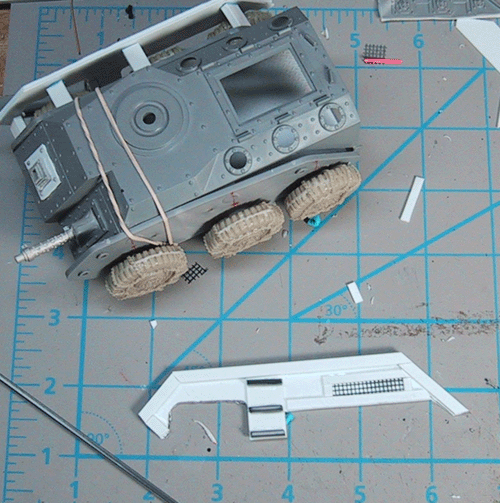
Well the wheels finally came. Here's one for scale. |
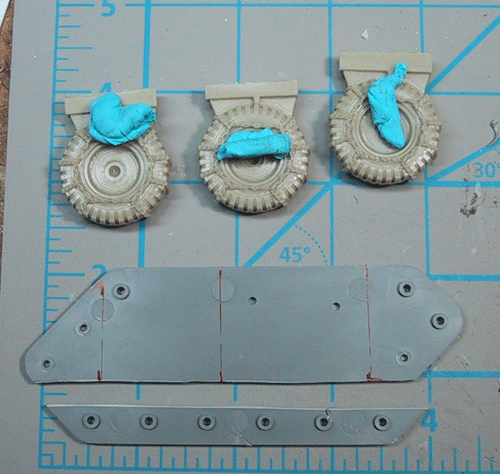 |
I used blue tac to stick them in rough locations, and than plotted it out with red pen. Note the bottom section that gets trimmed off of the interior wall. |
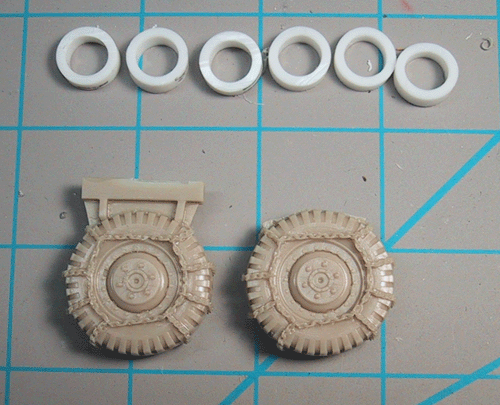 |
To mount the wheels I removed the flash, and cut 1/8 inch washers from the first failed basilisk barrel. |
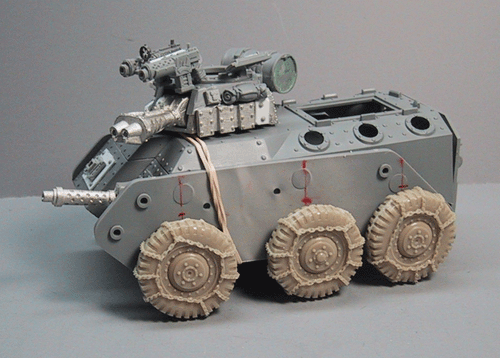 |
and here it is with the wheels on. Ignore the rubber band, please. |
 |
|
 |
I tried to keep the height the same, and I think I suceeded. |
 |
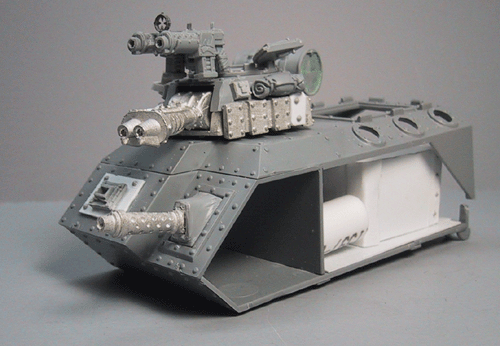
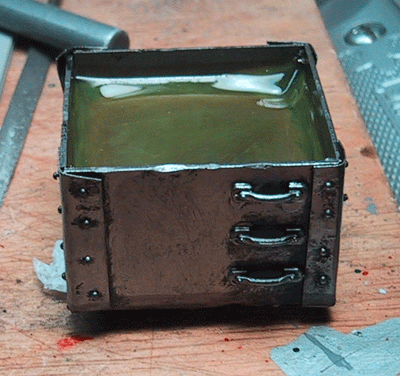
ah, the open fuel tank. Here it is completed. |
 |
I stuck blue tac on the inside before priming to damn up the resin. |
 |
Once primed, I hit it with a heavy coat of boltgun primer |
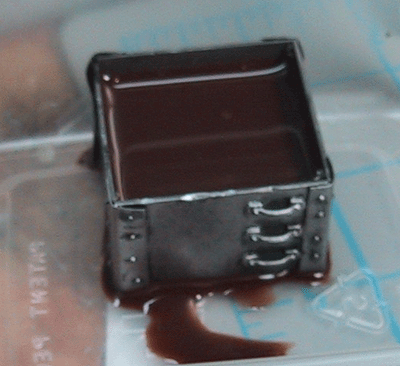 |
And the seal failed, and the minwax polyshades leaked right out. |
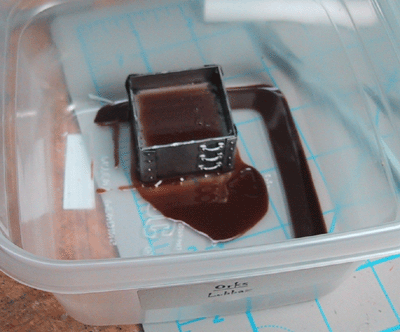 |
Here it is the next morning. The good part is it left an interesting residue in the bottom of the tank; I'll try "real" resin next. |
 |
I added some spacers |
 |
and blue tacked on a cut up side panel. |
 |
|
 |
Back to the
tank, I used Woodland Scenics Realistic Water with 4 drops of yellow ink
to represent the fuel. |
 |
And upon suggstion,
scrapped the original hellhound sides for some scratchbuilt ones. Here
the basic shape gets a road test. |
 |
|
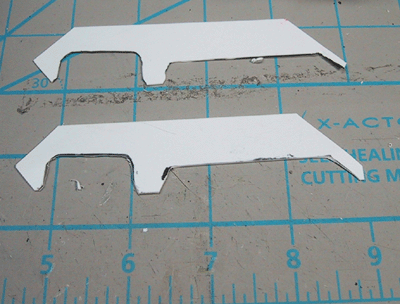 |
With that
working, I duplicated the form, using a magic marker and hobby knife. |
 |
And than added
some thick plastic bar around the eges, a grated exhaust port, and angle
iron steps |
 |
|
 |
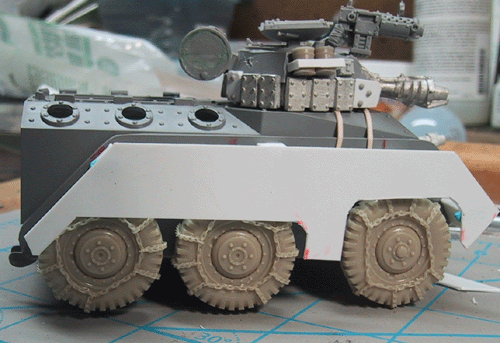
The sides
are basically assembled, and now some more surface work is required. |
 |
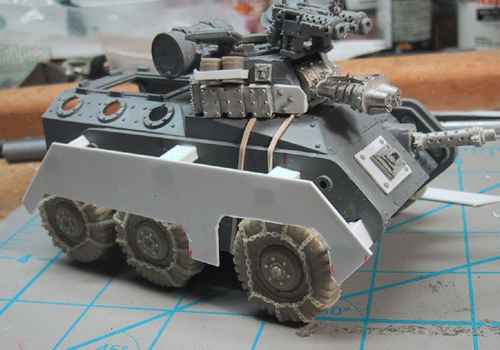
I wanted to
re-use the track guards. |
 |
I'm liking
the way this is looking..... |
 |
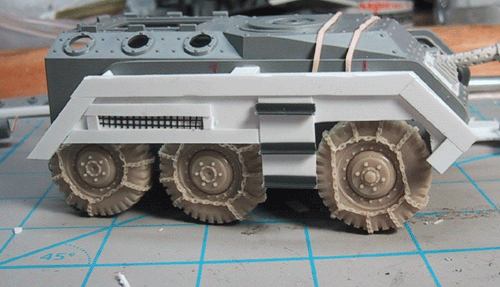
I got the
sides attached, and some rivits in place. I also plugged in the top original
fuel tanks, and started on the crew. |
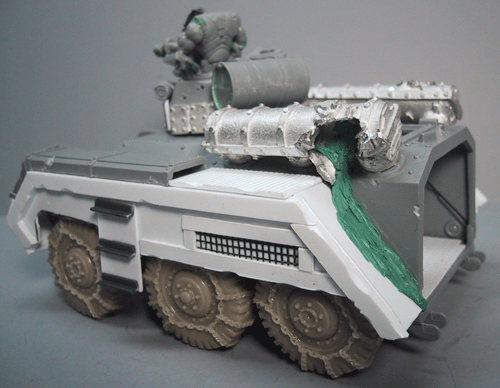 |
This tank
blew, and the chunks are running down the side... |
 |
He still needs
a bit of work, but I'm letting this first run of green stuff dry. |
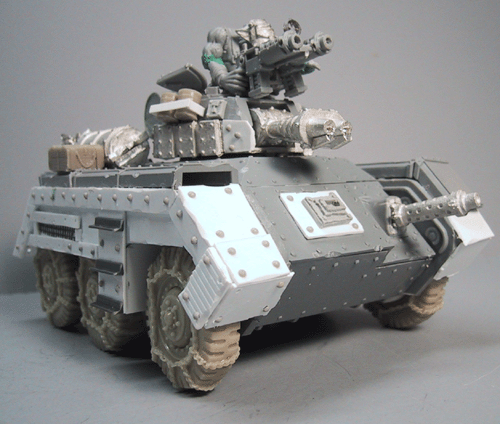 |
Looking good! |
 |
At this point,
she's ready for primer! |
 |
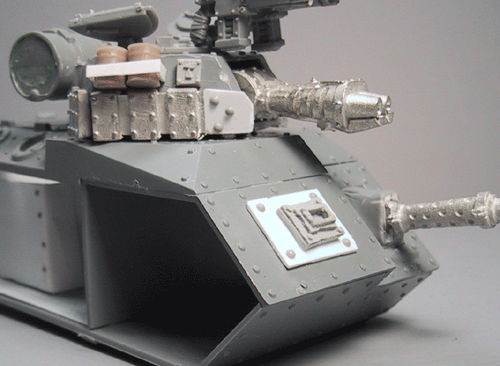
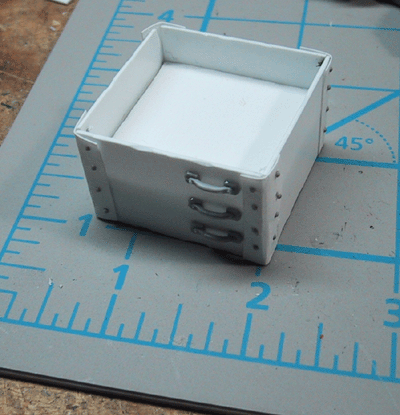
Close up of
the stowage. |
 |
And the other
side. |
 |
Hard to see,
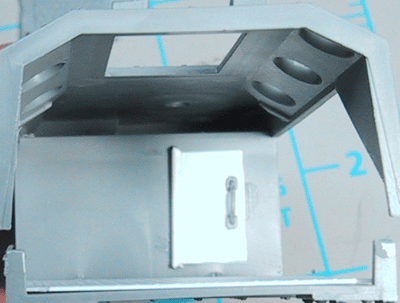
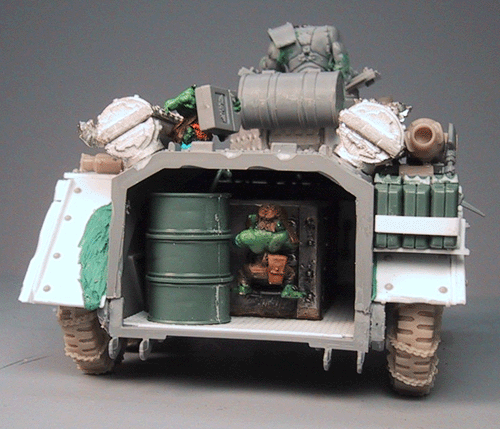
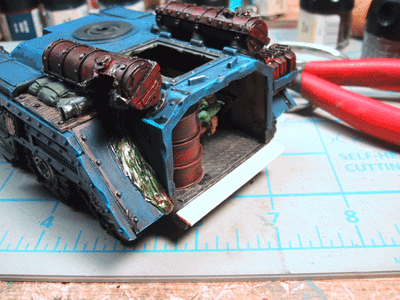
but this is my idea for the interior. The door will go on last. |
 |
This is good
sot of the grot pouring in more juice. |
 |
Ramshackle enough! |
 |
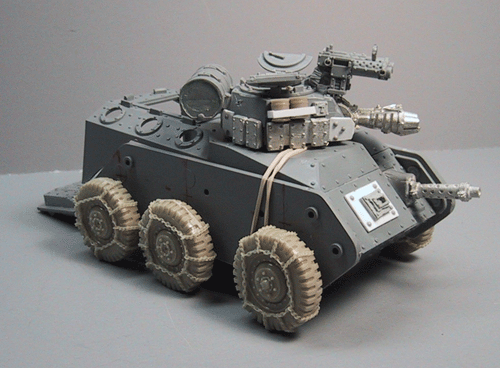
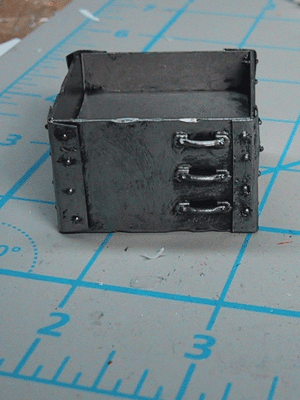
Primed and ready for paint! |
 |
|
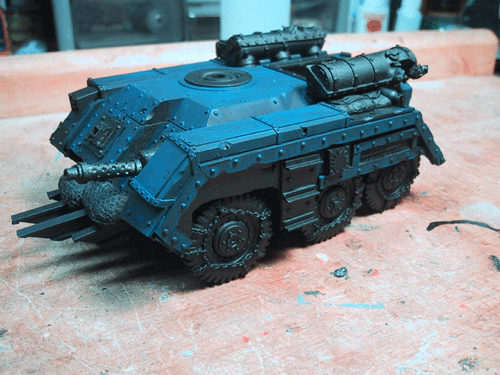
1 coat of regal blue |
1 coat of regal blue |
2nd coat of regal blue |
2nd coat of regal blue 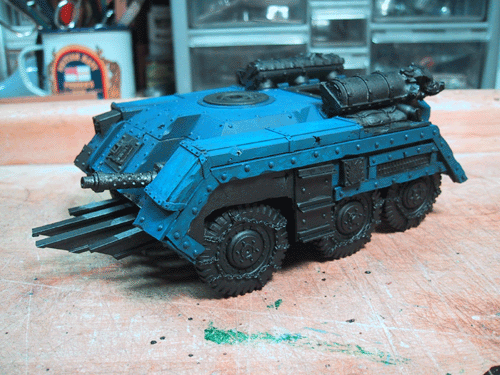 |
heavy enchanted drybrush 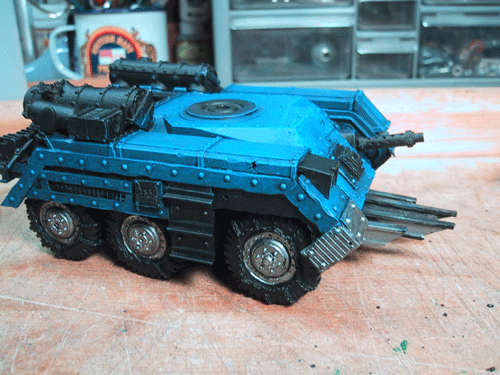 |
heavy enchanted drybrush  |
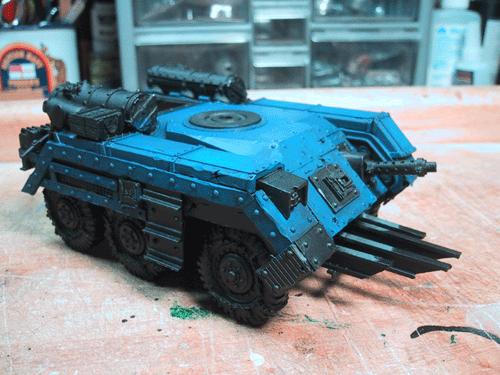
ice blue highlights on the edges 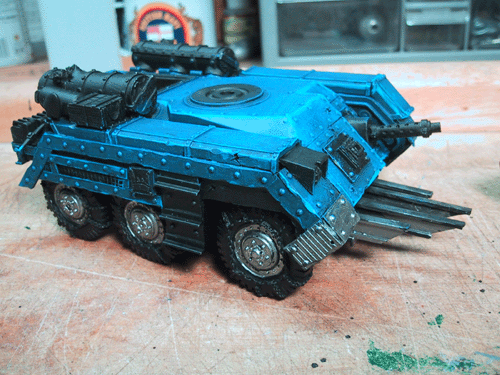 |
ice blue highlights on the edges 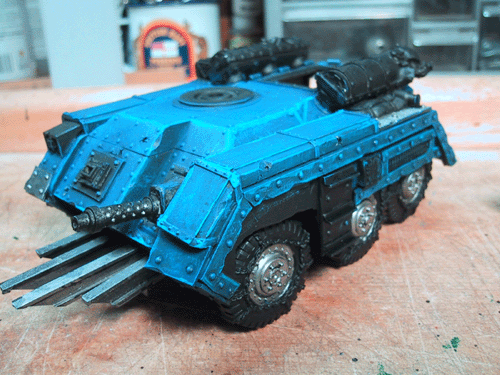 |
flames were based in fortress gray 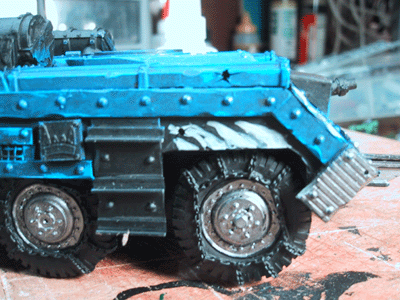 |
flames were based in fortress gray 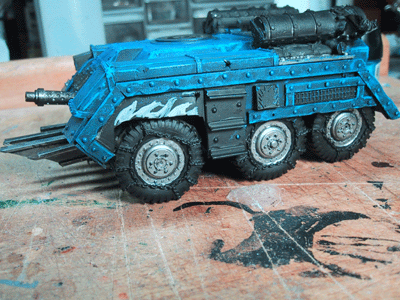 |
than blood red 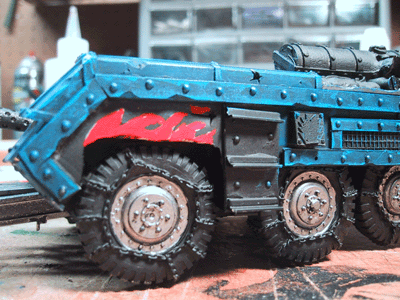 |
|
than red ink 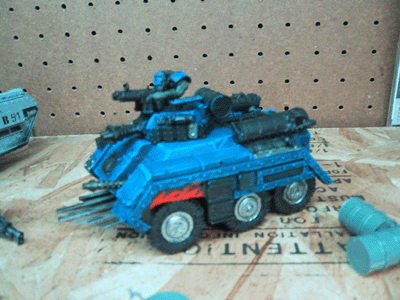 |
|
than fiery orange 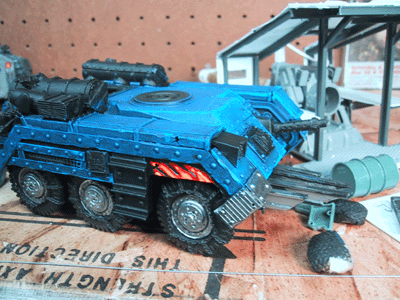 |
than fiery orange 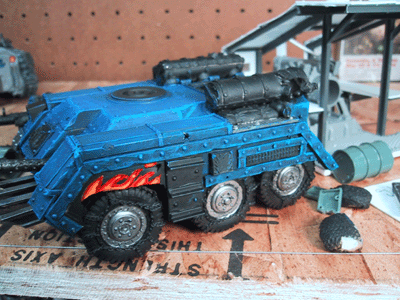 |
And finally bad moon yellow in the cener. Just to skip ahead a bit....
 |
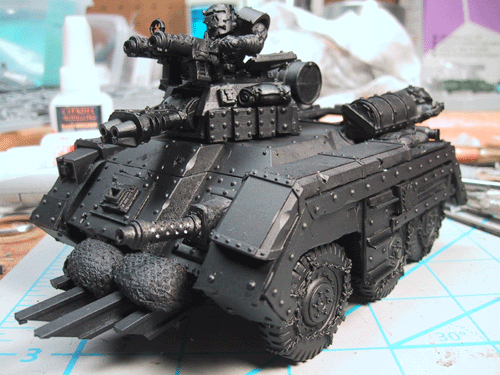
I went ahead and worked on the rest of the paint as well |
 |
There are some more detail work that needs to get done |
 |
plus weathering and wearing. |
 |
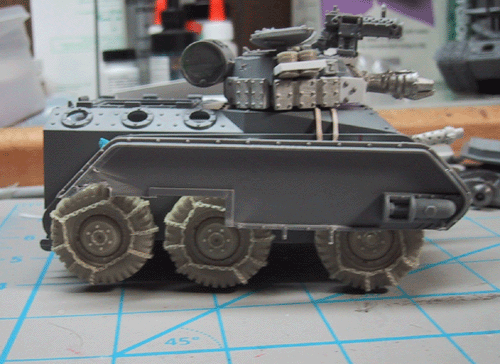
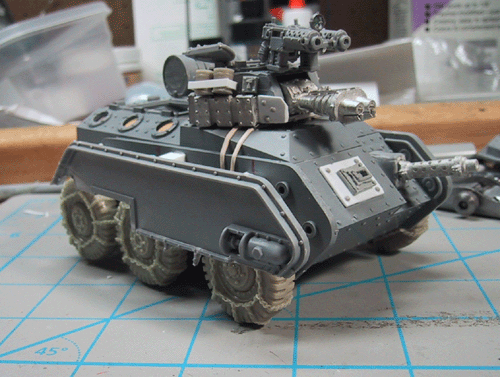
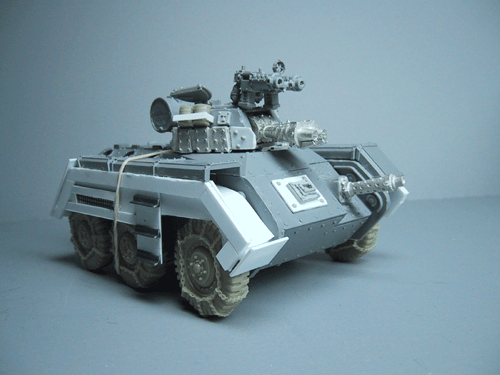
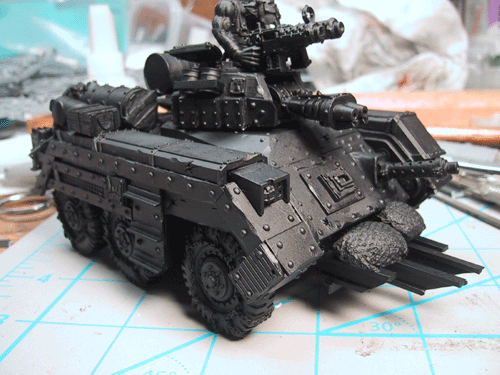
and I'm still working on the goop in the back - but the tank is now mounted |
 |
And the gubbinz need some attention |
 |
|
 |
I added a black/purple wash in the shadows. |
 |
|
 |
|
 |
A light, light, drybrush of boltgun was run over the surface, and a few major dings picked out. |
 |
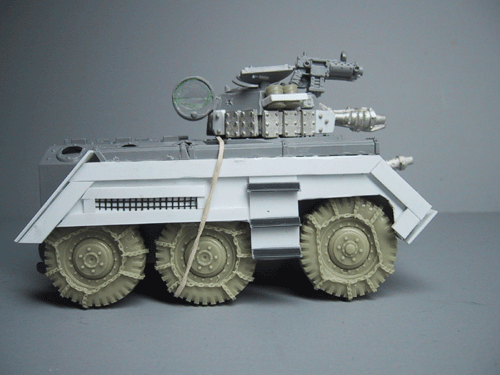
I also started on the wheels, in this case a tin bitz basecoat over the chains. |
 |
Now it was time to work on the back. First up was to add a board across the hinges. I decided to cancel the idea of having the rear door draggin; no matter how it worked out too much of the inside was blocked. |
 |
Once in place, it was painted up and ready to roll. |
 |
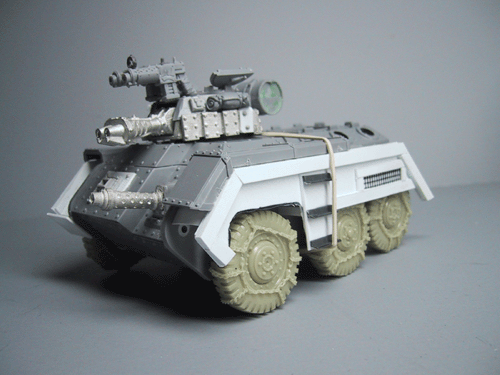
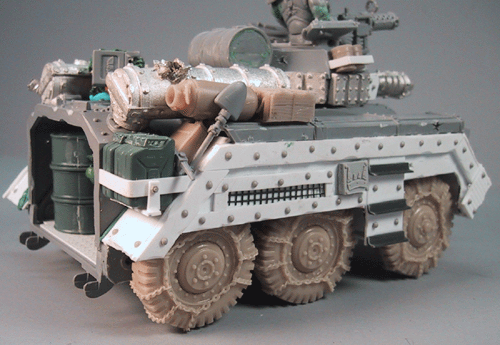
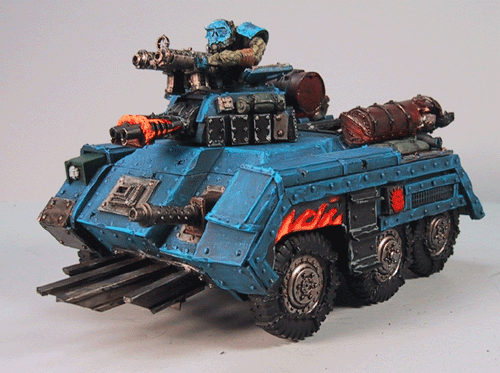
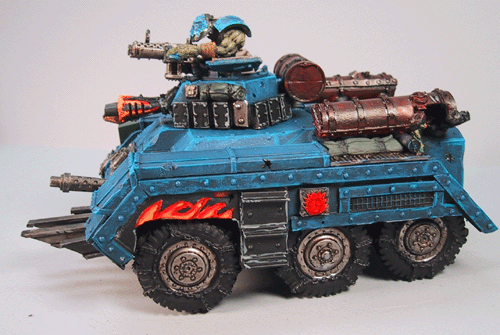
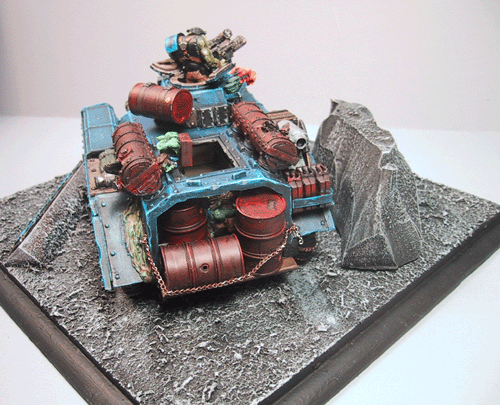
My idea is to add some barrells on the back, and chain them in. Here is a look of the two of them in place. |
 |
Here's a rear shot - It still blocks up things bit too much. |
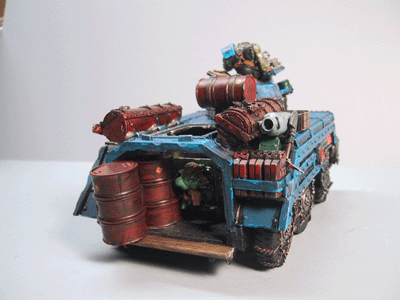 |
And here it is with just one barrel on the back. Maybe this is the way to go? |
 |
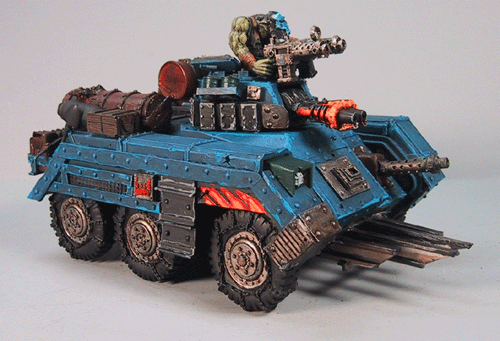
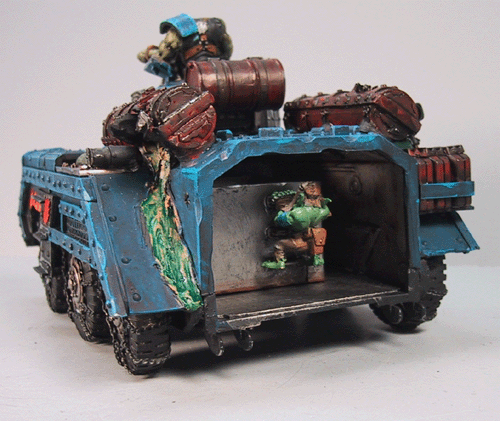
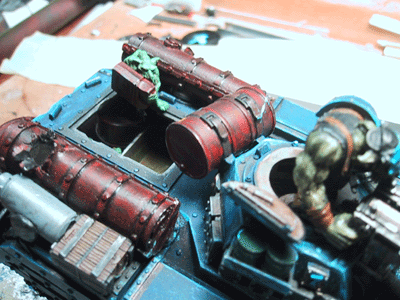
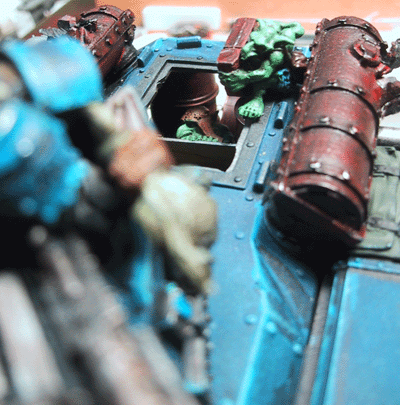
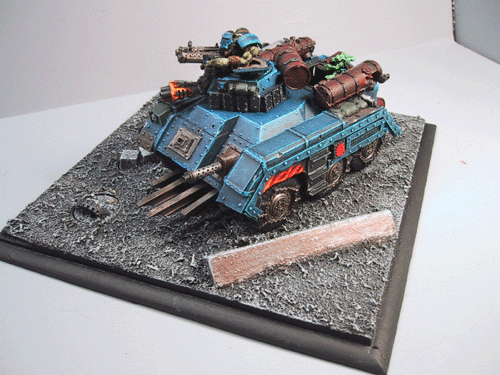
The barrels are now in place and chained up. I think this configuration works, as you can still see the grot. |
 |
WAAAAAGH! |
 |
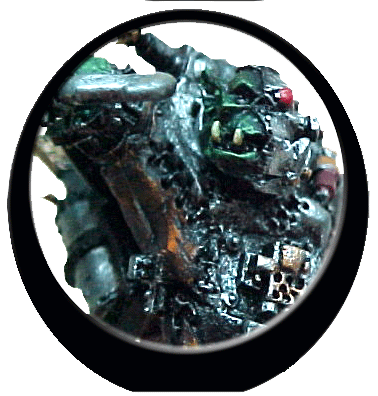
At long last I got the final grot added. |
 |
|
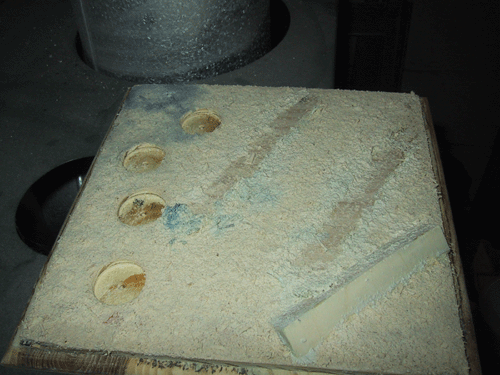 |
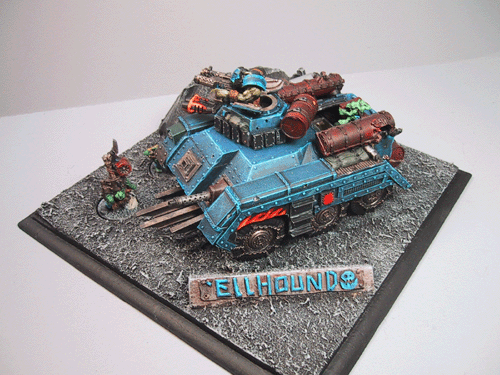
I deceided at the last moment to bring it to GamesDay 2005, and whipped up a base real fast. I made an oopsies though, and meant to include four looters, and cut these perfect holes for them. It was recommended not to bring the lootaz, so now I had some fancy footwork to do. |
 |
Here it is, drybrushing done, with some filler plugs in the holes. |
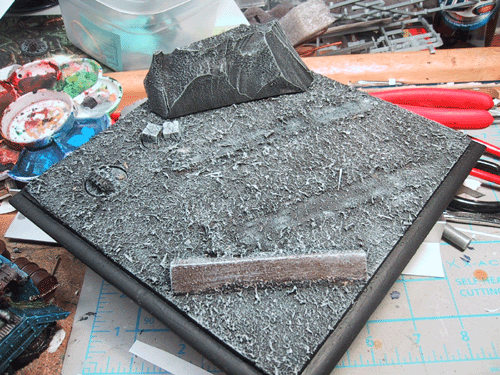 |
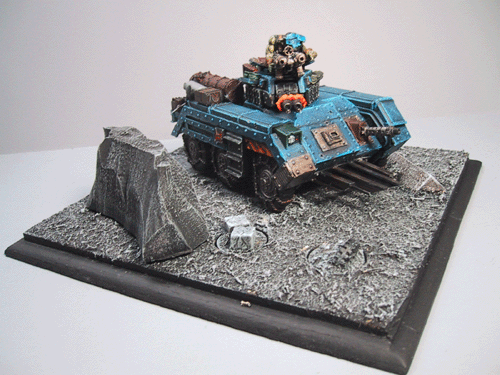
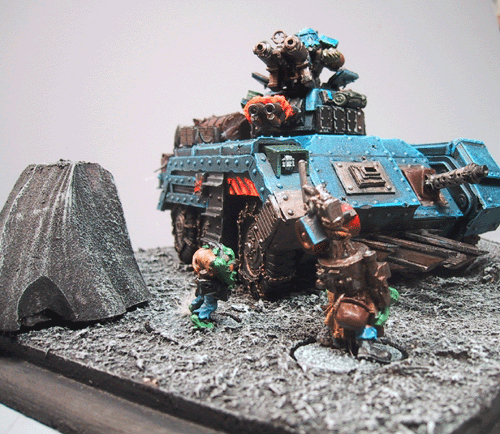
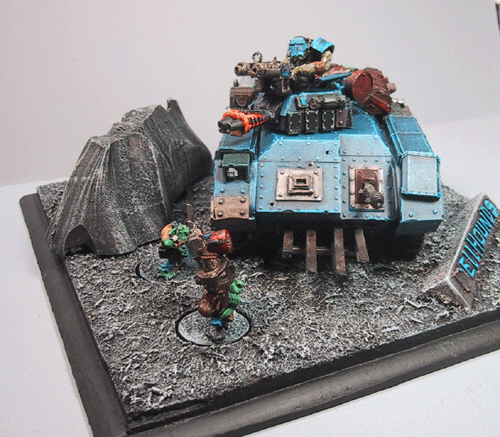
And another configuration with a rock. |
 |
Road test with the rock. |
 |
|
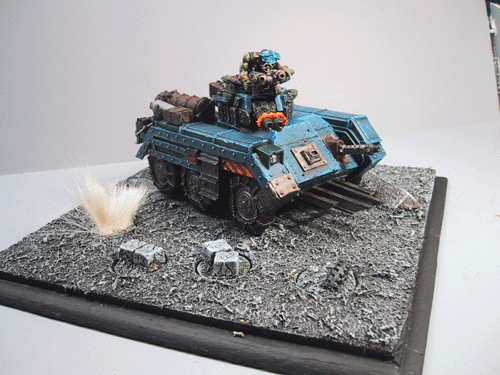 |
Road test with other terrain (like the bush) |
 |
|
|
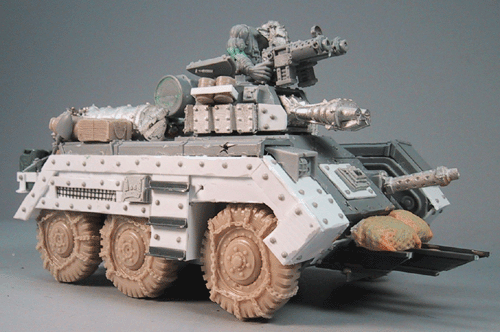
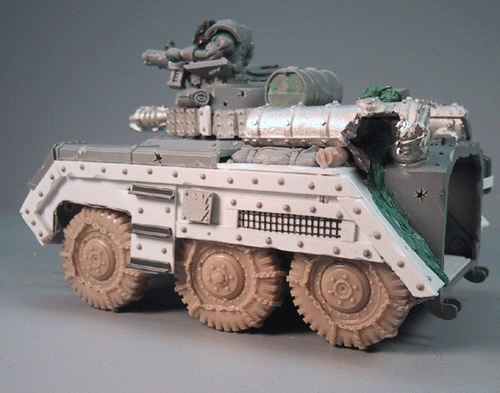
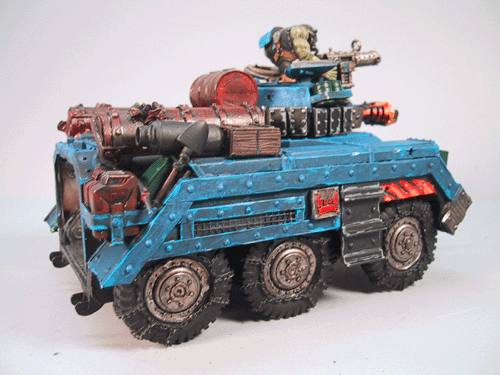
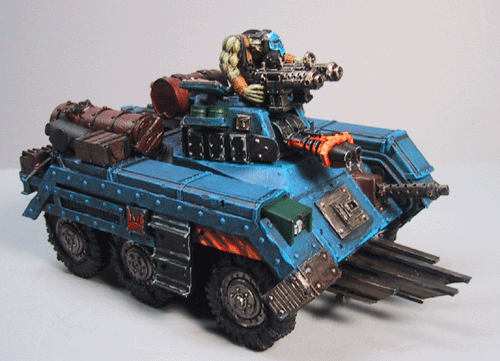
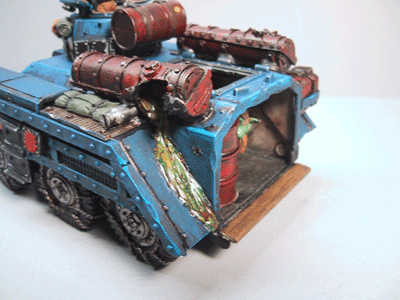
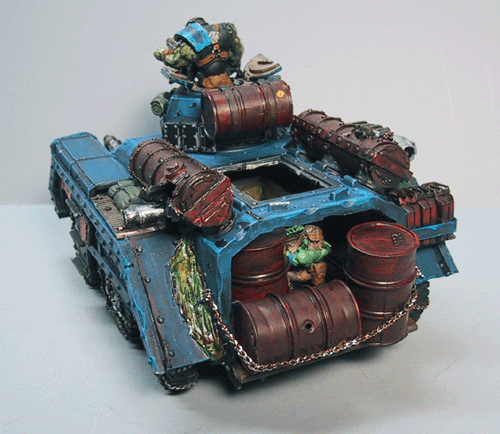
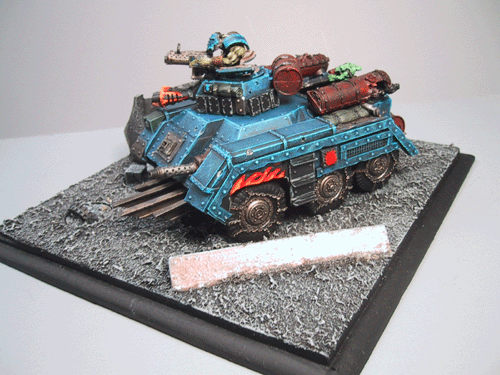
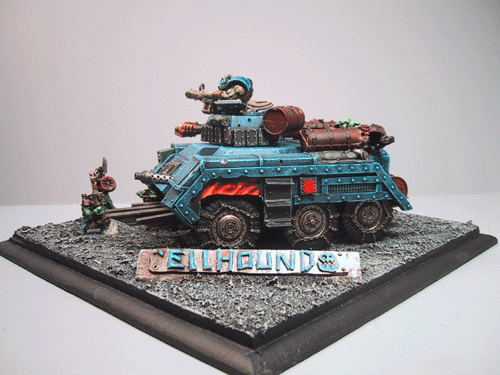
The final product. The rock stayed, and I added in two oilers. The word was made from plasticard strips. |
 |
|
 |
|
 |
|
 |
Sadly for me the model didn't even make first cut - I actually got beat out by a really poor looking FW tank destroyer model. The judge commented that my highlights were uneven, in that some parts were highlighted, and others (like the fuel tanks) were not. That and highlights on the ork gunner needed to be crisper. At least with that feedback, I'll have something to work on for next year!
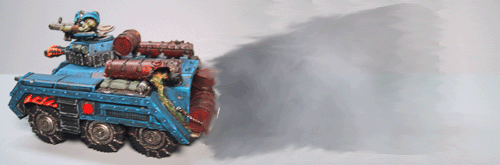
Thanks for reading ths post. With this, the 'ellhound is finished!