 Looted
Chimera
Looted
Chimera Looted
Chimera
Looted
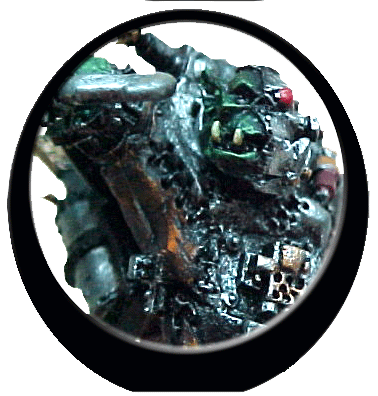
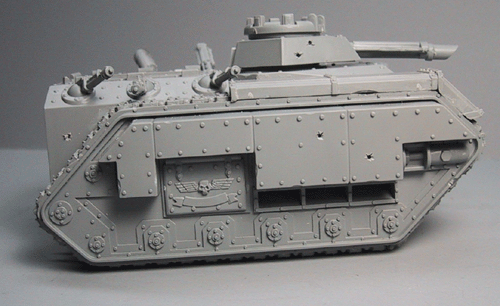
Chimera- UPDATED 9 MARCH 2005 - I'm working on three models at once - a basilisk, a hellhound, and this looted chimera! The lootas Tri-fecta!
If you have time, check out the rest of the site too - including the ork army list, and the other conversions.
so 'ere we go!
 |
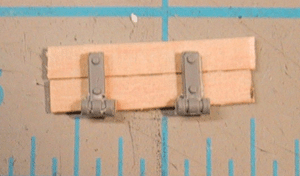
This seam is a weak point in the model, in order to strengthen it, and make the interior better, a single piece of plasticard (in this case diamond plate) goes down.. |
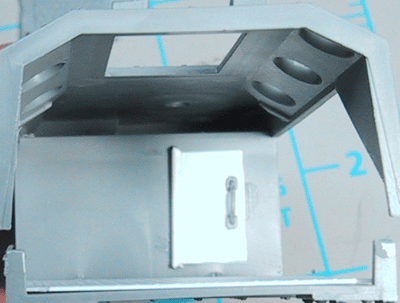 |
.The interior bulkhead also got a door. |
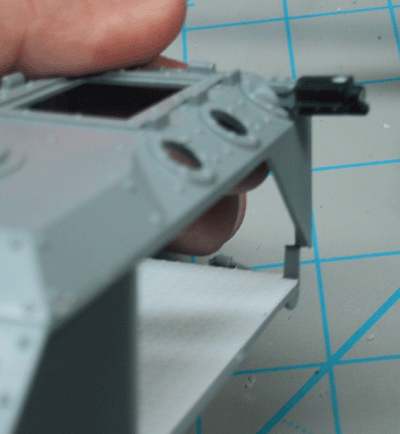 |
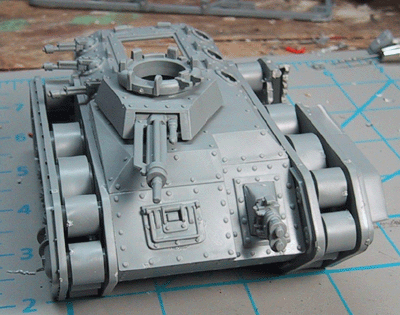
I've never
liked the las guns, so I was toying with the idea of replacing them with
shootaz. |
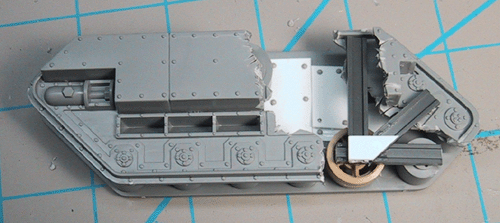 |
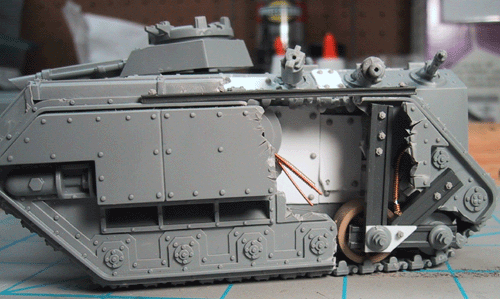
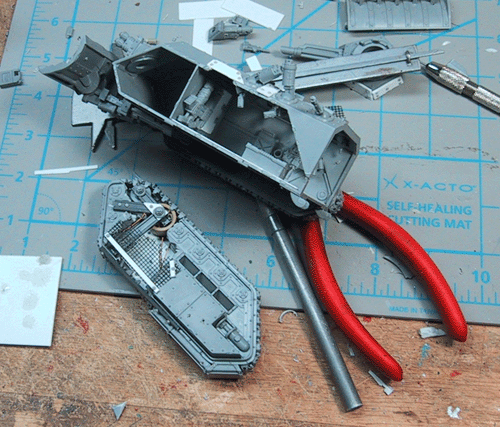
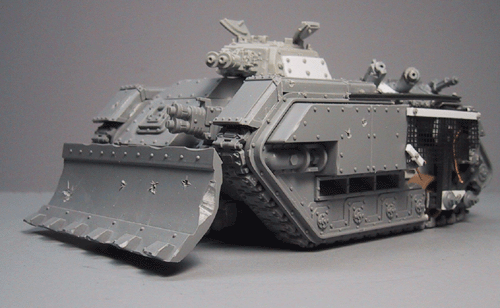
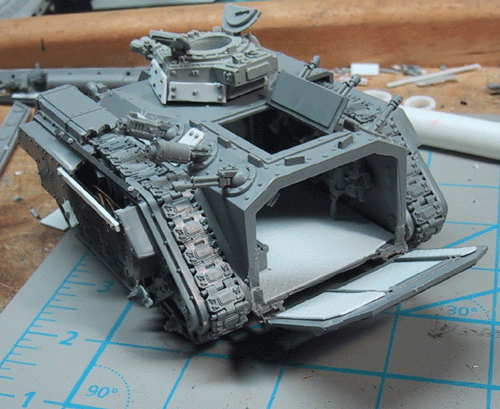
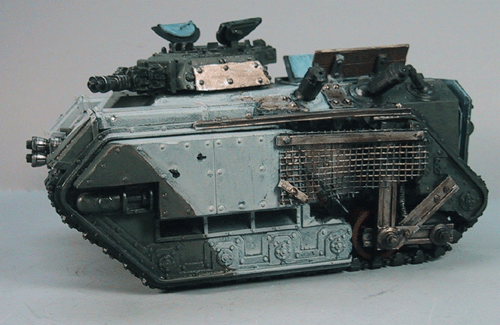
I deceided to make one of the track sides "destroyed". The idea is the shell came in, and ripped apart the side of the chimera. |
 |
And Gooba repaired the damage to get the rig operational. |
 |
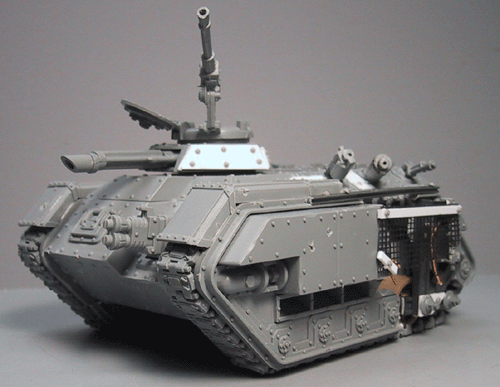
The heavy flamer is actually magnet mounted using a 1/8 inch rare earth magnet. |
 |
The lasguns were only replaced by two shootaz (from the damage). The rest are original. |
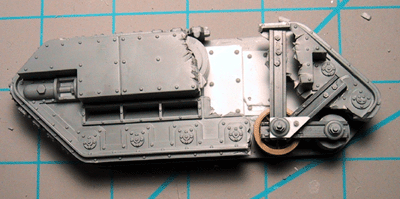 |
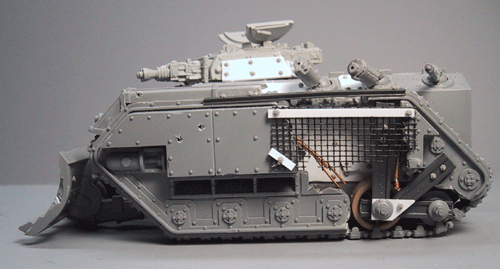
It was important to me that the track over head have some slack, with the missing roller being, well, missing (actually, its not missing, but it looks that way) |
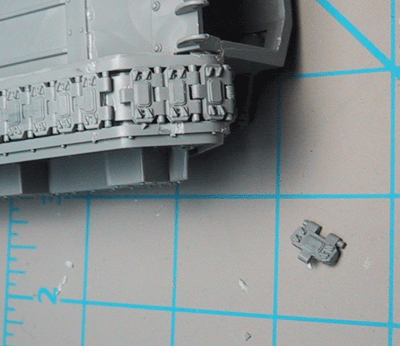 |
As the crappy GW track sets never match up right, I needed to make sure it wouldn't happen on the other (exposed) side. |
 |
So I cut back the tip of the longest piece just about that much |
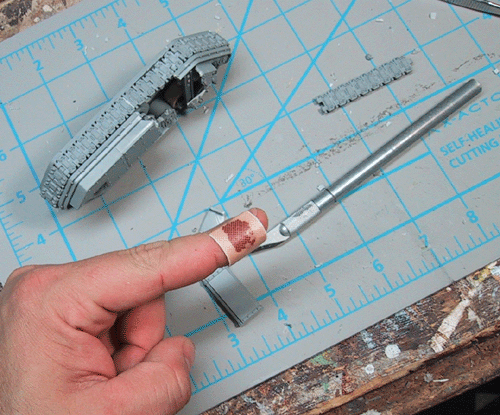 |
And, managed to cut myself as well. Ouch! |
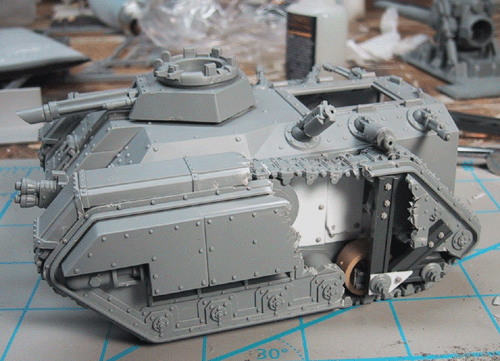 |
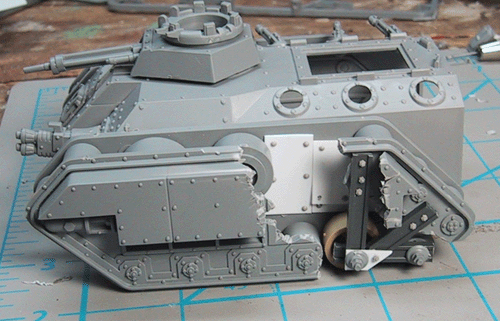
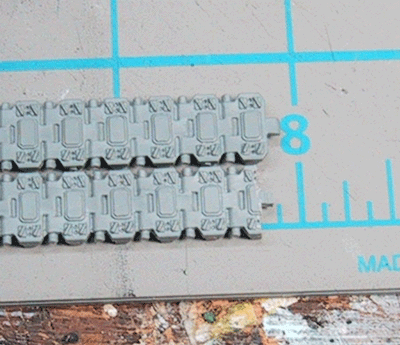
So here's where it stands now. The sag in the track helps show off the dings. |
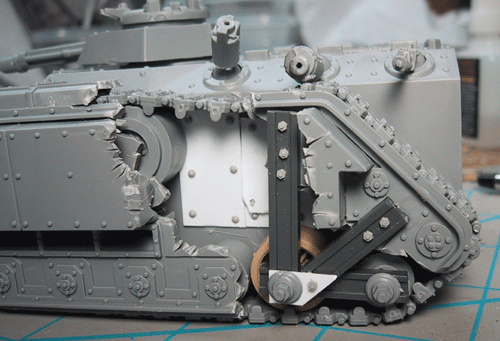 |
The saggy track section is made of up singles, I had to glue one piece, let it dry, and glue another, etc. |
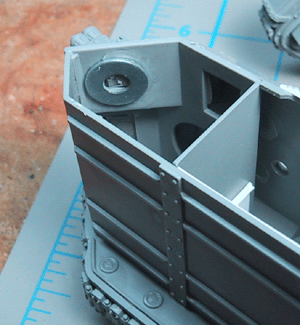 |
On the inside of the chassie, I mounted a washer for the magnetic weapon mount. I wanted a washer as the magnet sits inside the hole, reducing pull, so that we don't pull the magnet out of the plastic (its more than enough to hold the weapon. |
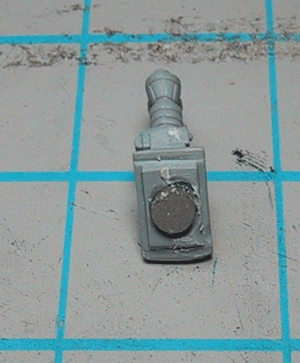 |
Here's the magnet mounted to the bottom of the flamer. |
 |
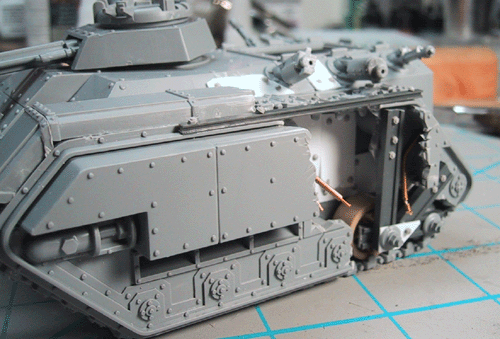
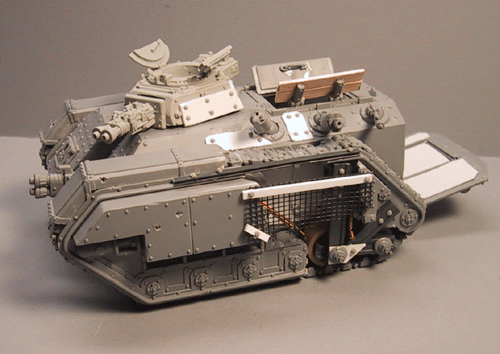
More battle damage, cables and a new I-beam added. |
 |
|
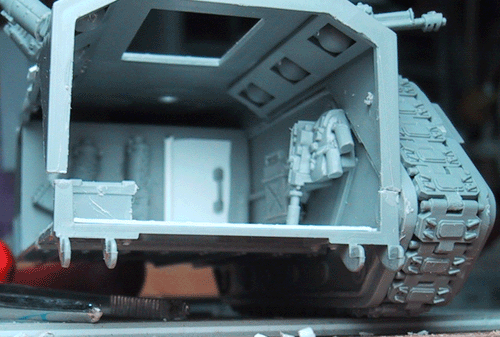 |
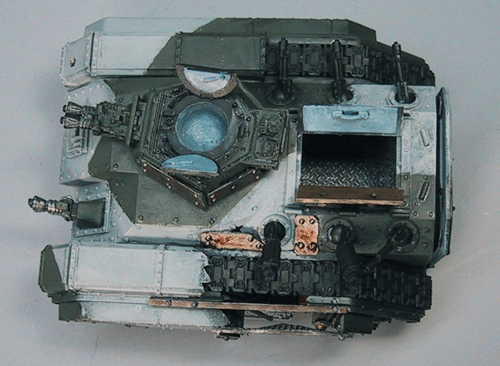
Interior Shot |
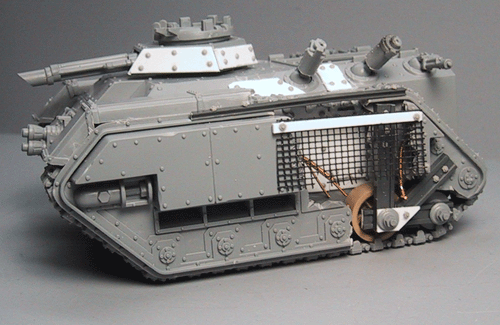 |
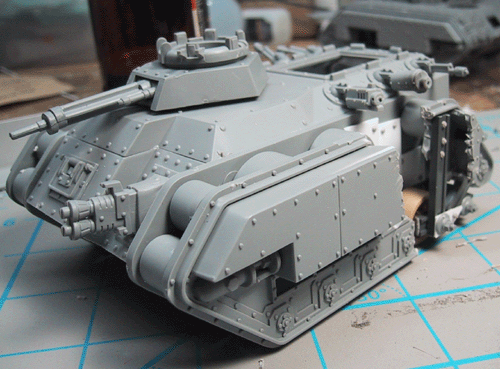
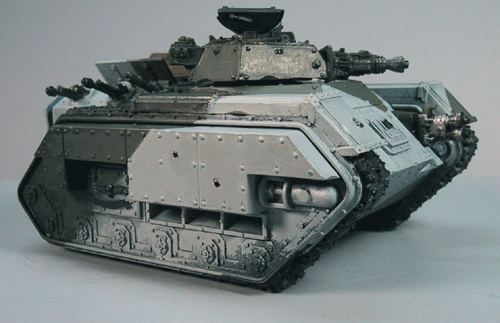
And some screen was added to the side, and some new metal to the turret. |
 |
And some limited battle damage to the other. |
 |
It makes it much easier if you are planning on detailing the inside, to leave one side off until you're almost done. |
 |
Here's a close up of the side work. |
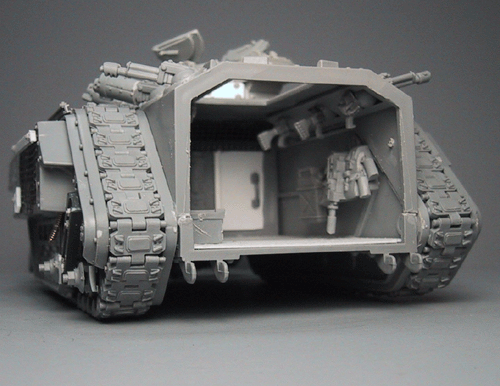 |
And an inside shot. Note the handles on the guns. |
 |
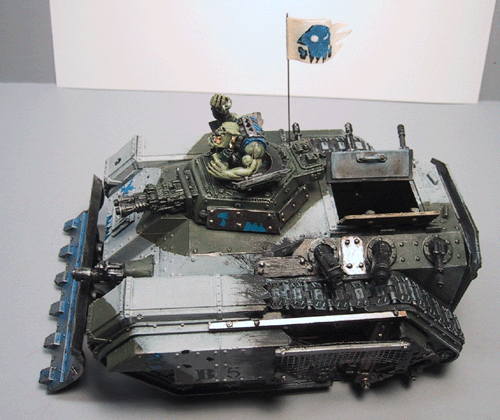
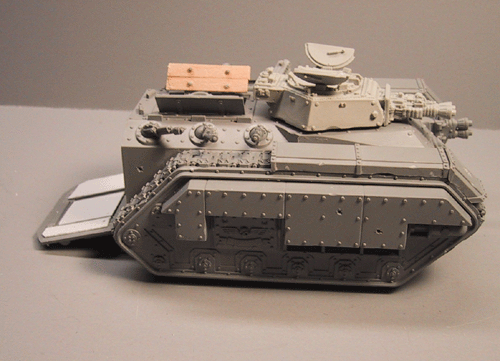
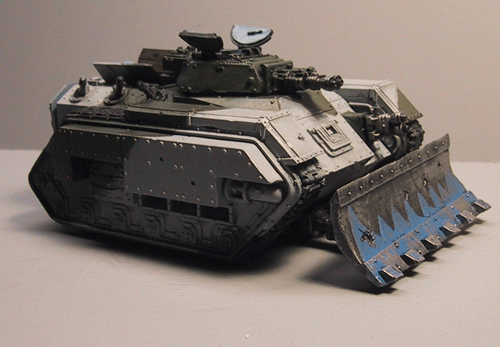
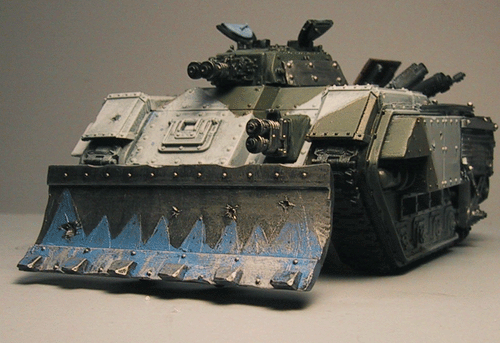
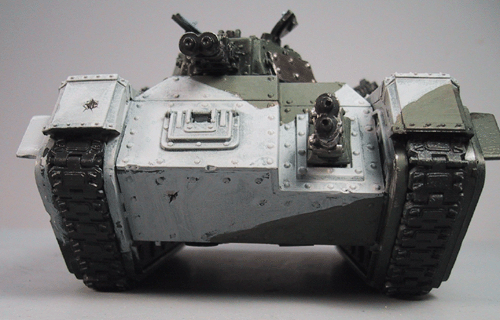
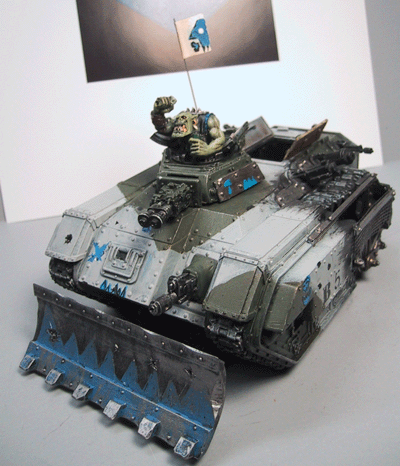
As I can only field one chimera at a time, this one has some flexiblity. Here it is with a heavy flamer turret, and hull mounted flamer with plow. |
 |
And the same tank with multilaser turret, pintal mounted heavy stubber, and hull flamer. The hull flamer is also swapable. |
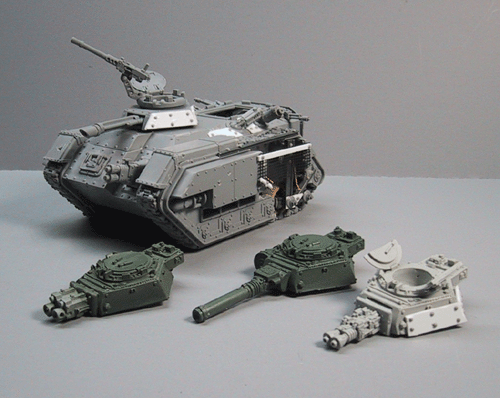 |
I managed a good score off of a departing 40k player, and managed to pick up the heavy bolter turret, and autocannon turret from him. These are forgeworld pieces, and now allow me to field every weapon config possible! |
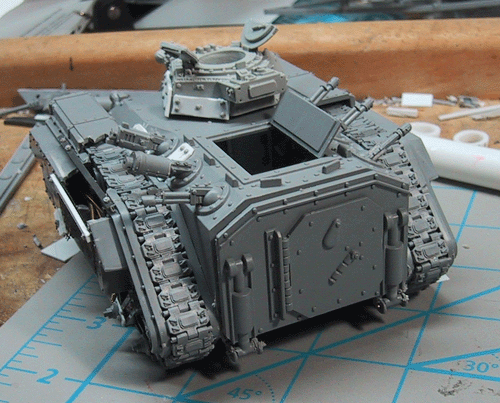 |
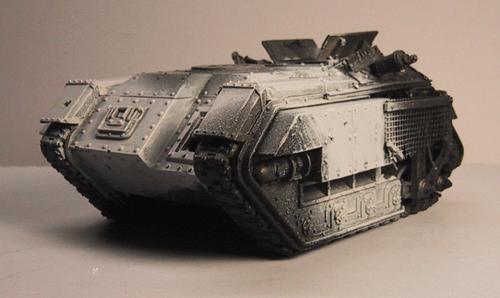
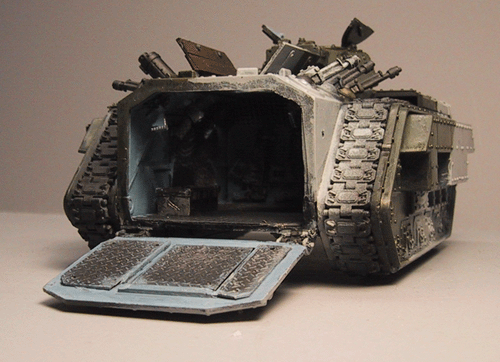
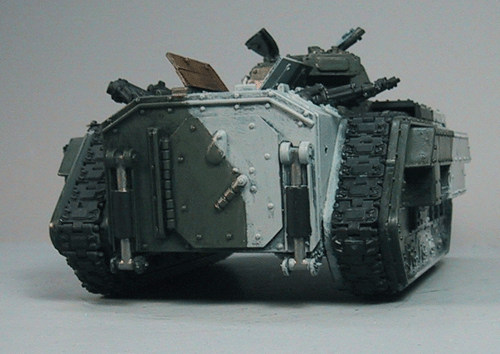
The chimera got its rear door attached |
 |
and it works! |
 |
I deceided to replace one of the top doors. |
 |
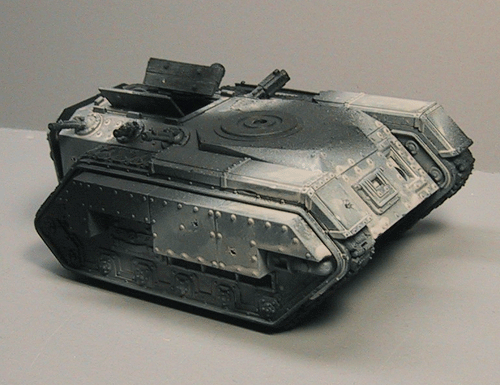
And here it is, ready for primer. |
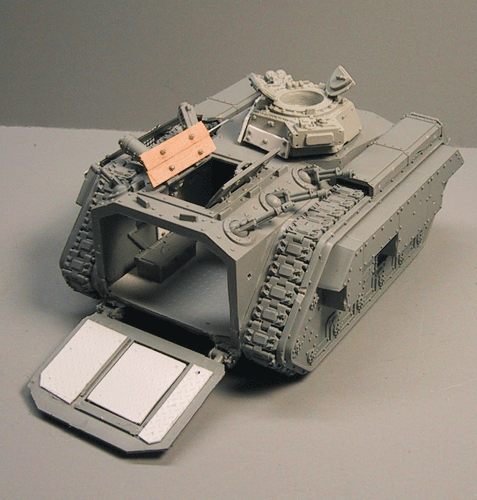 |
note the bolt heads on the inside of the upper doors. |
 |
|
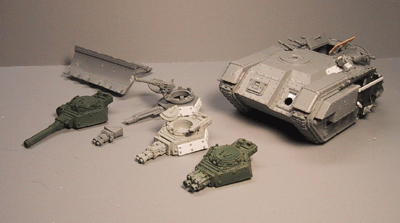 |
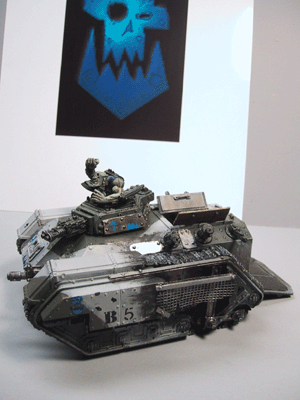
The chimera with all potential load outs. |
 |
I used my airbrush for the very first time, and wasn't too happy |
 |
so a quick heavy drybrush of fortress gray helped. |
 |
|
 |
Next I started on the catachan green, and interior color. |
 |
A first "rough" draft. |
 |
|
 |
|
 |
I went back over the model and cleaned up a few spots, and slightly rusted the added ork bitz |
 |
|
 |
|
 |
|
 |
Next up is adding the IG water transfers, and than crossing them out with orky graffiti! |
 |
Next on the list was getting some basic water transfers in place. These are the ones from the set, and while I wish the letters and numbers matched better, it will have to do. |
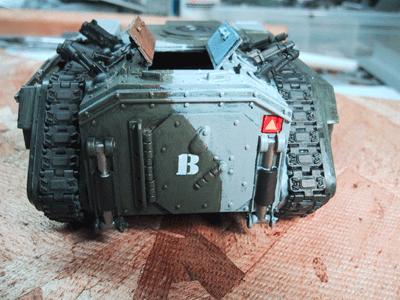 |
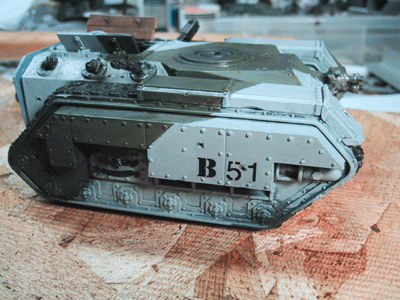
Platoon B! |
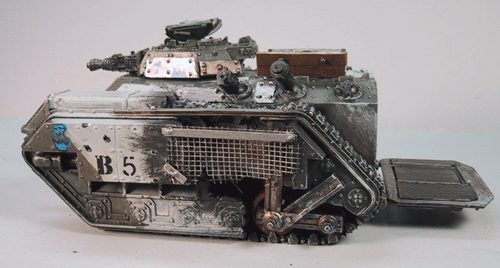 |
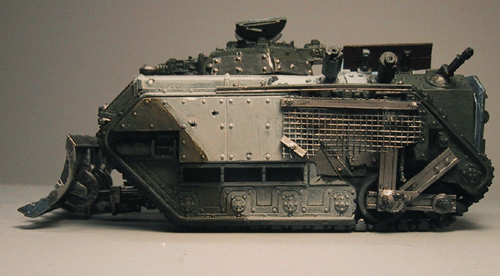
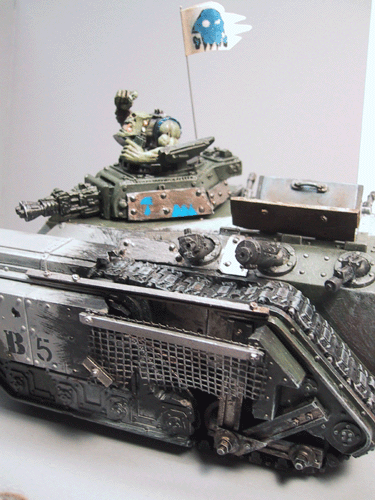
Almost finished, here's the battle damaged side. |
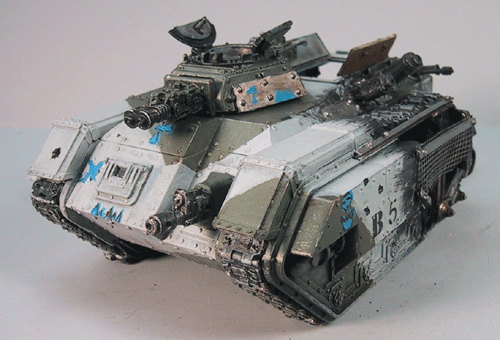 |
front |
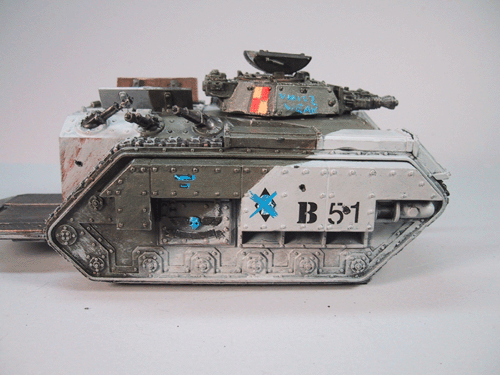 |
the "gud" side |
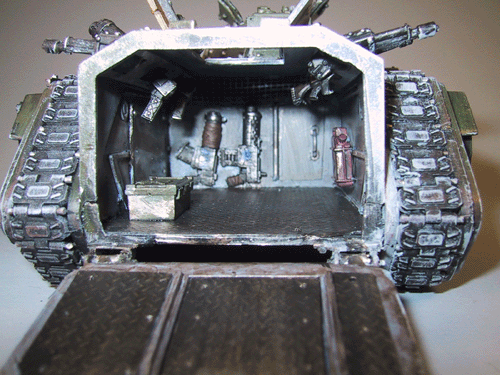 |
interior shot |
 |
Started on the crew members for the Chimera. |
 |
He's just got some base colors on for now, but it's a start. Following our theory of flexibility, he's also pin mounted, so he can be moved to othe vehicles if needed. |
 |
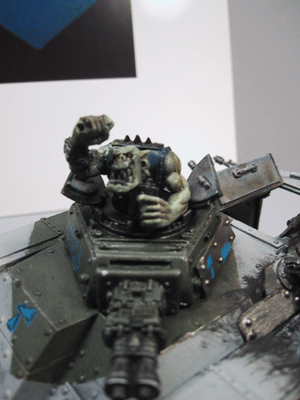
And here he is finished. |
|
Its kind of hard to see, but he's holding 'oomie binoculars. I decided the flag was needed to add that extra bit o' lootiness. |
 |
|
 |
up yours, oomies! |