 Battle
Wagon Conversion 2.0
 Battle
Wagon Conversion 2.0
After GamesDay 2003 Baltimore, I had the Warhammer bug again, despite the numerous other things that I need to do. I had fun playing Speed Freaks in my last tournament, and I have decided that I need another battlewagon if I am going to play that codex on occasion. I know there is a lot of complaints that the Speed Freaks are cheesy, but some players seem to believe that if any orky unit is halfway effective, it's cheesy. If you have time, check out the rest of the site too - including our new campaign, Pearl Haven.
You might also want to see some shots of my ork army list, and the other battle wagon, da battle barge.
What would be the Adeptus Mechanicus's worst nightmare, and a mek boy's wet dream? A Land Raider, of course! I managed to secure a cheap chaos land raider on Ebay ($24) to use as the base of the model. Seems appropriate, and should irk all those beakie boyz to no end!
I dug out the boxed Crusader model that I had awaiting assembly for the Storm Lords, and decided to start on the model using its core parts.
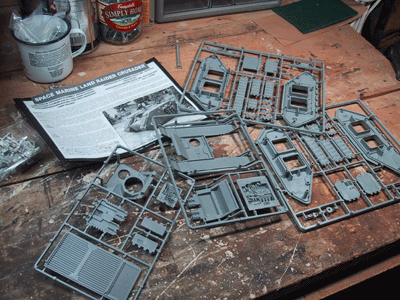 |
The Adeptus Mechanicus's worst nightmare...I hope all those beakie boy players are really irked about right now...look at that fresh Land Raider Crusader model! |
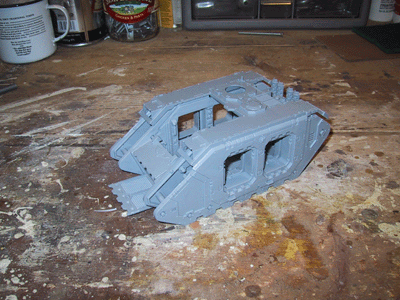 |
It's not glued yet, just sitting there thanks to gravity. Like any good mek boy, I have no plans, I'm just winging it. |
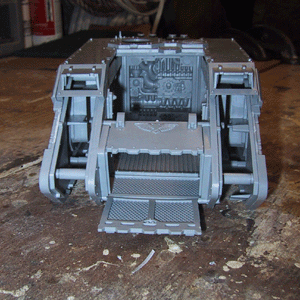 |
I do think I will keep the interior though. |
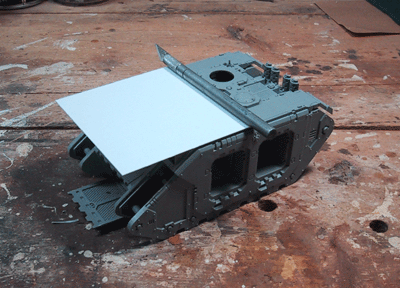 |
As mentioned, I don't have any fixed plans, so I started with a 10cm square piece of plasticard. Seems to fit ok. (the knife is there to hold it in place) |
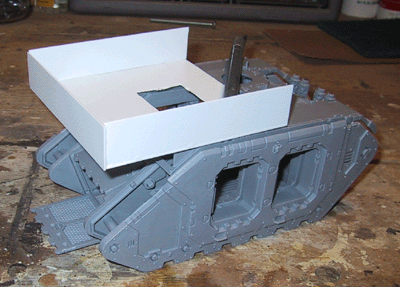 |
That having been decided, I cut a square hole in it to make the model truly open topped, and to allow the orks egress. I also added the armored sides as shown. |
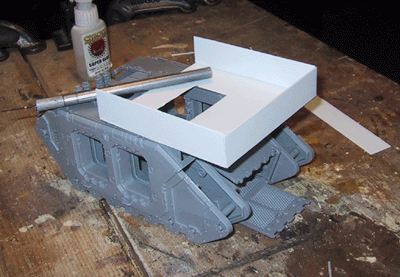 |
Another perspective. |
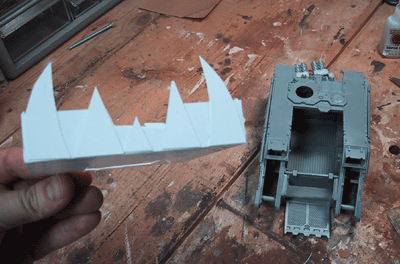 |
In a moment of inspiration I decided to add the WAAGH teeth to the model. This should scare the heck out of those gitz! Note the cut down in the middle. |
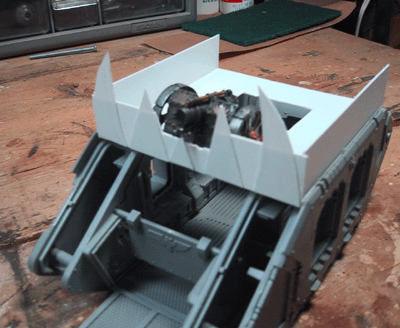 |
Just so there's no mistaking, that cut down is to allow a weapon mount. Here we try out a cannon for size. Fitz gud, lookz gud! |
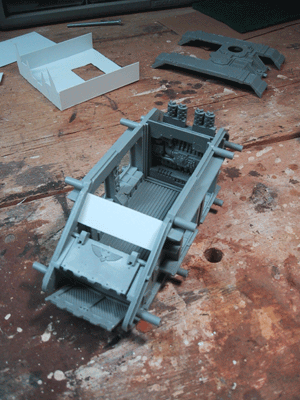 |
At this stage we've actually glued the interior chassis of the Land Raider. Note the single piece of plasticard in the front; this provides structural strength for the front end as I didnt' use the GW piece. Structural strength is important, especially if you USE your models. I am also using the GW plastic glue for the first time, and I rate it highly for its holding power. Worth the cash. |
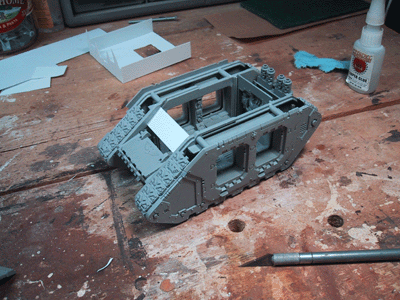 |
Here she is all glued up. Note that I chose to leave the front gates on, and they work (this is a cool part of the land raider). The side sliding doors were installed, but I decided to pull them before the glue set. This way, when I make the Crusader, it can have two sets of sliding doors. |
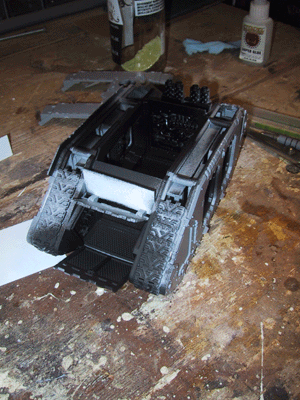 |
After the glue dried, I hit the interior with black Citadel primer. That white piece of plasticard is to build up the front, underneath the firing platform. |
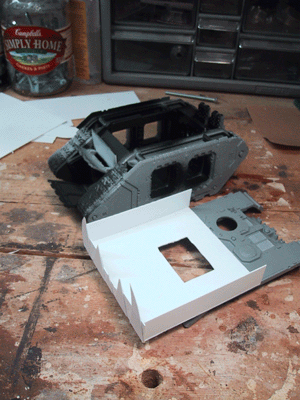 |
I
have now glued the firing platform to the top of the Raider, but I am
not going to attach the top to the machine for a while (if at all). I
like the idea of a removal top for display purposes, but we'll see. As
mentioned, I want this as robust as possible. |
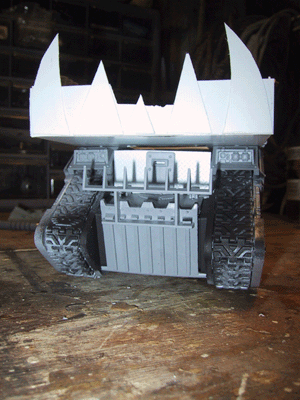 |
I
raided the bitz box for, well, bitz. Yes, that;s the bush cutter from
the old rhino kit; with a little cutting on the front gate of the Raider
it fits nicely. And yes, that's the drivers hatch from the same old rhino
kit - hey, an ork's gotta sit somewhere! |
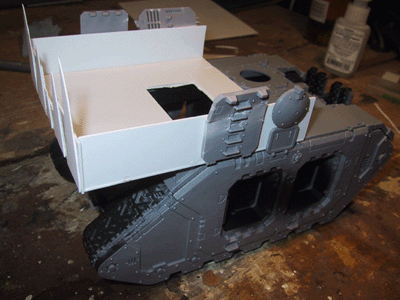 |
Left
side - torn door from a new rhino kit, plus hatches from a Leman Russ.
Hard to see here is the traction (diamond) plate plasticard I put down
on the floor of the firing platform. Me boyz hate bad footing! |
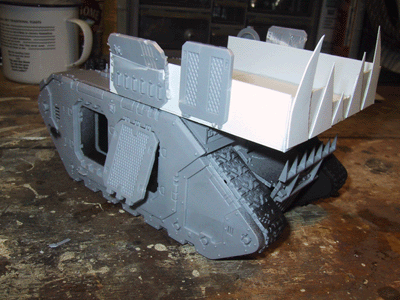 |
Right
side, a door from the Raider is left ajar, and another is mounted on top
for armor value. Next to it is another door from a new Rhino. Don't worry
if you don't have a deep bitz box; I'm running out, and will have to improvise. |
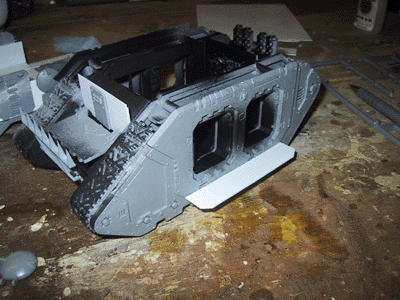 |
I
tacked on a running board on the left side. |
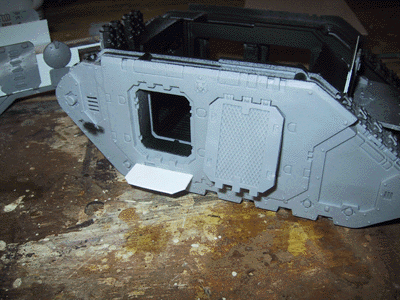 |
And
a smaller one on the right side, as I managed to get the door "stuck"
in the perfect angle. |
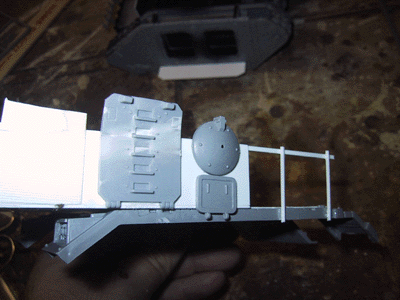 |
The
left side of the firing platform - Take a look at the open railings. I
messed this up, as they are glued down the side - and this leaves no clearance
for the top to fit. I will have to cut and glue on the top instead. |
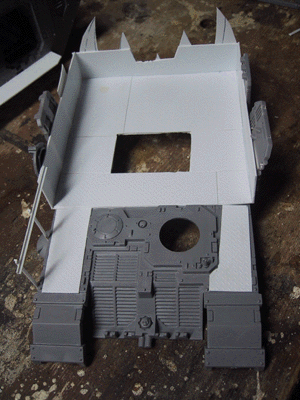 |
This
is a better view of the anit-skid diamond plate plastic card that I put
down on the top of the firing platform. That rear turret hole I am undecided
about, but I was thinking maybe a really big smokestack... |
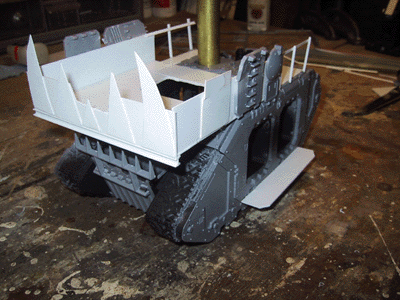 |
And
there it is! I picked up a piece of brass tubing at the local hobby shop,
and it makes a perfect smokestack. Note that the railing has been added
to the right side, and the left side was fixed so the to would fit. |
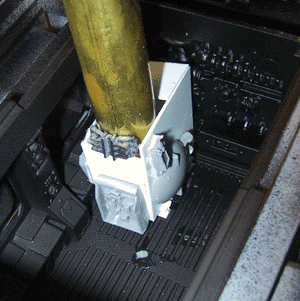 |
A
smokestack has to have a place to come from, so out of bitz and plasticard
I built this small boiler You can imagine the mekboyz couldn't' get the
raider engine to work, so they decided to make their own power source. |
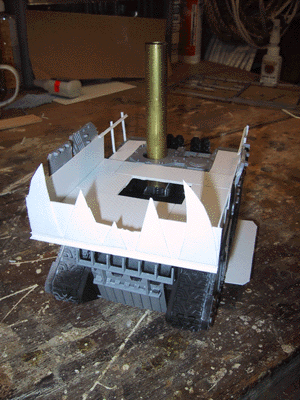 |
Another
view from the front. The stack is removable, and probably always will
be, for there are some really annoying players out there who think if
you can see something like this smoke stack (and nothing else of the vehicle)
than you can shoot at it. These are the same guys who say you can shoot
at a squad if you can see the backpack mounted banner. I really dislike
this sort of player, because they detract from the visual element of the
game for some slight advantage. If you are reading this, please never
play this way! For that reason, I am not going to glue in the stack (and
it might be convenient to remove it when the wagon is immobilized. |
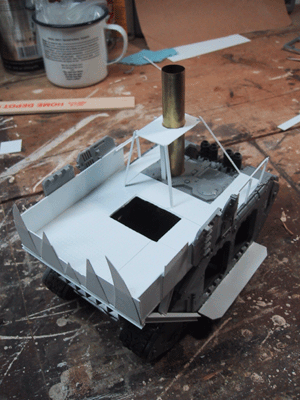 |
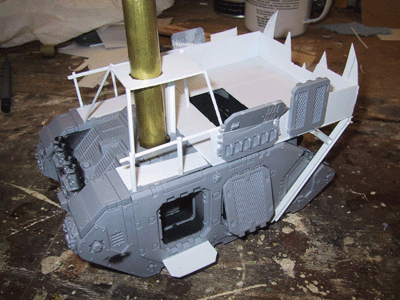
The
observation platform is now installed, I always think that big orky vehicles
should be multi level. Note that the stack is still removable. |
 |
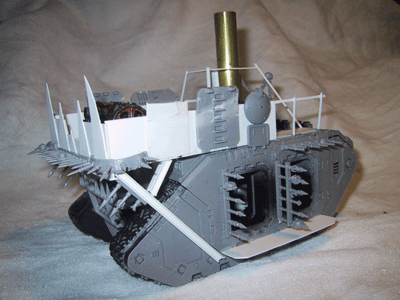
From
this side you can see the front fireing platform I-beam supports, as well
as the observation platform on top. She's looking good!. |
 |
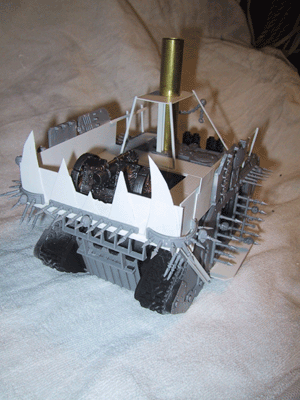
It's
finished! I added the spiky bitz from the chaos land raider kit. |
 |
WAAAGH!
|
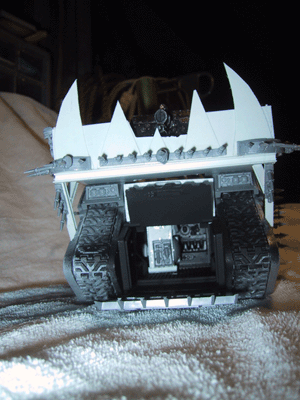 |
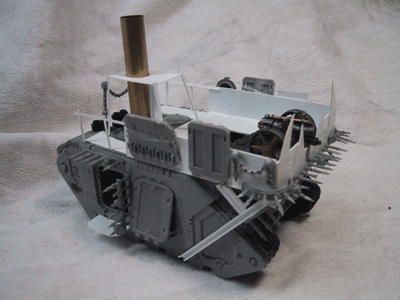
The
front doors still work, and you can see the "boiler" sitting
there in the back. Can you imagine having this thing coming at you? |
 |
Sometimes
you need to stop sticking stuff on the side of ork conversions, as hard
as it may be, and I hope I didn't cross that line. |
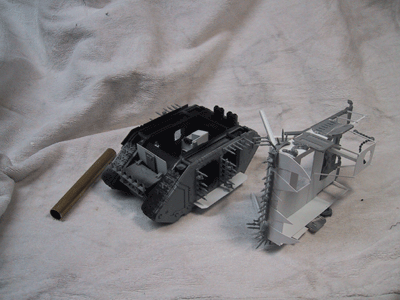 |
As
mentioned, it still comes apart with ease. This will make the painting
easier - speaking of which, that's due to happen next.. |
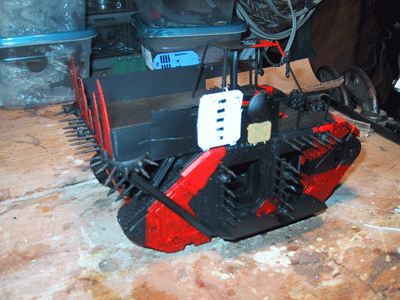 |
I
started painting the outside first. With the top removeable, it doesn't
make any difference where you begin. |
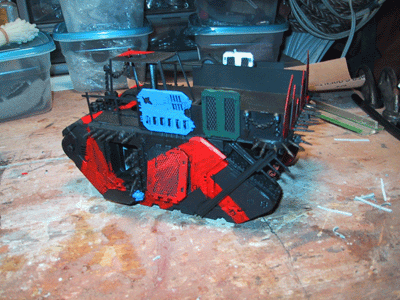 |
The red paint job my mek boy likes to use is like a an old battleship's camo paint job. You might be wondering about the blue, green, white, and tan doors; the idea is that these were ripped (recently) off of destroyed imperail vehicles. I am planning on leaving them in their original livery, but weathing them and the entire machine.
|
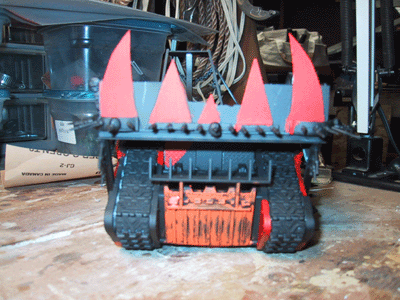 |
Insted
of the camo, I decided the front WAAGH mouth should be red toothed. The
orange door is for the Konviktz, every model has some orange somewhere,
and with vehicles, its in the front. |
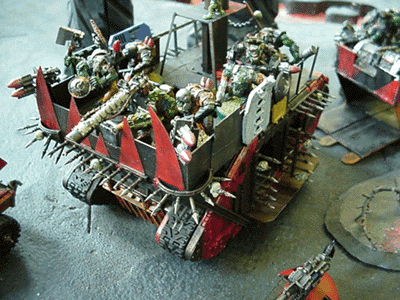 |
Finished, and on the battlefield, seen here at a tournament at Dakka Dakka. |