 Scarpia's MINIVerse - Model Railroading
Scarpia's MINIVerse - Model Railroading
Test Layout 2
Work in progress
First up, is a quick test video of the trackwork
and now, onwards!
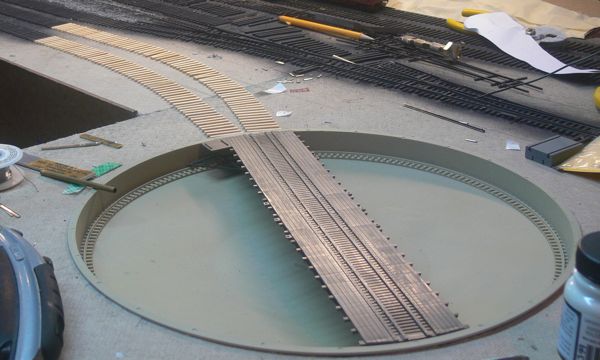 |
Playing with the turntable, I ran the two leads into it from the engine servicing tracks |
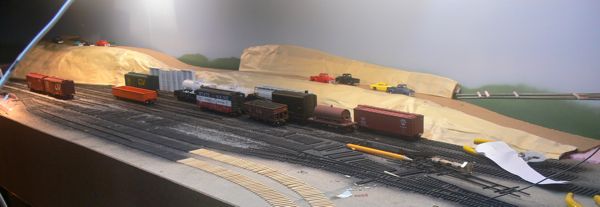 |
And back to scenery - cardboard strips hot glued in, covered with just tape at this stage. The nice thing about this is now there is less danger of my rolling stock taking a dive. |
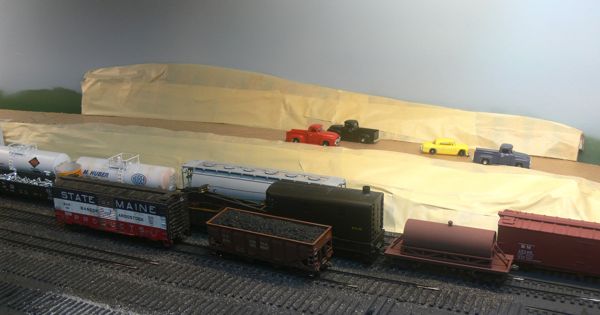 |
A closer view of the road and back ground hill. |
 |
I was still too close to the yard for my liking, so I cut away the tape and cardboard and inserted these sections of plaster retaining wall I had left over from the previous test layout. They are cut in half, and than in turn hot glued to a length of MDF, and the whole thing hot glued in place to the cardboard and tape. They look a bit high now, but I think some scenery will resolve that issue. I might even put a parking area on top! |
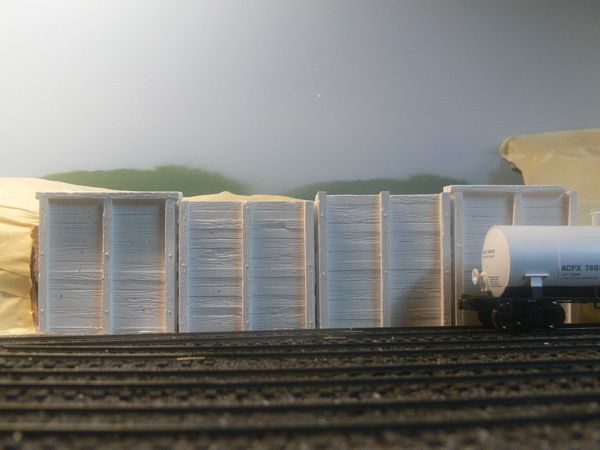 |
Here's a close up of the retaining wall, with a car for scale. |
 |
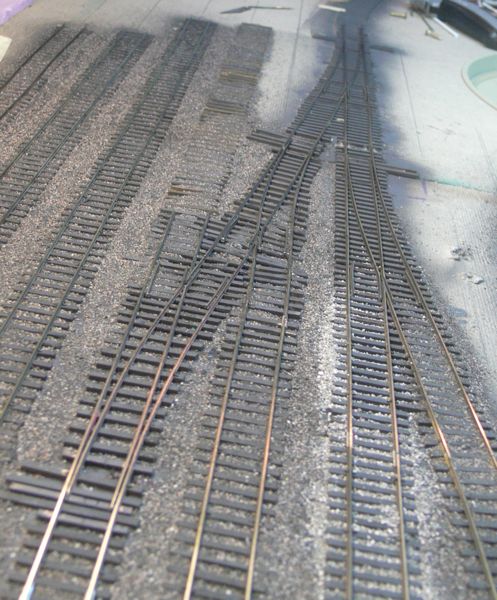
I painted and installed this cross over as well. |
 |
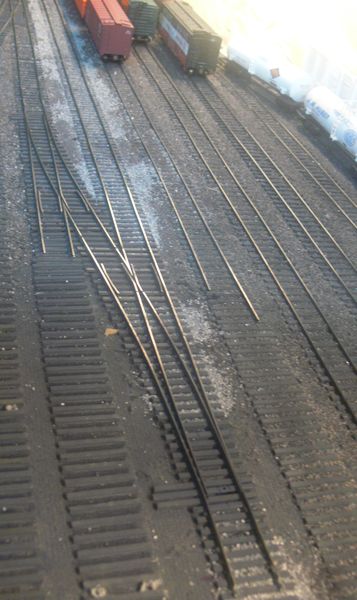
In this shot you can see the small pieces of rail that I had to use to connect to the cross over, next time I'm going to try and be more aware of spacing when I put down full piece rail lengths. It would have been wiser and more attractive to have had the connecting pieces a lot longer (but notice you can't tell in the picture above, here, the unpainted rail joiners reflect the light. |
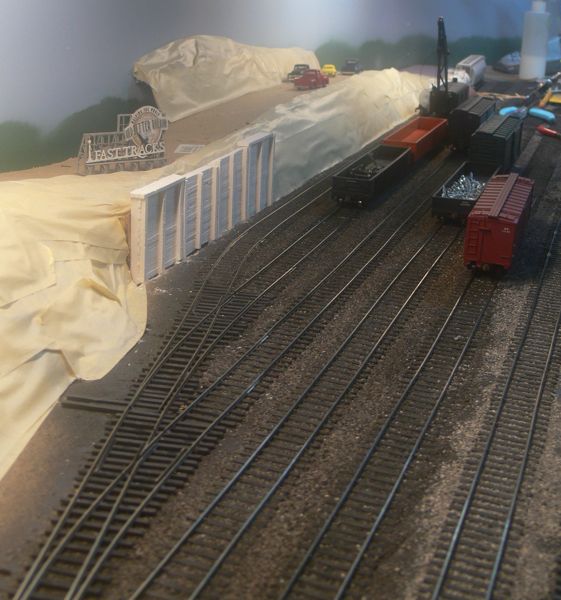 |
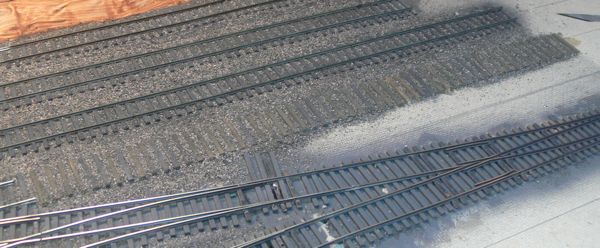
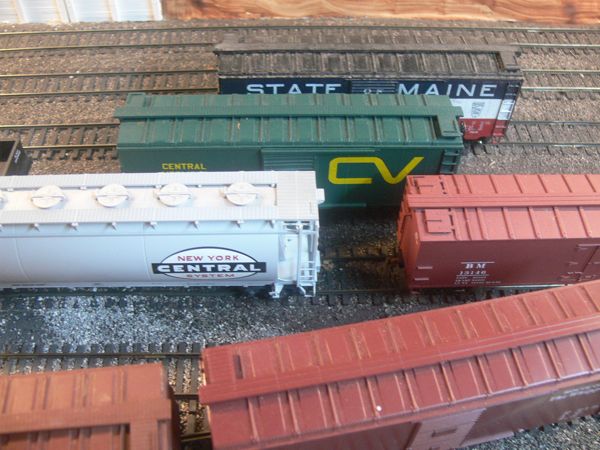
Gratuitous Fast Tracks yard shot. I realized that I made another big mistake - the yard is not code 55, but 70! I mistakenly used my 70 rail, I was kind of wondering why the transitions were so smooth! I only found this out this evening, when I found my complete, sealed, package of 33 3' lengths of weathered code 55! Naturally, now I'm out of 70, and I'll have to order another dozen pieces to finish this job. |
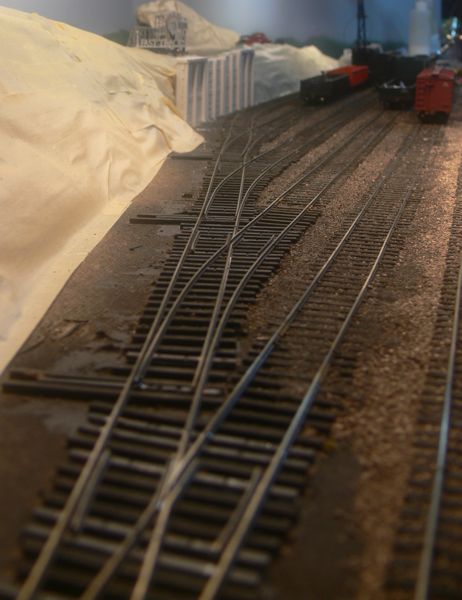 |
The yard ladder |
 |
With the airbrush out, I painted the turntable leads, but I'll need some rail (code 70) before I can finish them. |
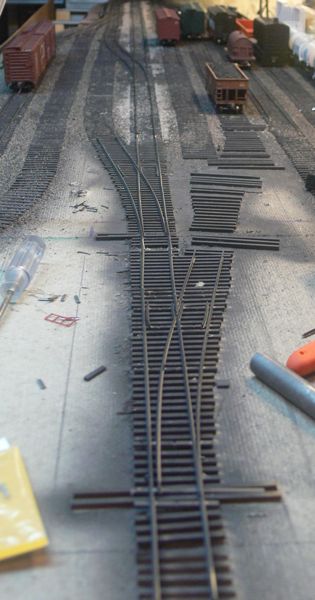 |
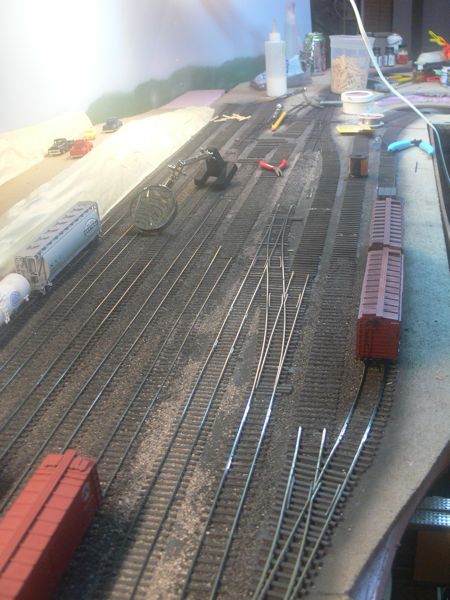
The weekend saw this pair of turnouts in place, as well as ballasting other areas. I know I did more, but there's not a lot to show, unfortunately. |
 |
and another quick look looking down the yard |
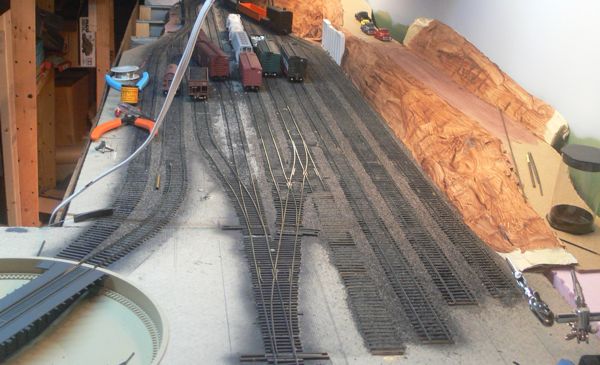 |
The last pair of switches go in, and the ties are down for the RIP track |
 |
With the rip track ballasted, I'll be able to lay rail and finish it. |
 |
I tried rail tie brown mixed in with the weathered black, and hand painted these instead of the airbrush. |
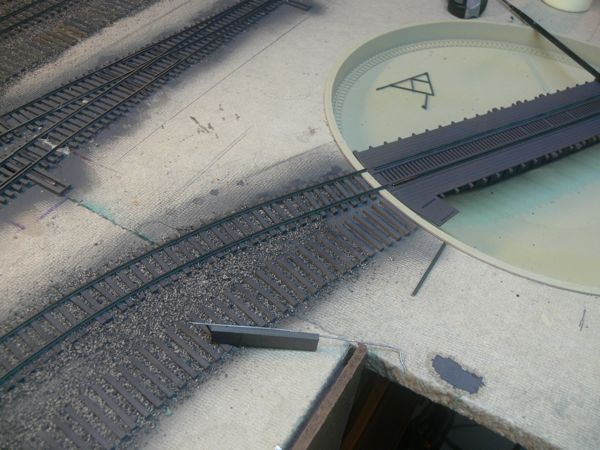 |
I also layed one of the turn table leads |
 |
Here's a shot of the 12 scale foot track spacing. It's too tight, it makes reading reporting marks from an operator's viewpoint very challanging. |
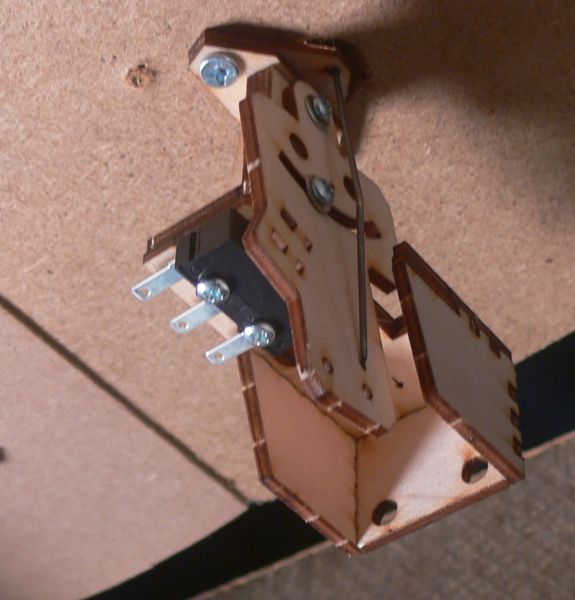 |
At the Hartford NMRA show, TIm Warris of Fast Tracks announced their new Bullfrog turnout controller. I picked up two, assembled one, and installed it. |
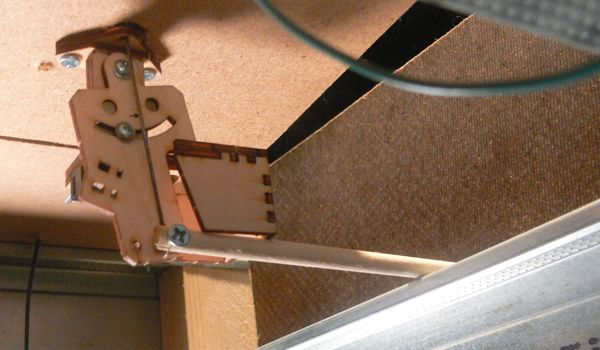 |
I'm actually able to control these with nothing more than a piece of dowel, a screw, and a knob. |
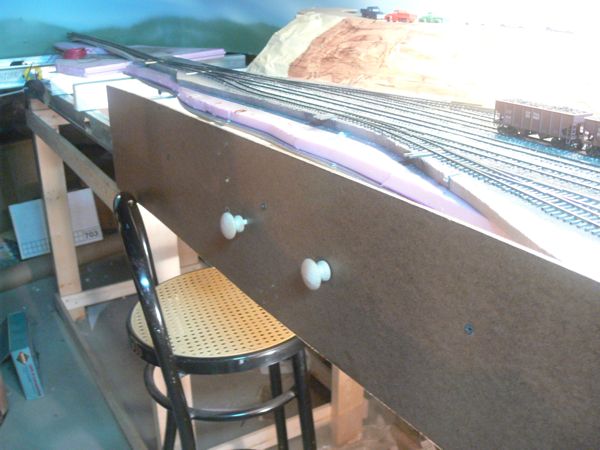 |
With the first in place, I added a second. Here's a shot of the Fascia |
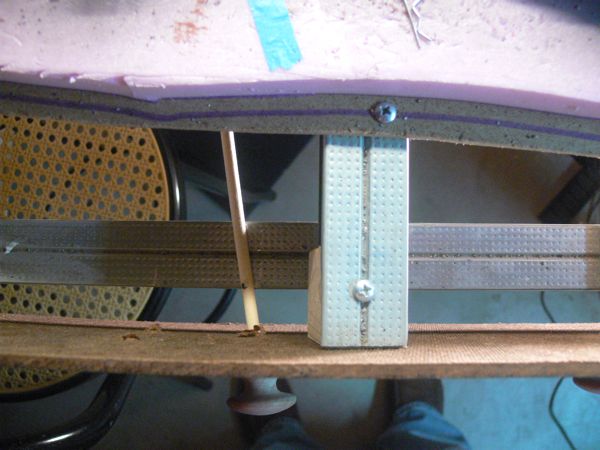 |
and from above - this second one is actually at a pretty good angle. |
'ere is dem nasty legal bits:
This website is completely unofficial and is in no way endorsed by anyone. All corporate and company names are used without permission. No challenge to their status is intended. ©2009. This site is the sole work of Scarpia (Thomas Garbelotti) unless otherwise noted. All content not created by Scarpia is copyrighted by the respective copyright holders.