The following is for the first generation Bullfrog - the newer model uses a spring and ball mechanism instead of the magnets shown here.
Assembly
Packaging
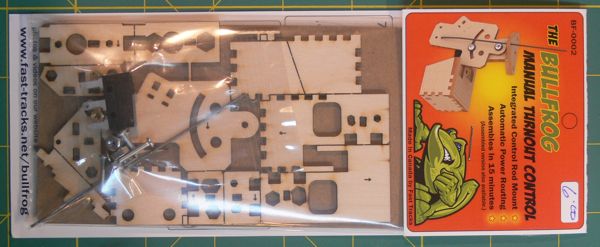
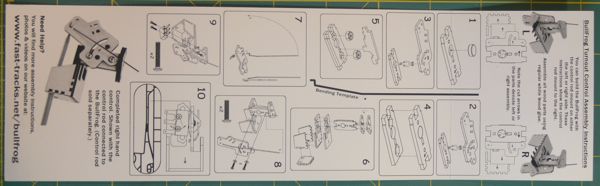
Instructions
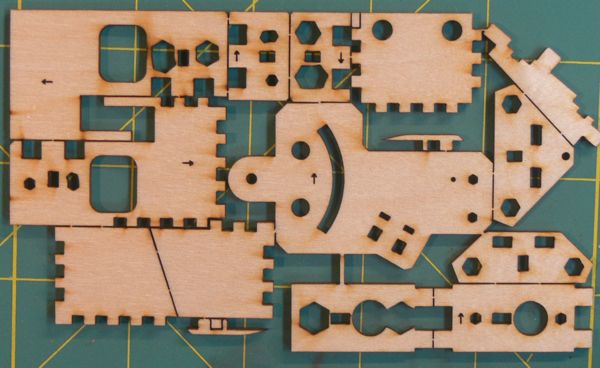
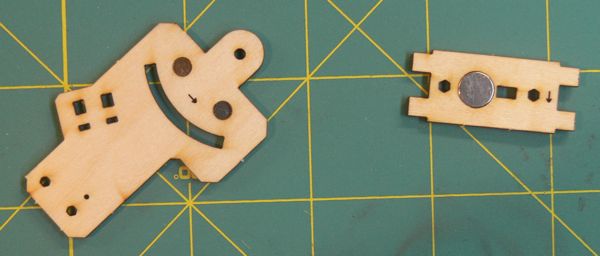
Wooden parts
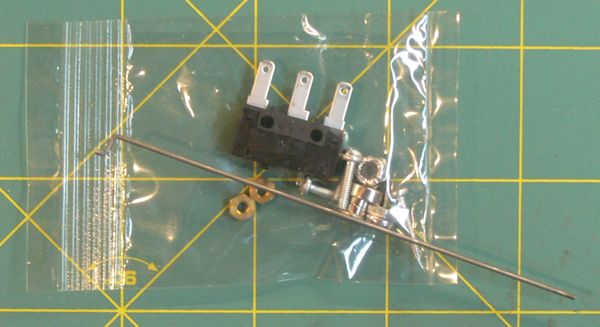
Metal Bits - note the magnets!
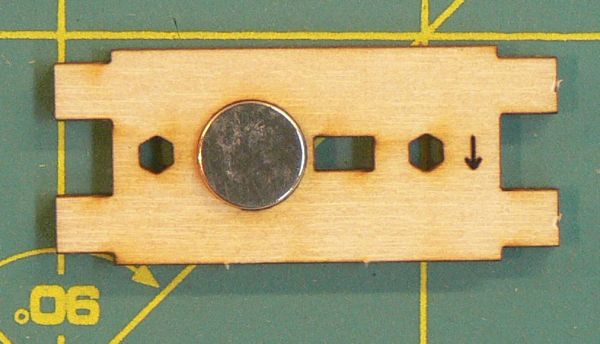
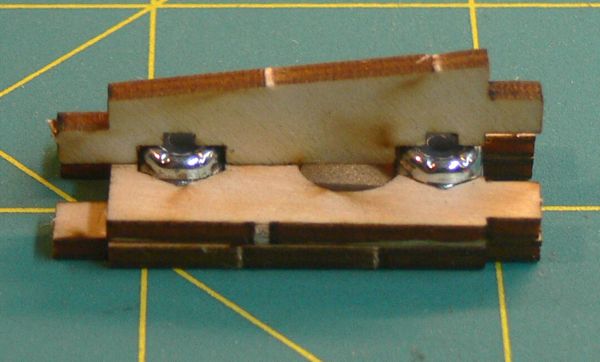
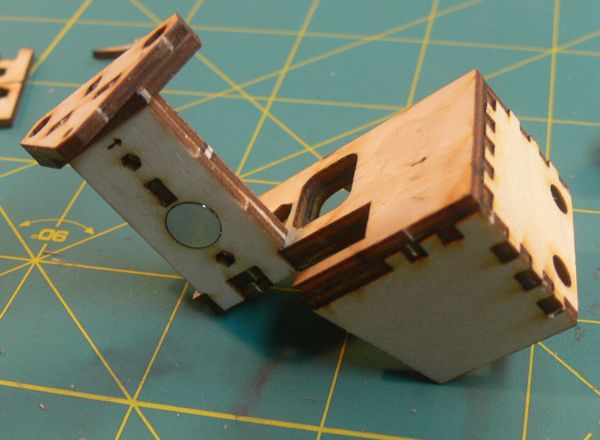
First up, inserting the larger magnet
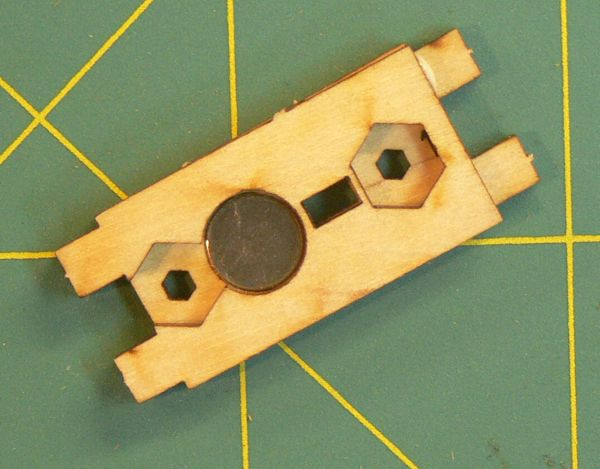
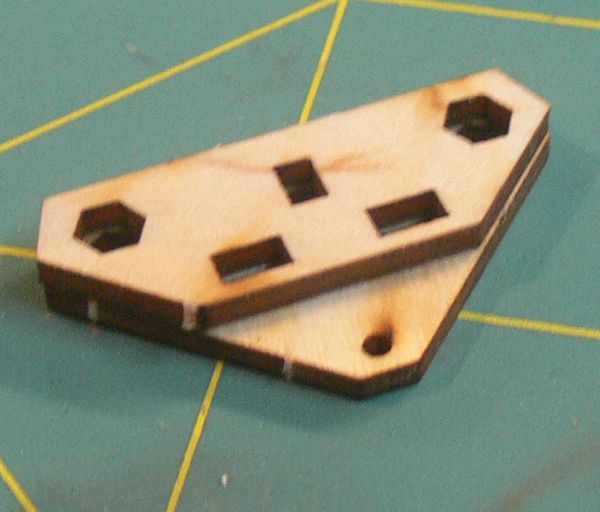
next, was inserting the two smaller magnets into the eyes of the "frog". Note the arrows, as long as the arrows on the parts point in the same direction, you're doing good!
A backing piece is glued to the first
and the self locking nuts fit nice and snug.
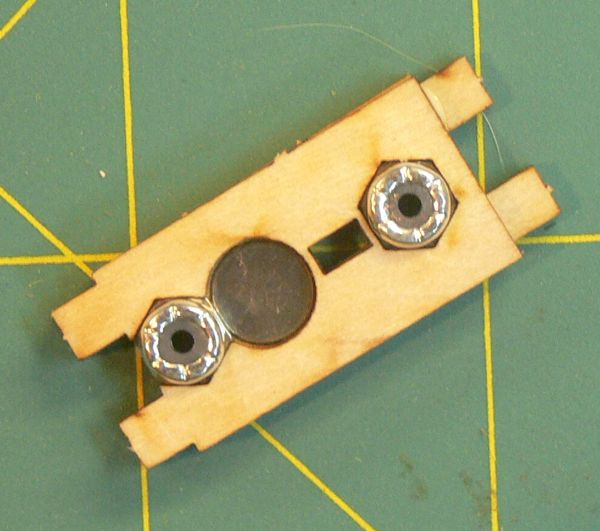
This "ridge" piece goes in next, locking the nuts and magnet in.
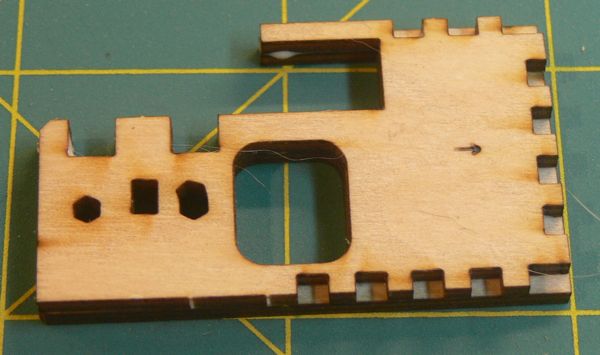
and than the large piece of the frame is built from these two parts. Again, line up the arrows.
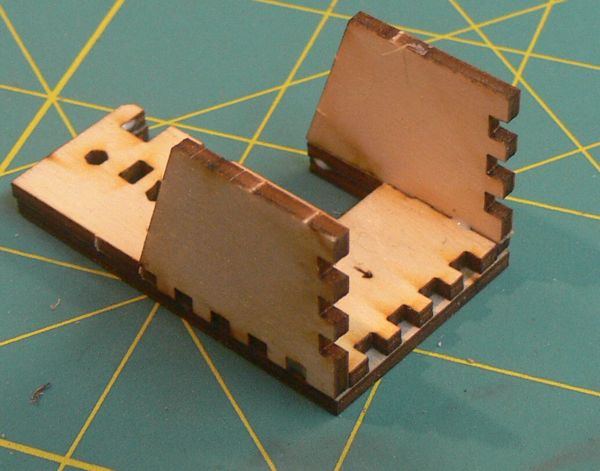
With that glued, I attached these two side pieces.
and finally the front piece. Those two holes are guides for what ever manual pull device you choose.
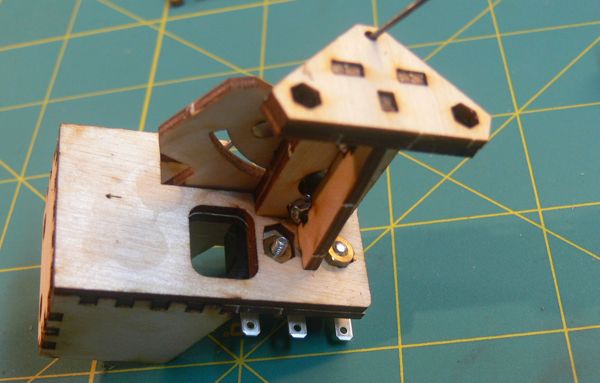
I started next assembling the top part of the controller. Note this is upside down, the longer piece with the hole goes on top.
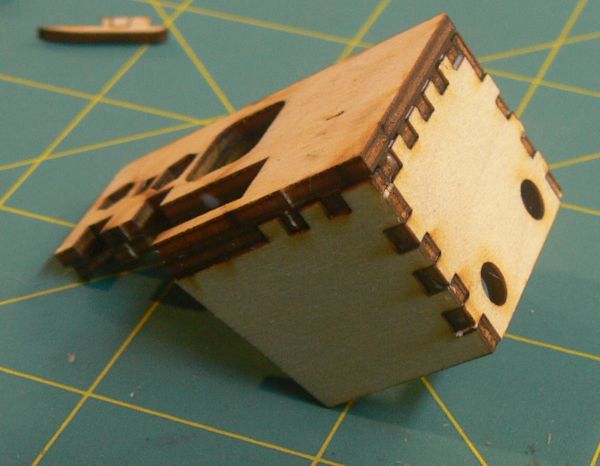
The spine or "ridge" is inserted into the bottom section. A nice tight fit, I used the edge of my workbench to lock it in.
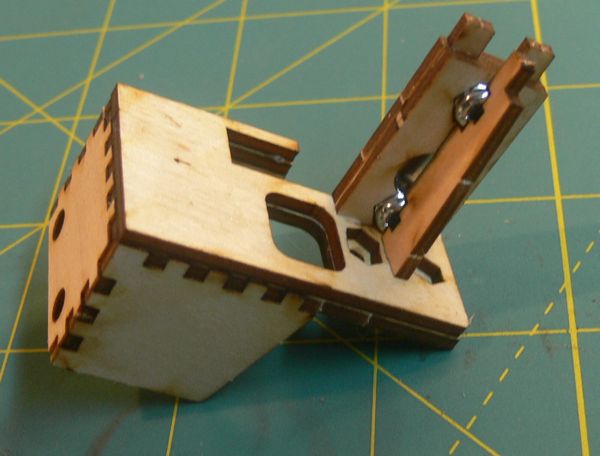
and than the top section.
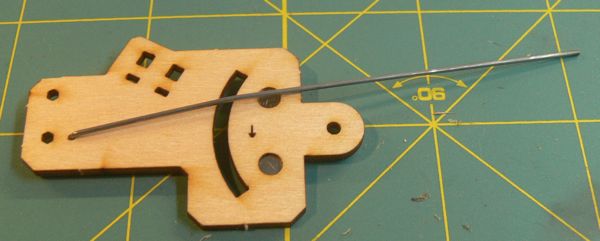
next up was inserting the wire, after giving it a slight bend to fit over the lower screw (not shown here).
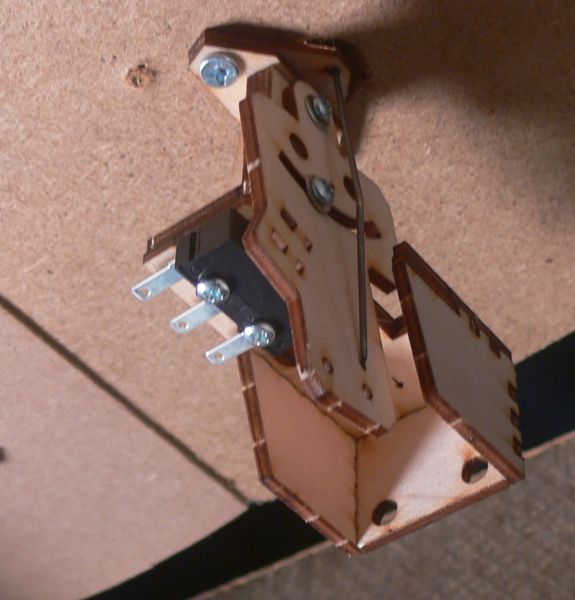
and the whole shebang in place.
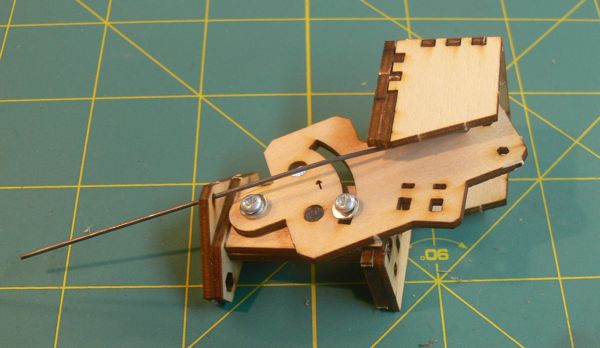
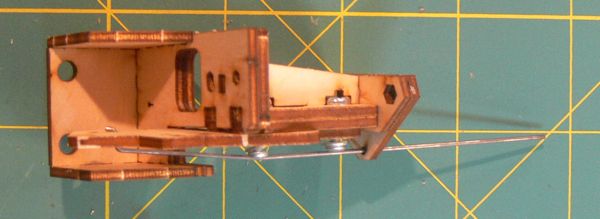
a good shot of the wire bend and why it's needed.
lastly, i installed the power routing.
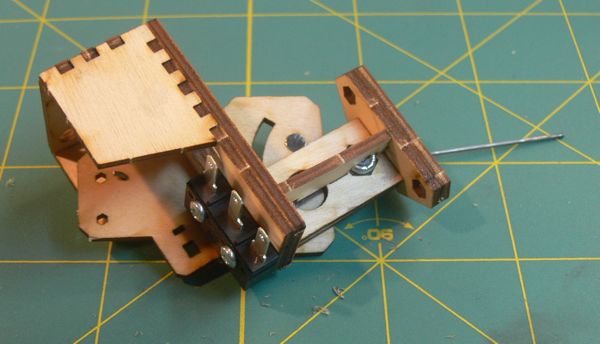
The engineering is great - there are even cut outs for these nuts (the right one is still loose).
Installation
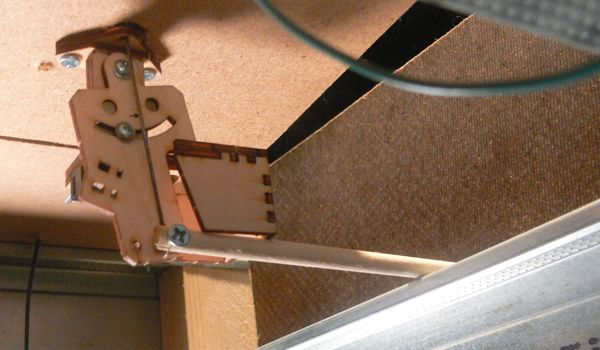
With assembly done, it was time to install. I chose to put this one on a turnout to the front of my layout that I couldn't get a blue point with the standard wire to work.
My first realization was the wire that is shipped with the Bullfrog was too short for my sub road bed - the combination of 1/4 mdf, 1 inch foam, and 1/2 homasote was deeper than what most people may face, but I had some longer wire that I could substitute (I already had some on hand to get the Blue Points to work).
With new wire bent and in place, I went back to the install. One nice thing about the bull frog is you can lock the swing right in the center with the lower screw set during installation, and than loosen it once it's in place. This makes the throw distance equal on both sides.
Tim was (no surprise) smart enough to build in a screw driver pass through into it.
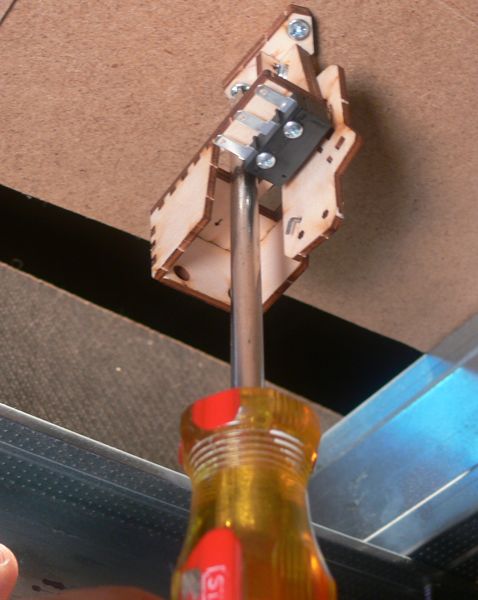
and literally 3 minutes later it was in. And working!
So hows it work? well, here's Video! The stills shown above make up most of it, so you might want to skip to the end for a few seconds of poor quality video.
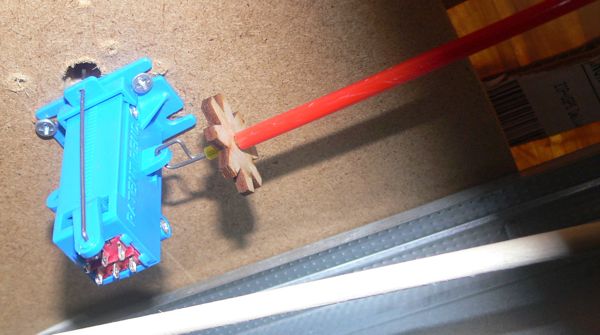
So I had a few spare moments this afternoon, and pulled out the dowel that I wanted to try and work the Blue Points with. No go, the cotter pin wouldn't stay tight.
So....I started dinking with it and the Bullfrog. The results? (look at the points)
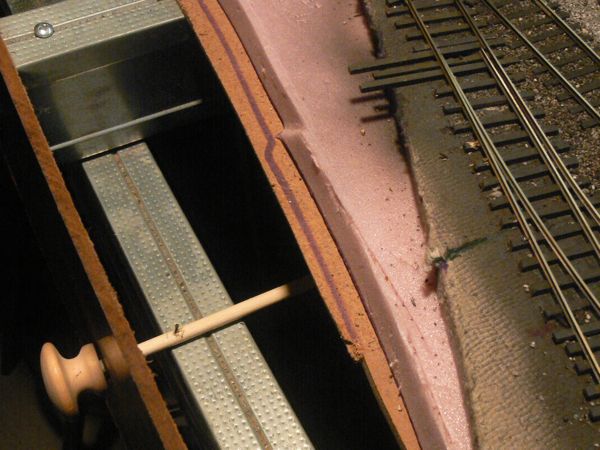
Yup, screwed in with the same wood screw I used to mount it. (the dowel was pre-drilled to stop splitting).
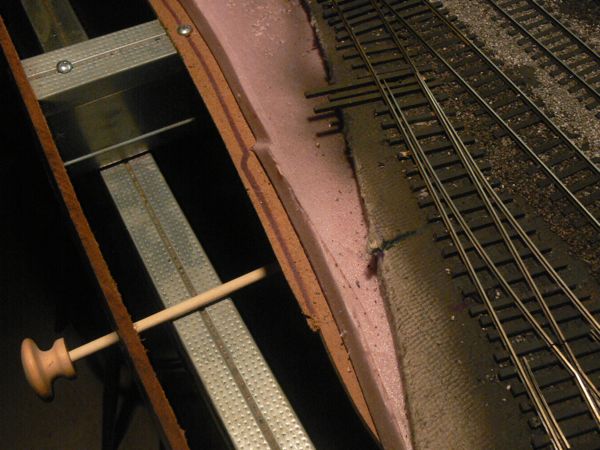
I'm kind of really liking these things. It's almost like fight, fight, fight with the others, and than "bang!" this darn thing just works.
A thinner dowel might even fit through the pre-drilled hole on the bullfrog.
Additional Thoughts
I received an order from Fast Tracks, that included both some more Bullfrogs, plus the control rods.
After assembling a few more and installing them, I have a couple of additional comments.
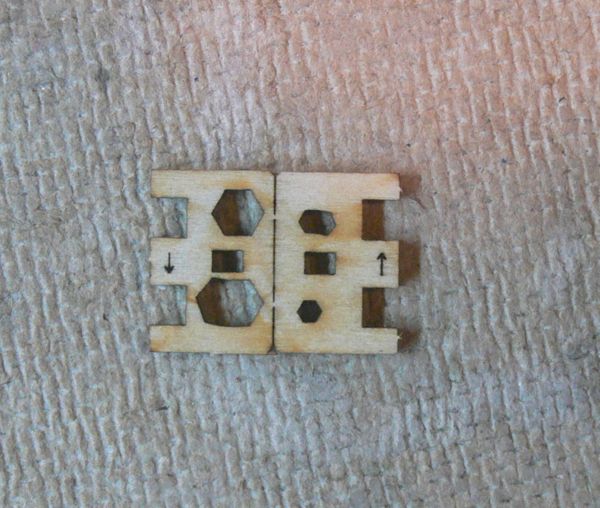
- What is this for? I'm inquiring with Fast Tracks. I have them left over from every kit, and I surmise they are needed if you run two switches.
- I have found it easier to assemble the entire thing, than insert the magnets into the swing arm, in order to verify that the polarity is correct.
- The control rods work well, and so far I've ended up with enough extra to hook up a blue point!
- The newer generation uses a spring and ball mechanism instead of the magnets. This works better, and provides a nice tactile feel when using the bullfrog.
- The only failures I have had over the three years I've been using them are tied to rushed construction (not letting the glue set up long enough). I now assemble them a day or two in advance, and that works flawlessly.