 Scarpia's MINIVerse - Model Railroading
Scarpia's MINIVerse - Model Railroading
Test Layout 2
Work in progress
This will be my second "layout", currently designed to be nothing more than a test bed of techinques and methods. It is based on this simple but functional plan

With testing on the bechwork, roadbed, Fast Track turnouts and hand layed track behind me, it's now time to begin puttting some of this into practice. I've already made a Code 83 No. 6 crossover and left hand turnout, which leaves me with the following still to push out of the Fast Tracks jigs for the yard area. Note that the plan just lists No. 5 Turnouts; as I got a No. 6 jig on eBay, I've converted the mainline turnouts to 6's.
Code |
No. 5 Left |
No. 5 Right |
No. 5 Crossover |
No. 6 Left |
No. 6 Right |
No. 6 Cross Over |
70 (to do) |
2 |
4 |
1 |
1 |
- |
- |
70 (done) |
- |
- |
- |
- |
- |
- |
83 (to do) |
- |
- |
- |
- |
- |
- |
83 (done) |
- |
- |
- |
2 |
2 |
1 |
Progress....
 |
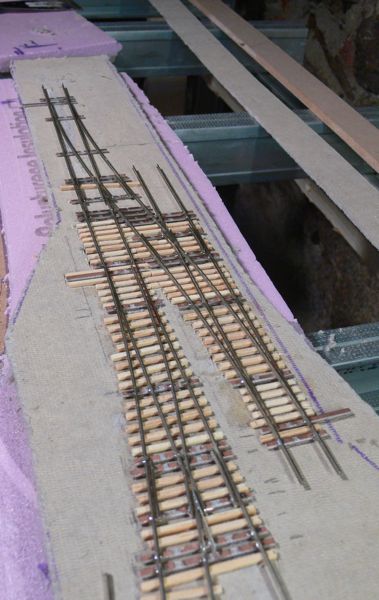
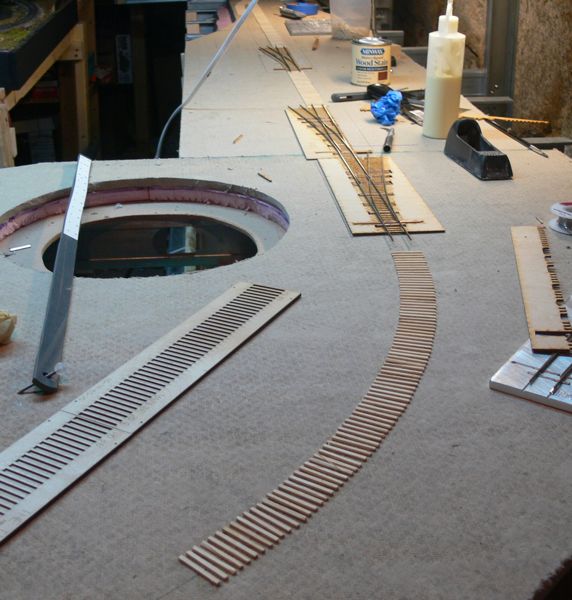
First up was connecting a code 83 No. 6 crossover, and a code 83 No. 6 left hand turnout. Ties are glued to the homasote. |
 |
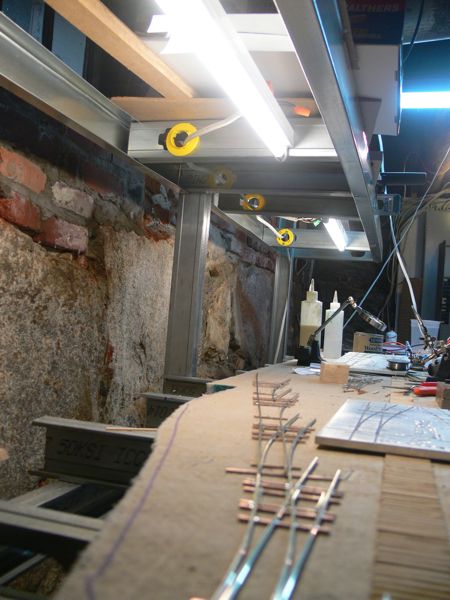
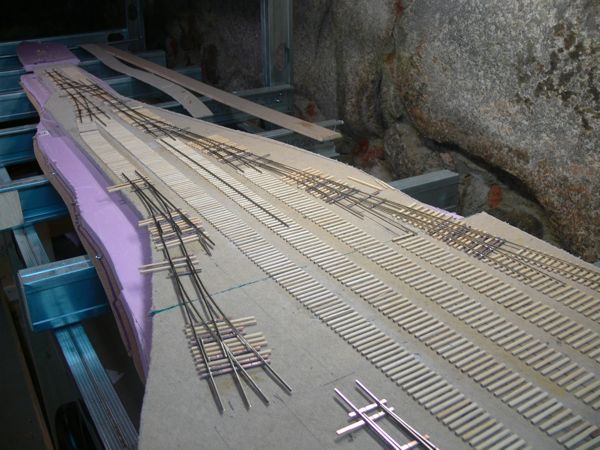
The cross over anchors one end of the yard. The main line is on the bottom, the top leads to the arrival track and yard (both to be code 70) to the right, and the switching lead to the left. |
 |
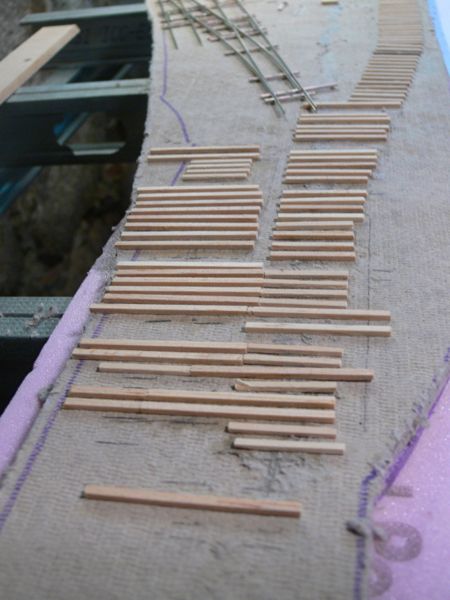
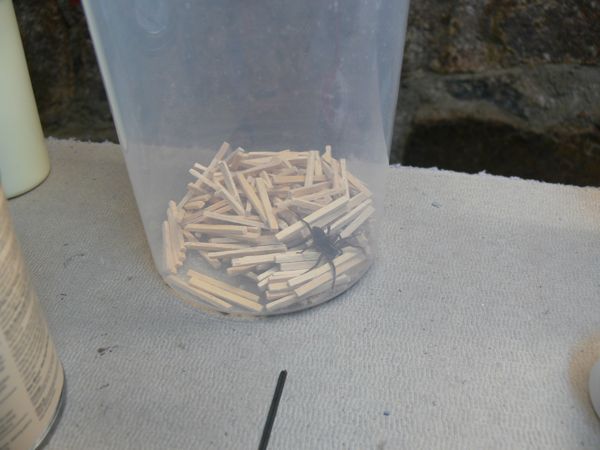
The wood ties were left purposly long at this stage. |
 |
and with the switches removed for clarity |
 |
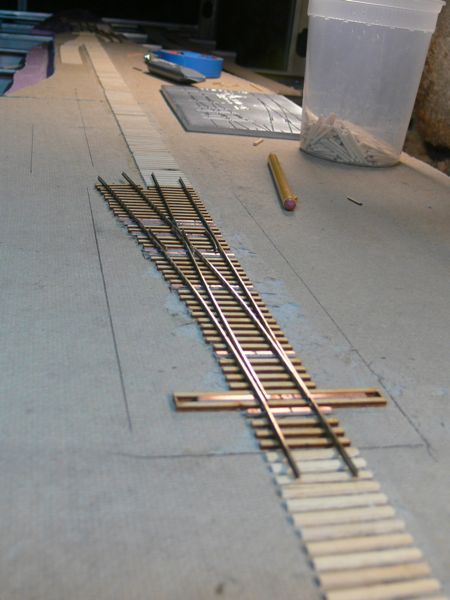
I marked out lines on the ties with pencil, and than trimmed them with a sharp blade. |
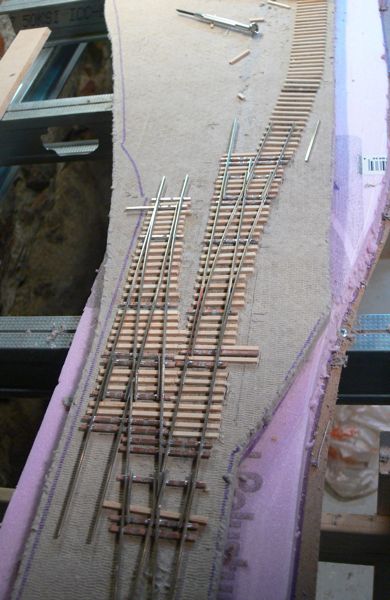 |
With these in place, I can finish placing the ties in this section. |
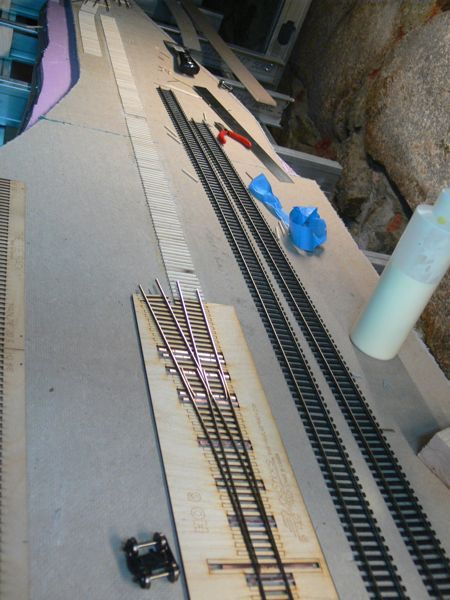 |
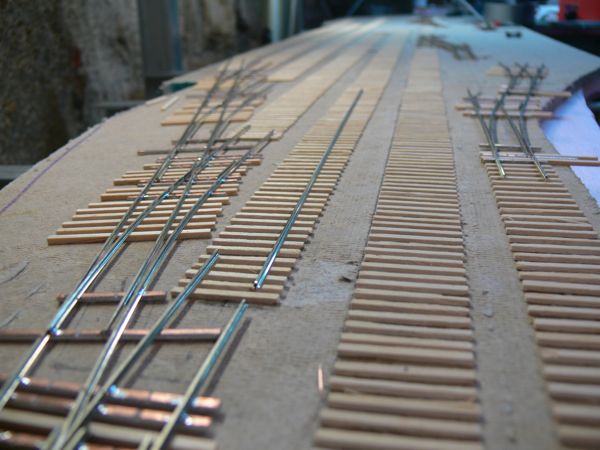
I assembled another couple of turnouts, and ran the ties along the mian that join them. As I have the quicksticks, I'll use them on the next couple of turnouts and just leave two aside for measuring and patterns. |
 |
|
 |
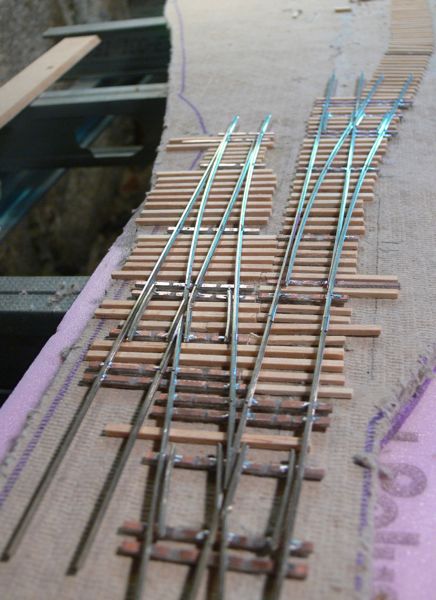
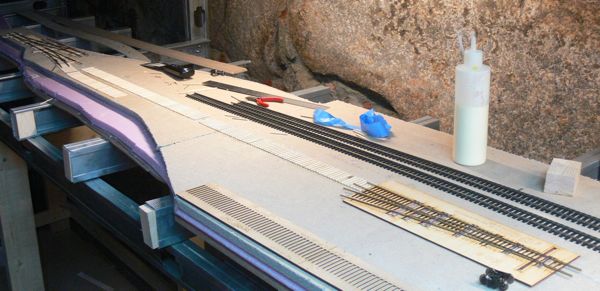
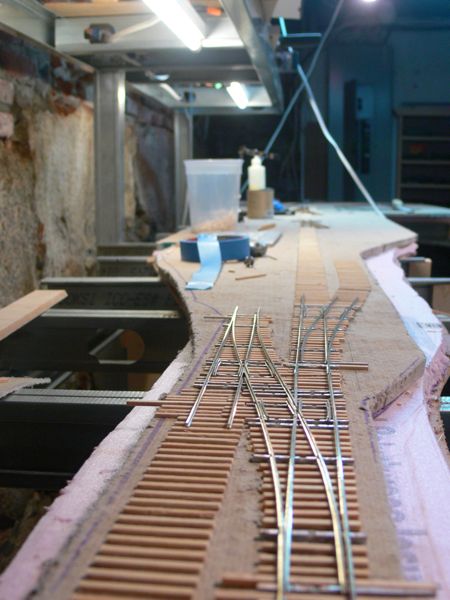
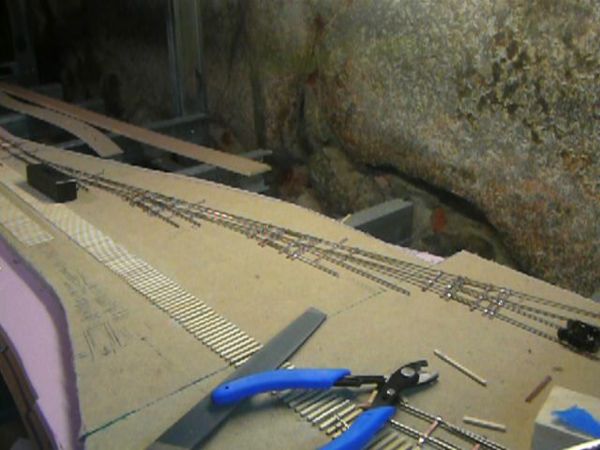
All of the No. 6 code 83's are done, and spaced out. I've begun drilling holes, and continuing to lay more ties along the main line - here is the first curve, behind the turntable pit. |
 |
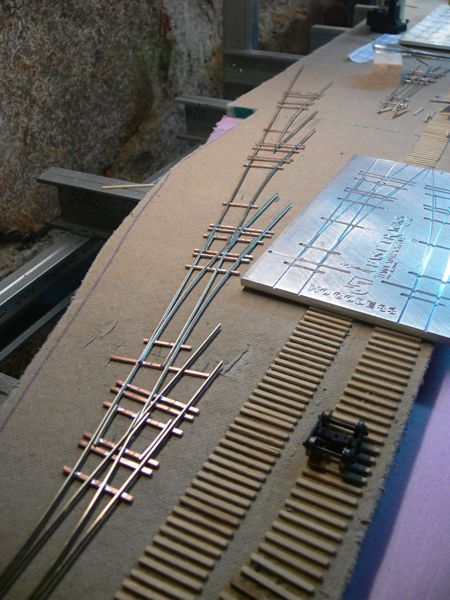
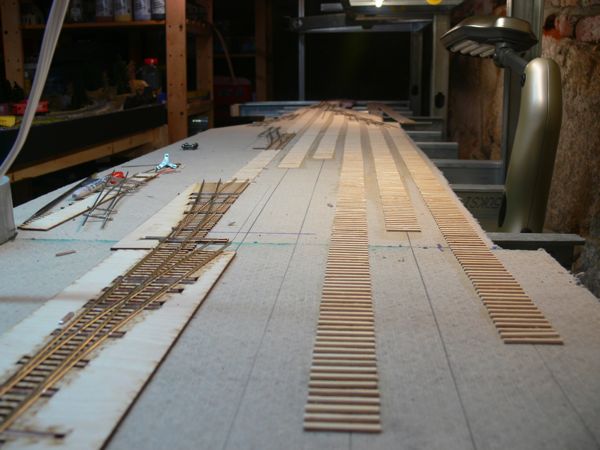
These are the quick sticks under the turnout - I chose to modify the Fast Tracks process, as the turnout is not glued to them at this time, but the ties are glued to the roadbed. This became quite tricky to do, but worked out as long as I was careful with the application of glue. You can also see in this shot that the mainline is complete all the way down. (well the ties are down at least. |
 |
And a view from the other end. |
 |
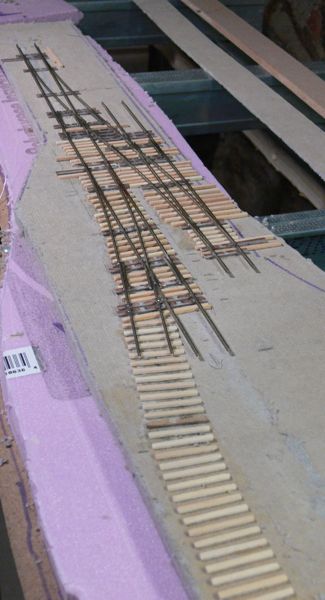
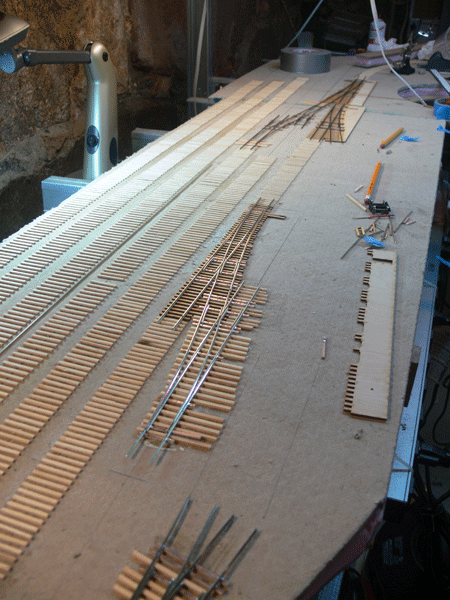
After a long delay, I finally received the code 70 rail I needed for the yard turnouts Thanks again to the Fast Tracks template, I went crazy, and made the ladder as a one piece unit. . |
 |
Yup, 4 turnouts in one! |
 |
Hazards of working in the basement. |
 |
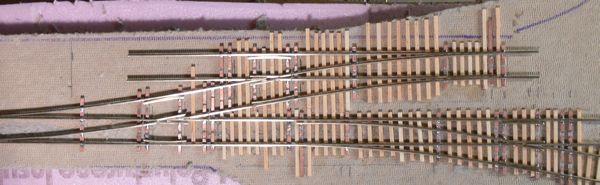
After about 5 hours, the ladder was complete |
 |
And passed electrical and running tests! |
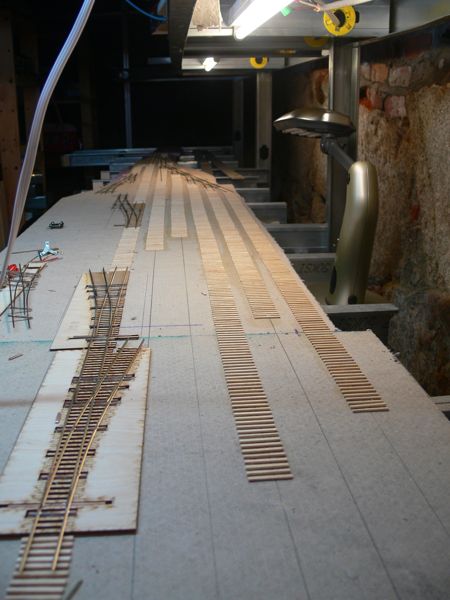 |
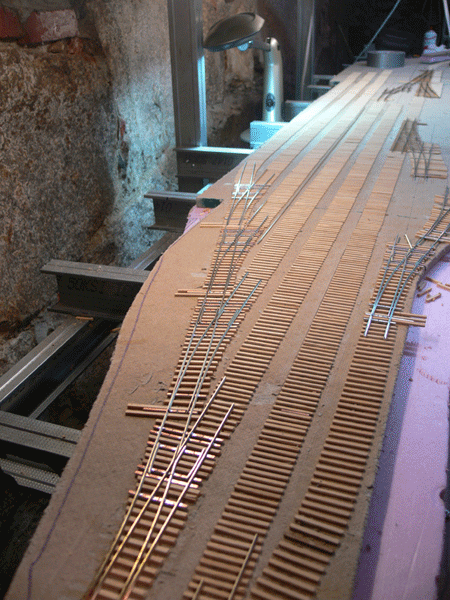
With the ladder in place, here oome the ties! Once I was certain on the ladder design, I felt comfortable enough running ties. |
 |
Besides ties, I also go another 3 turnouts put together, including the two in the lower left corner of this picture. |
 |
Looking back from the yard entrance. You can see another completed cross over to the upper right. After this, just one more cross over, and the yard turnouts are done. |
 |
Close up view of the ties that are in place. |
 |
|
 |
This is the last of the turnouts - not a true cross over, but instead the diverging rails of the right hand No. 5 lead into the main route of the left hander. |
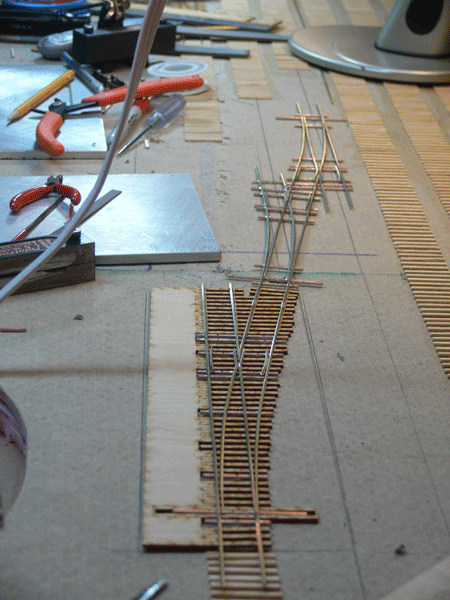 |
These feed from the mainline code 83 No. 6 |
 |
The other turnouts got their ties |
 |
and the yard ladder has all ties down, and is ready to run electrical. |
'ere is dem nasty legal bits:
This website is completely unofficial and is in no way endorsed by anyone. All corporate and company names are used without permission. No challenge to their status is intended. ©2009. This site is the sole work of Scarpia (Thomas Garbelotti) unless otherwise noted. All content not created by Scarpia is copyrighted by the respective copyright holders.