 Scarpia's MINIVerse - Model Railroading
Scarpia's MINIVerse - Model Railroading
Test Layout 2
Work in progress
Terrain
 |
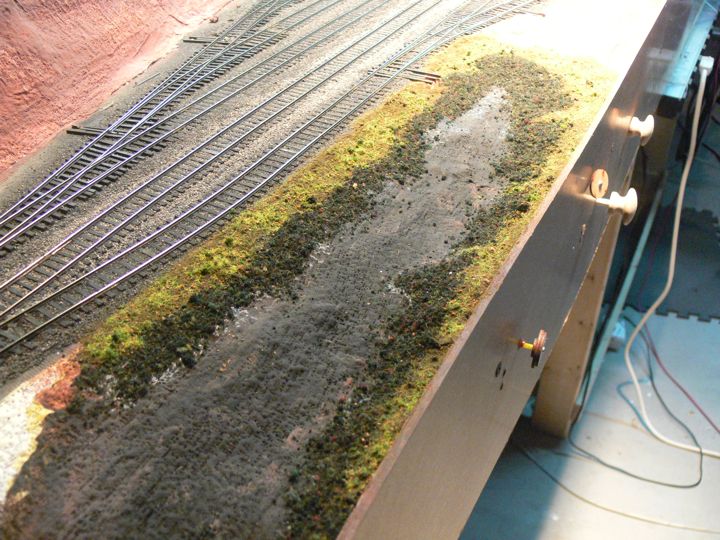
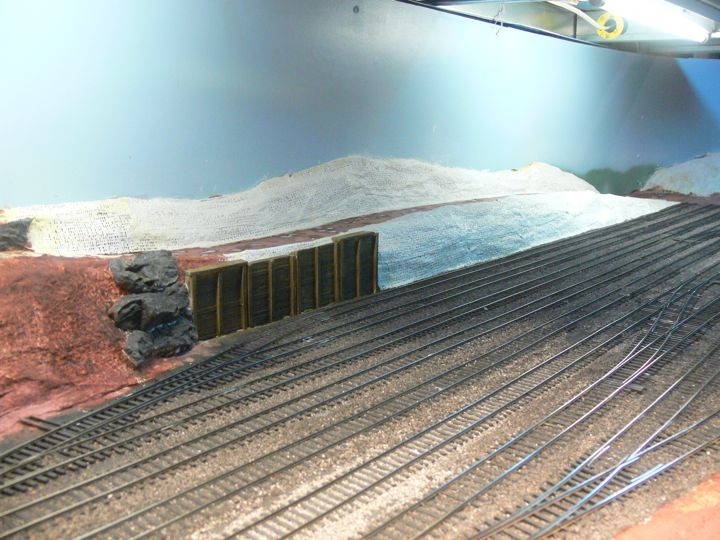
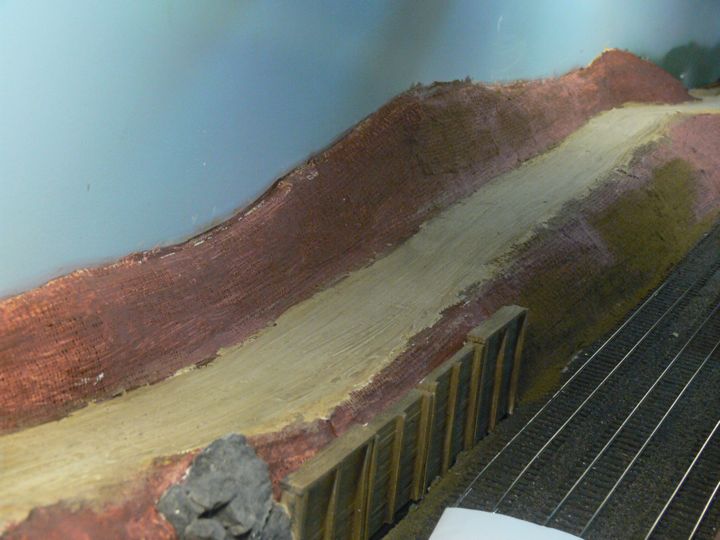
My attempts at a vermiculite mixture (shown here in grey) were not as successful as I would have liked. 4 parts vermiculite, 1 part concrete, and 3 parts plaster, it went on rough - much rougher than I would have liked. |
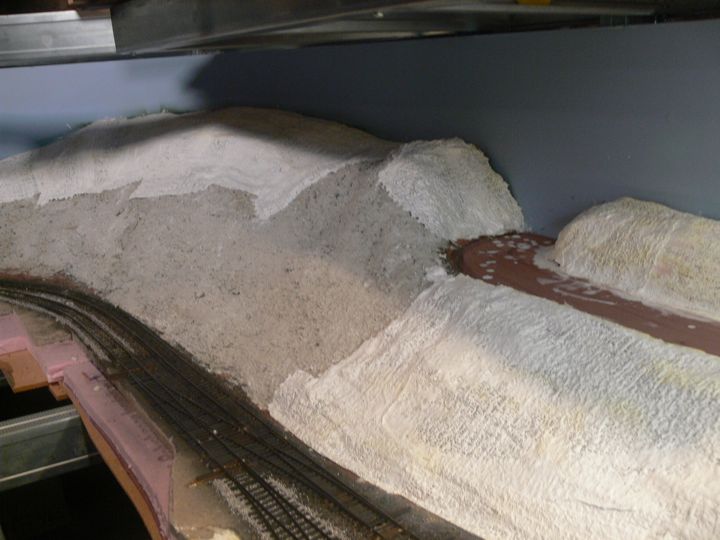 |
A bit frustrated, I had a roll of plaster cloth left over from the first layout, and used that here to flush out the remainder of the back hills on the left |
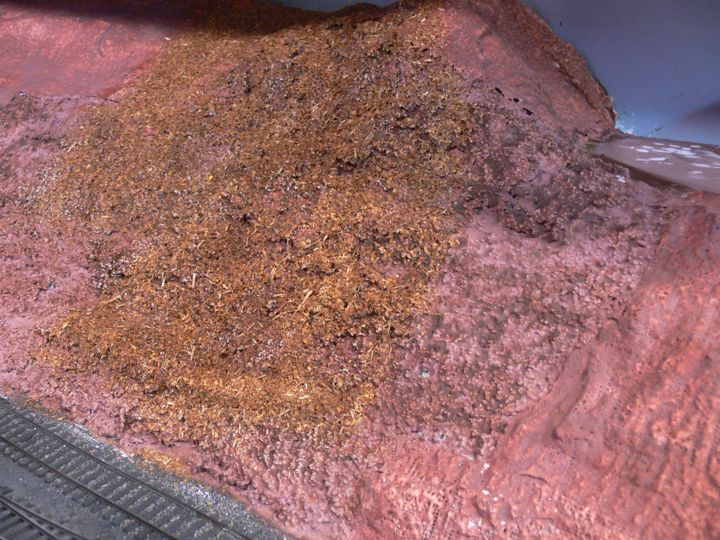 |
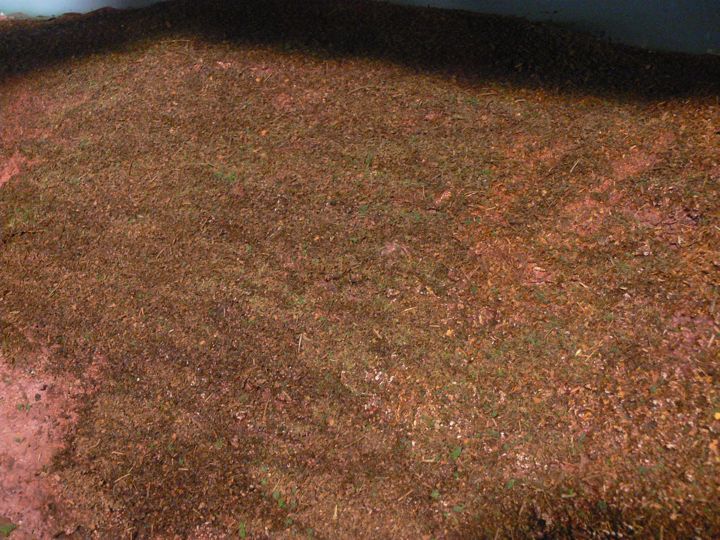
After painting the surface (it's more brown than the red shown) I ground up leaves from the yard to make my own ground cover as a test. |
 |
With a tree for effect. |
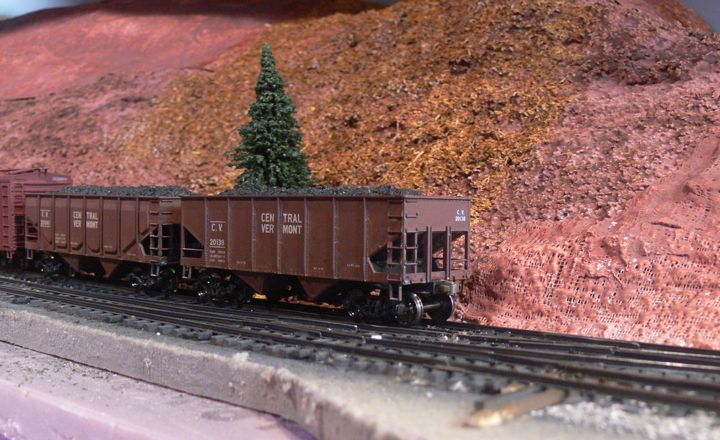 |
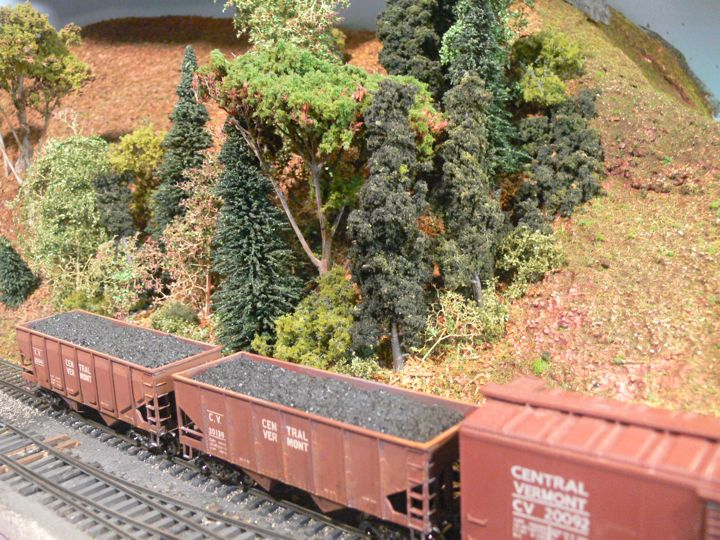
With a tree and train. |
 |
A quick shot of the water area in the front. This is Scenic Express Swampy Bog mix, with Woodland Scenics fine turf (Earth) and Scenic Express Alpine Meadow mix. I need water materal next, I intend on submerging most of the Swampy Bog. |
 |
More ground leaf mixture on the wooded hill; I also very lightly covered the area with the SE Alpine Meadow mix. |
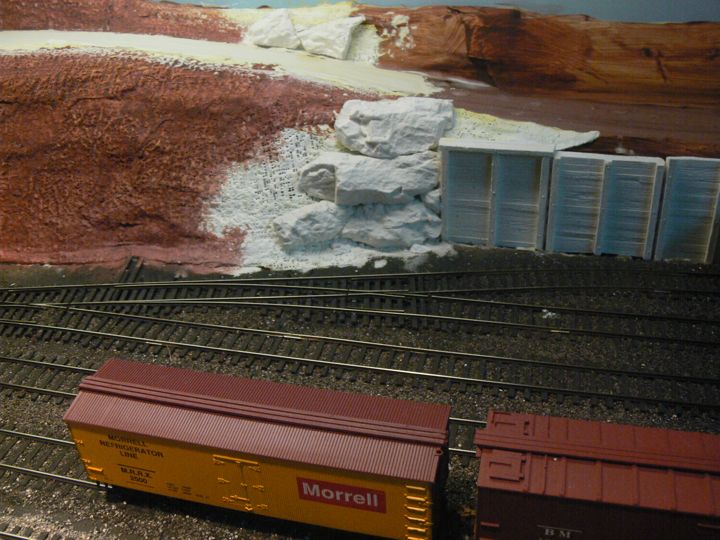 |
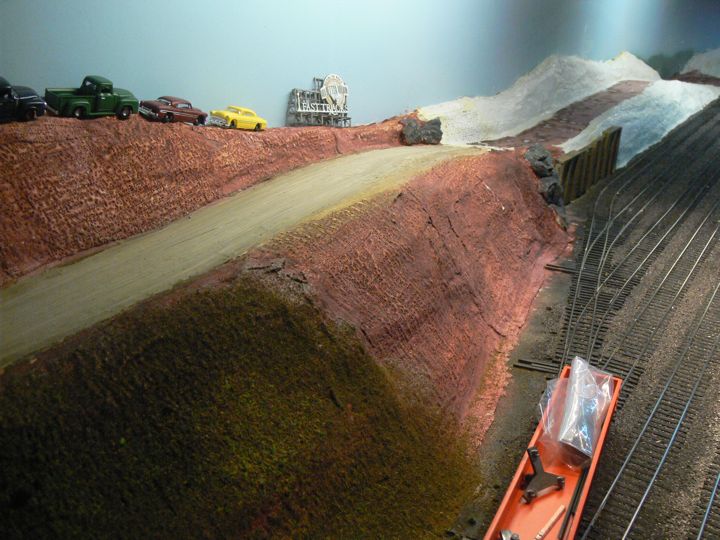
Back in the middle, I cast up some rocks using the Woodland Scenics molds and lightweight hyrdocal. You can also see in the back left the road surface was applied, using lightweight joint compound. |
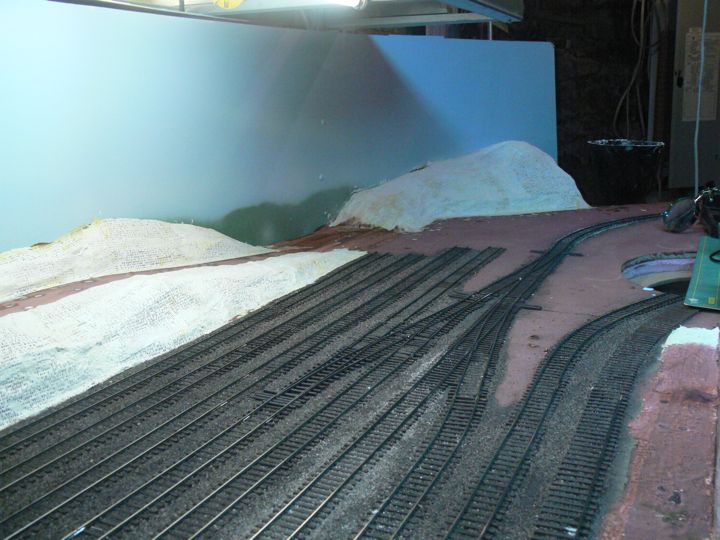 |
A trip to my not-so-local hobby shop got me enought plaster cloth to complete the main land forms, as well as a nice branchline kit. |
 |
|
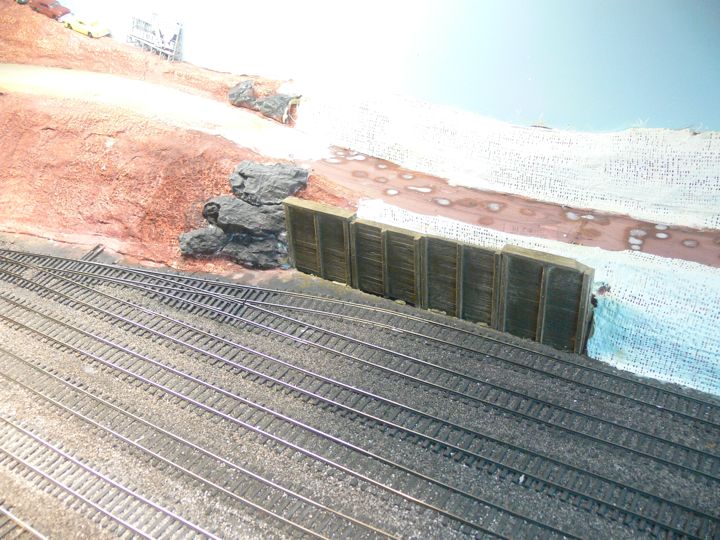 |
I used the Woodland Scenics dyes to color the rocks (Slate Gray, with a light Black wash), and to do the retaining wall (Earth, with a Black Wash). |
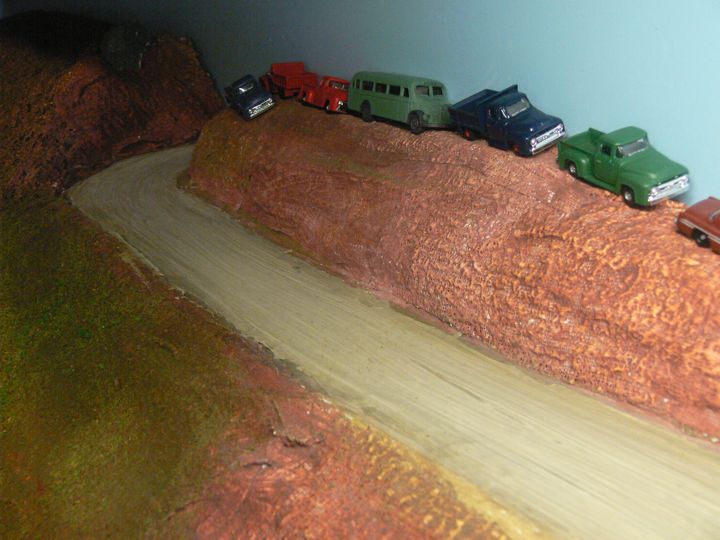 |
The dirt road surface has been a suprise. I was following the lead from The Bear Creek and South Jackson web page, and first up put down the lightweight joint compound. Instead of using a sponge to smooth it, I instead used a damp paper towel which left a series of ruts - almost perfect. I than hit it with the Woodland Scenics Earth dye, just to take the white away - and the color was immediatley nice. Another Black wash, and I was impressed at how it looks already, even without the further steps that were outlined. |
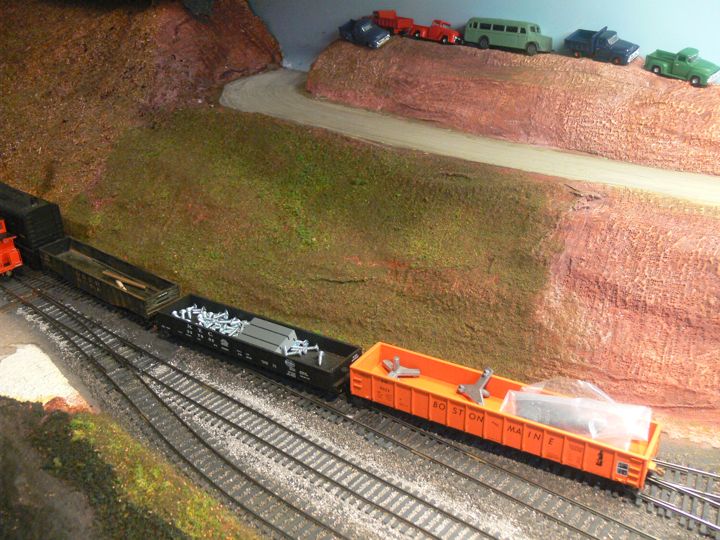 |
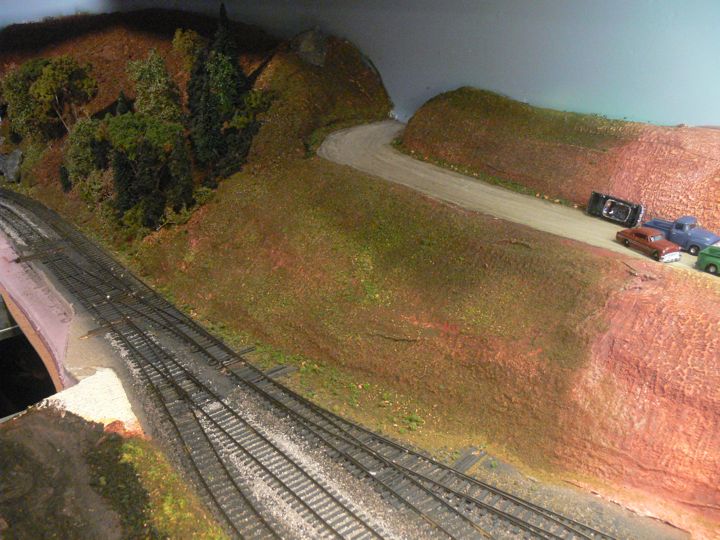
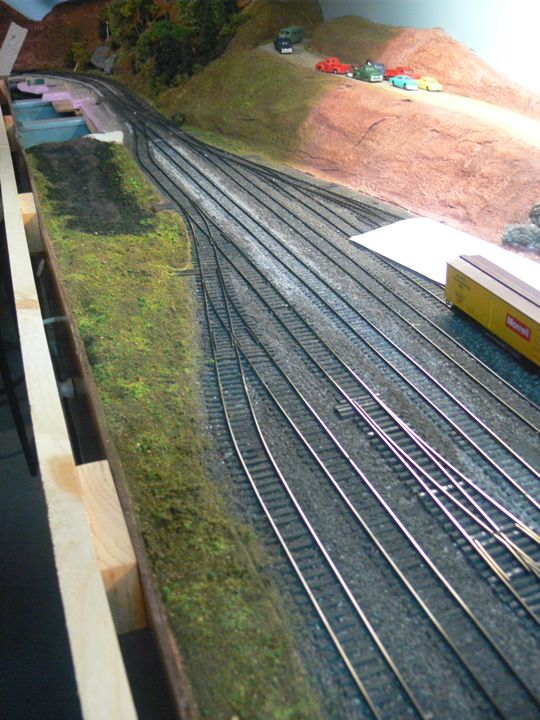
This non-wooded slope is currently a combination of Woodland Scenics Earth fine Turf, and the Scenic Express Alpine Meadow mix. This is a base, only. |
 |
A decent view of the transition. |
 |
Vroom! |
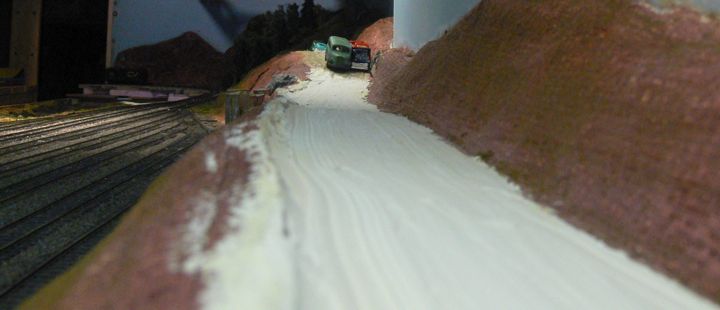 |
With the remainder of the hills plastered and painted, I was able to extend the road. Again, this is just lightweight wall patch, smoothed out with a wet papertowel. Nice ruts! |
 |
While that dries, I continued putting down a base coat of ground foam. |
 |
And yes, started planting trees! Another reason to not like the vermiculite, I shattered a section by using an awl instead of a drill, but I can hide it. The trees are being freely looted from the first chainsaw/test layout. |
 |
The plaster road was finished along the back. |
 |
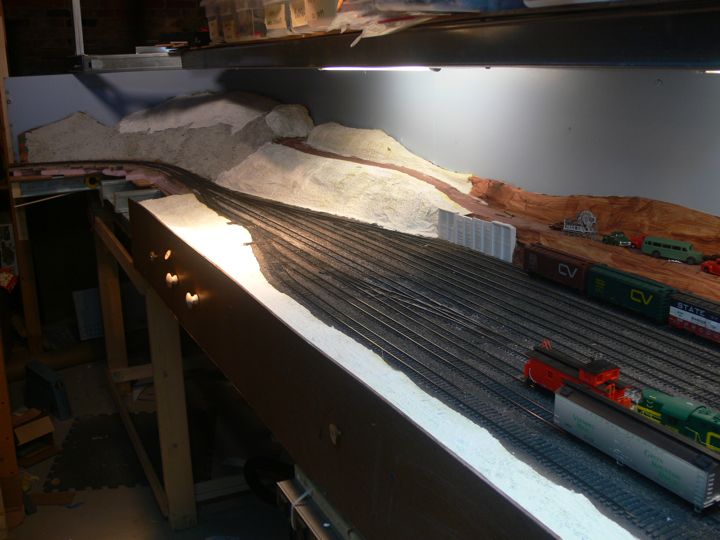
I broke a turnout pull handle by catching it on my leg, and being fed up, broke out the saws. The Fascia was completed along the whole layout, and I added a "rub" rail. The rail is made up of a 1x3, mounted to the fascia with 2x3 blocks every 24 inches; everything was glued and finish nailed in place. Note the rail sits .5 inches above the fascia edge, which should protect scenery from my arms, and over the turnout pulls, protecting them from catching. |
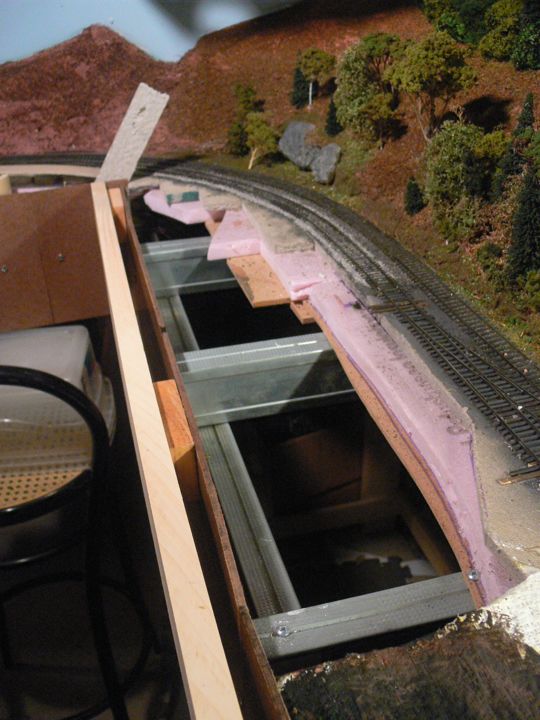 |
A good shot of the layout cross section. |
 |
Puffball trees are in production. |
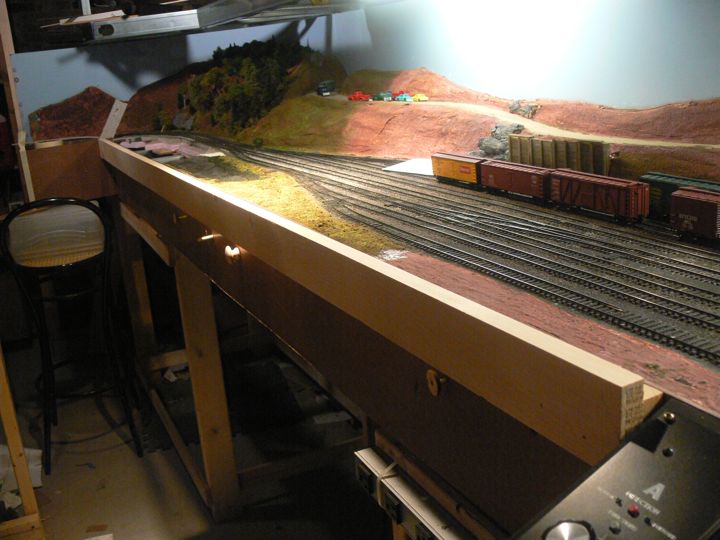 |
The rub rail extends all the way down the front where I'll be fiddling with cars. You can see here how it protects the turnout pulls. |
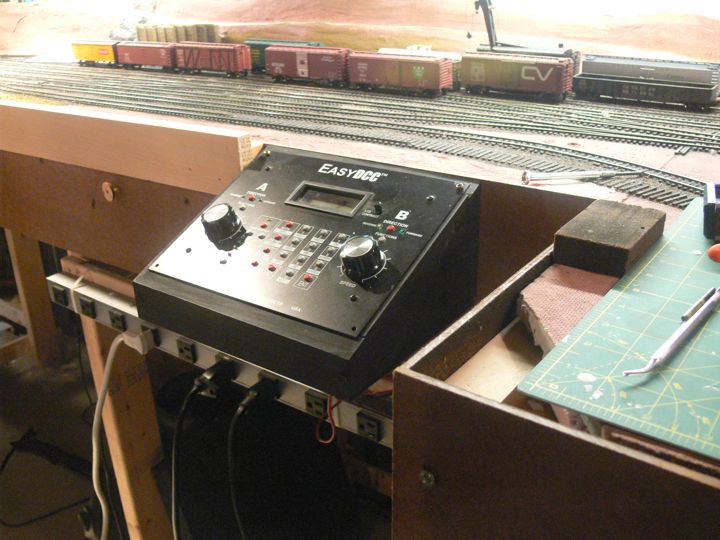 |
Lastly, I moved and mounted the CVP control panel. |
'ere is dem nasty legal bits:
This website is completely unofficial and is in no way endorsed by anyone. All corporate and company names are used without permission. No challenge to their status is intended. ©2009. This site is the sole work of Scarpia (Thomas Garbelotti) unless otherwise noted. All content not created by Scarpia is copyrighted by the respective copyright holders.