 Scarpia's MINIVerse - Model Railroading
Scarpia's MINIVerse - Model Railroading
Tools
Home Built Static Grass Applicator
I've been playing with scenery, and wanted to move my testing onto the static grass. The applicators seem the way to go, but I'd rather spend $200 with one of the advertisers here before buying a Noch version.
Thanks to this website that had a great break down of items to purchase, I got the parts, and started whipping my homemade version into shape.
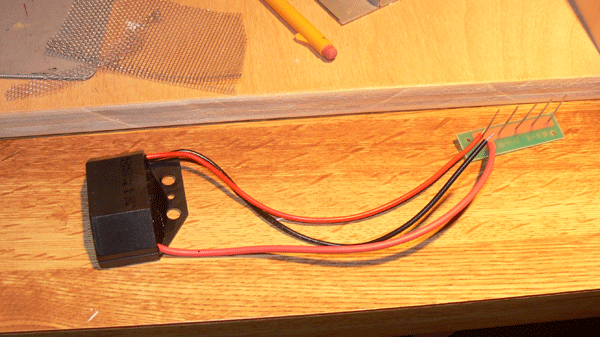
The key, it seems, is the negative ion generator. I know some folks have had luck with a electronic fly swatter, but in the middle of winter they're kind of hard to find, so I went ahead and ordered one of these. As an added bonus, it is 12 volt.
First up was a rough approximation of the tutorial.

I realized after beginning construction that the shape isn't relevant to the function (or at least I believe). What is important is that the wiring is sound. The package is in some degree not material as long as the grass passes through the screen that is receiving the charge.
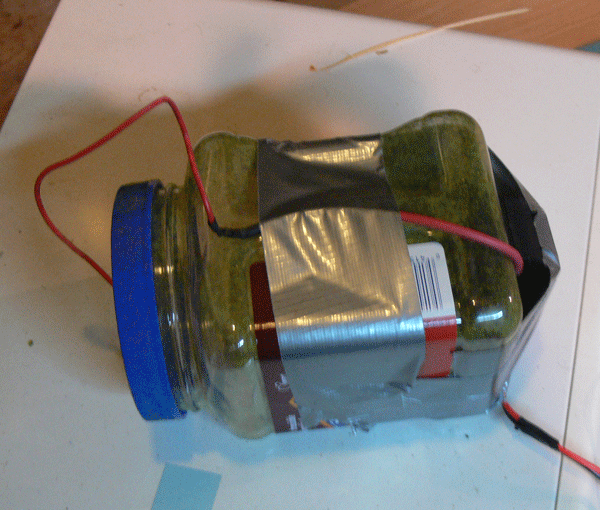
Based on that, and that I was having a hard time getting the two parts above to adhere, I went with a simpler model. It is smoked almond container, with the screen not glued in, but just pinned by the cap and the top of the jar. I liked the thicker plastic, and duct tape seemed to hold the electonics pretty securely.
This ion generator is from the automotive world, and is 12 volt, which is the same voltage i realized as my MRC 12 volt powerpack. I have that powerpack on a toggle switch so I can go between DC and DCC on my layout; I figured why bother with another power source? The Red and Black alligator clips attach to any rail section, the green is for the ground. I just clip them on and fire up the powerpack to 80/90%.
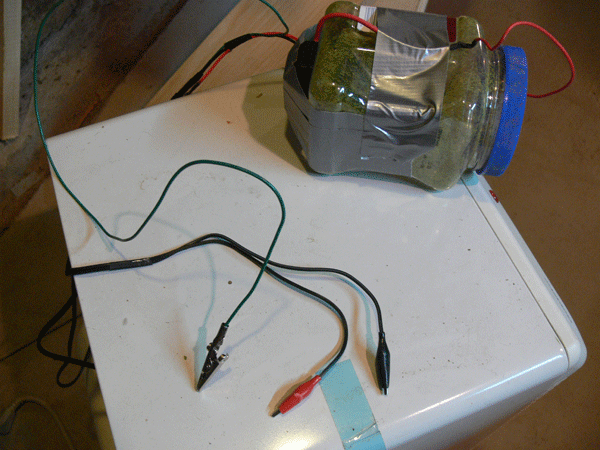
I am 98% sure the wiring is right as it makes a noise, and static electricity increases as the mesh gets close to the ground, but does the end result look right? As I haven't seen any in person, I'm still trying to see if I'm on the right track, or if I need to return to the drawing board.
Before
After
So with some modifications to the design, as well as some other static grass (longer length and different color) I've started to go hog wild with this.
 |
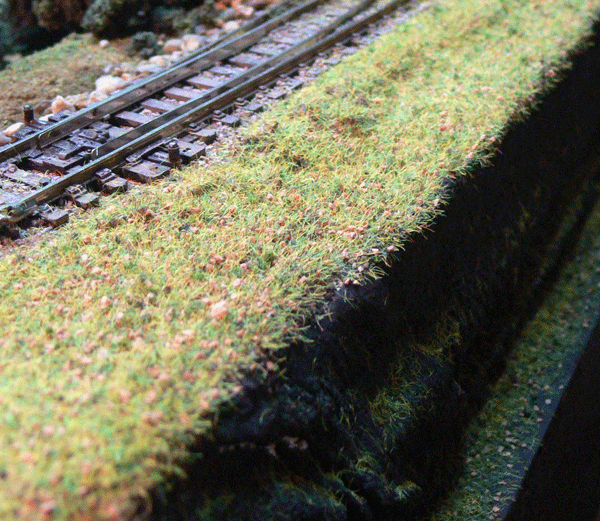
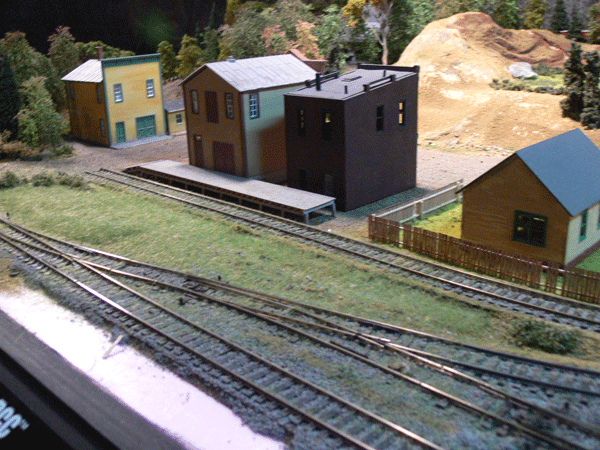
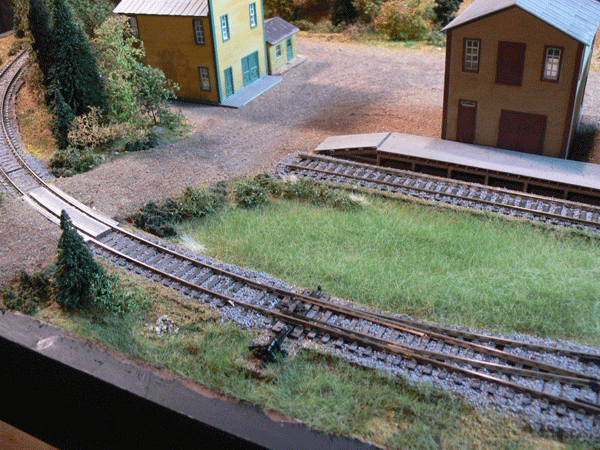
I was happy with this area before I started working with the static grass |
 |
A liberal brush of white glue |
 |
and than the static grass goes down |
 |
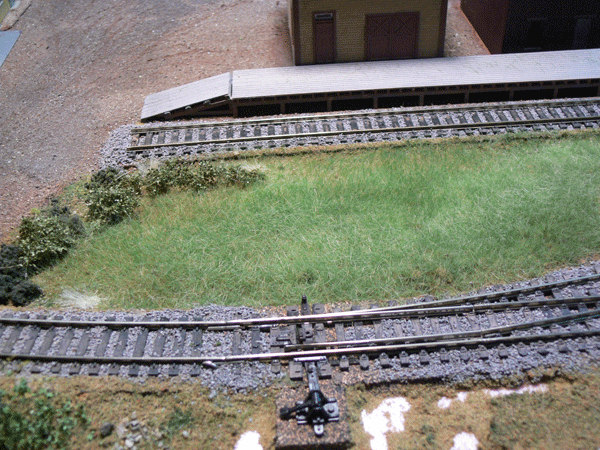
I hit a pretty good sized area. |
 |
Once it was dry, I vaccuumed up all of the loose material, which actually added body to the grass |
 |
Now this area looks bit more "field" like |
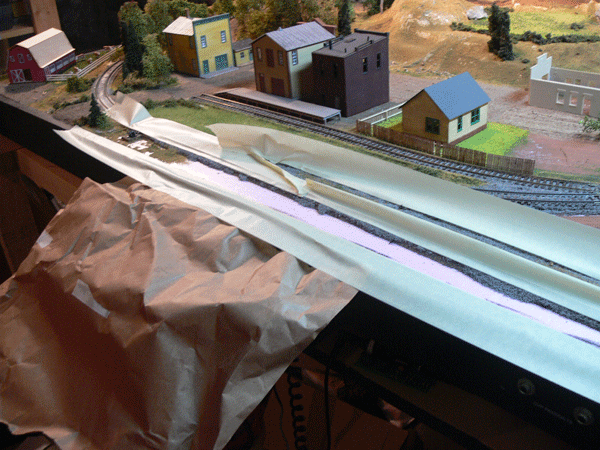 |
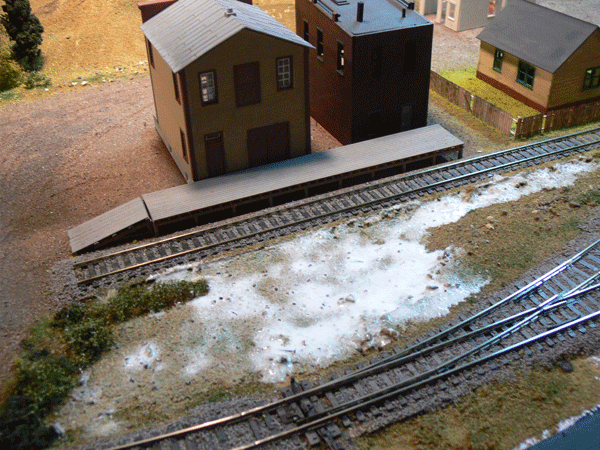
Tape to protect the track, and paper over the Easy DCC head unit. |
 |
And the results after removing tape and vaccuuming. |
 |
A quick touch up on the fascia, and we're in business. |
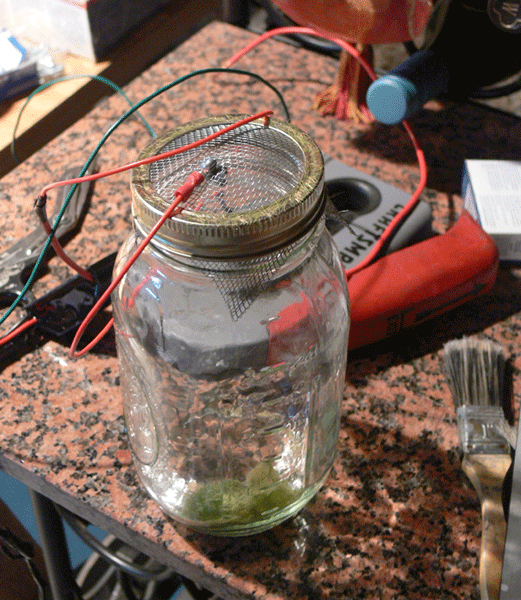 |
Here is my final device. I settled on a quart mason jar for a couple of reasons. 1. the glass is non-conductive, meaning the material is easy to change out. 2. The screen can be cut too large, and simple screwed on tight with the cap ring. |
 |
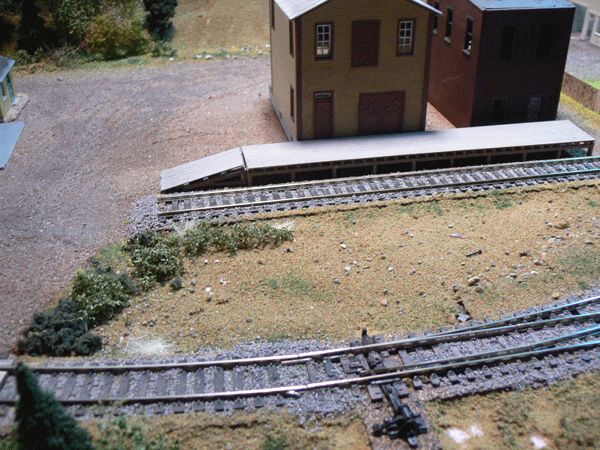
I thought it might be good to show some before and after pictures. Here's the before with an area that I was satisified with as a start. |
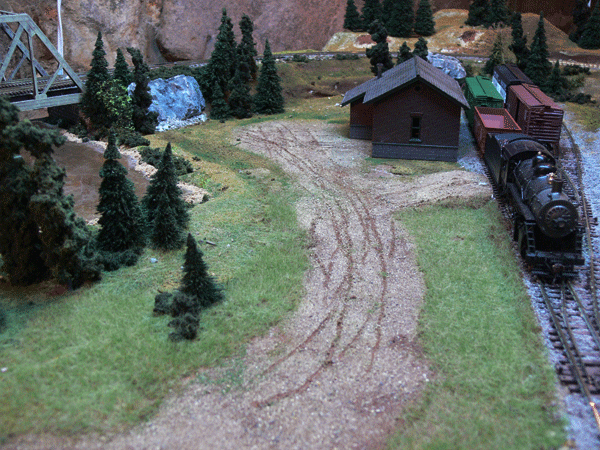 |
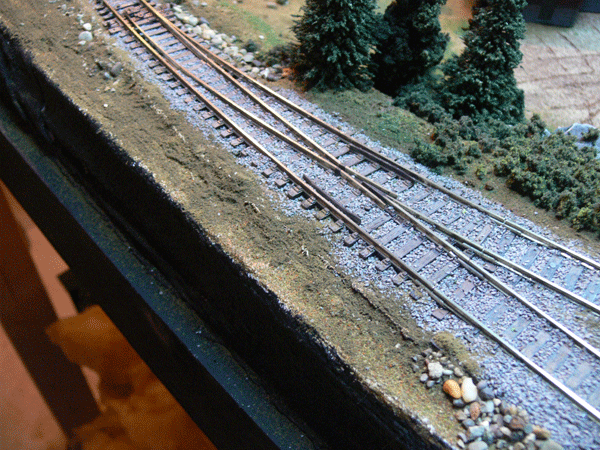
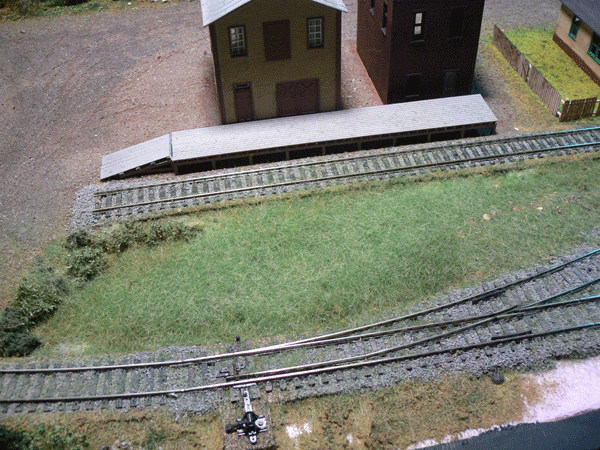
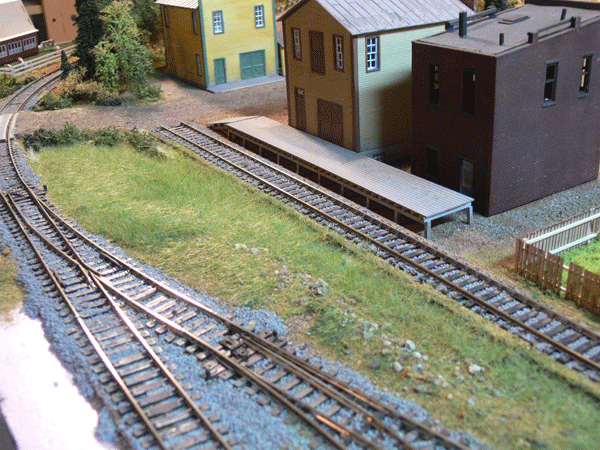
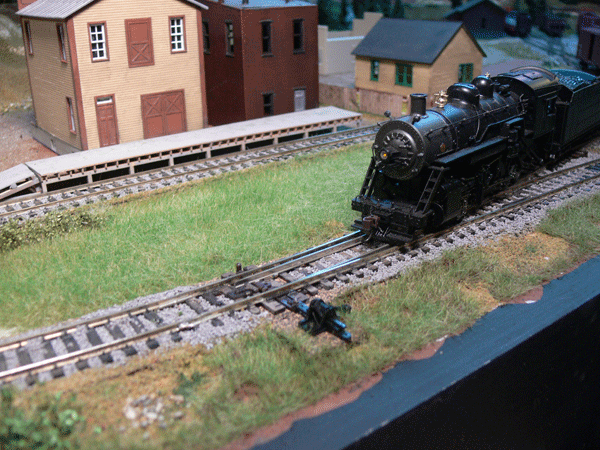
And after the grass appplicator treatment (this side of the grade crossing, on both sides of the road). The difference is palpable. |
'ere is dem nasty legal bits:
This website is completely unofficial and is in no way endorsed by anyone. All corporate and company names are used without permission. No challenge to their status is intended. ©2009. This site is the sole work of Scarpia (Thomas Garbelotti) unless otherwise noted. All content not created by Scarpia is copyrighted by the respective copyright holders.