 Scarpia's MINIVerse - Model Railroading
Scarpia's MINIVerse - Model Railroading
Conversion
Atlas Alco RSC-2 DC to Sound equipped DCC
I got this locomotive used off of the Internet, and it was in perfect condition, ran like a top. Sadly for me, it took a dive 48 inches to hard concrete, and ended up like this.
I decided, as I have to put it back together anyway, that this might be a good one to begin converting to DCC from DC.
I contacted Norm at Tony's Train Exchange, and he confirmed that the correct decoder for this model is the 820042: DSD-AT100LC ALCO, so I've ordered that from them, as well as a small oval speaker with enclosure.
I found this site that describes doing this installation on an RS-3; I'm using the instructions as a guide for this conversion as well.
July 29 2008
The parts from Tony's arrived today, and as I had a few hours, I started the hack job.
With the shell and walkway already removed from the chassis, thanks to the Cliff Dive, accessing the bits were easy. First step was bending the two thick copper straps from the plate (top and bottom), and removing the truck line feeds from the ends.
You can see a little better in this angle. The plate just snaps out when you squeeze the two black plastic mounts.
I cut down the (top) copper motor feed here in preparation to solder.
And I have the feed wire soldered to the copper motor feed. Note that I was worried about isolating the motor, but than I realized that on this model, it sits in a plastic housing anyway.
I fed a heat shrink tube over it, and sized it to fit.
And basically repeated the process for the other motor feed (white wire) After this, I pulled out a normal DC powerpack, and tested it on the bench to make sure the connections were good.

I thought about isolating the DCC module from the engine using two sided foam tape.
But as you can see, it made the board warp (bad idea) so I removed it.
Instead, a simple piece of black electrical tape adds extra insulation.
You can see it fits a LOT better now.
I carefully spread the ends of the truck feeders, and they clamped on in a similar location on the decoder. A quick squeeze with needle nose pliers made them stay. I soldered the engine feeds tot he decoder (lower middle); i got the decoder on the chassis backwards so I'll have to change it's direction on the programming track.
I put the chassis on the programming track, and changed the decoder address to 3901. I than test drove it around the layout for a few minutes, to verify it was all working.
With the mechanicals in place and working, I started on the speaker. Note that it was soldered to the speaker, I drilled holes through the enclosure, and than had to solder the resistor on the one line (with shrink wrap insulation).
The speaker leads connect in what I think are bad spots- see the two holes marked. Being new to the soldering business, I had to stop and think about this for a minute, and finally realized I needed to put solder on the speaker wire first, and than attach it to the holes. There was plenty of space to solder the motor leads; while I haven't soldered the truck leads (yet, they are just snapped on now), I will when I get the lights squared away.
After a couple of hours of work, I got it up and running. The body shell doesn't fit exactly tight yet but I can't tell if that's due to the work or the drop. I did pull the interior weights out of the body, one because the speaker is back there.
I have a quicktime video file here (4mb) to show the results of this project, at least at this stage.
6 August 2008
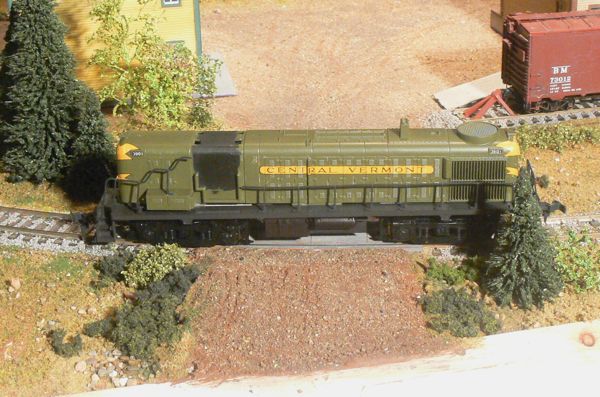
The next modification was to replace the 6 wheel trucks with proper 4 wheel ones. Fortunately snap in replacements were available from Atlas, and after a few moments, it was beginning to look like an RS-3 again.
'ere is dem nasty legal bits:
This website is completely unofficial and is in no way endorsed by anyone. All corporate and company names are used without permission. No challenge to their status is intended. ©2008. This site is the sole work of Scarpia (Thomas Garbelotti) unless otherwise noted. All content not created by Scarpia is copyrighted by the respective copyright holders.