With all the parts in hand, it's time to get crackin'. I want to get the electronics to work properly first before I begin cosmetic changes.
Pre-Testing
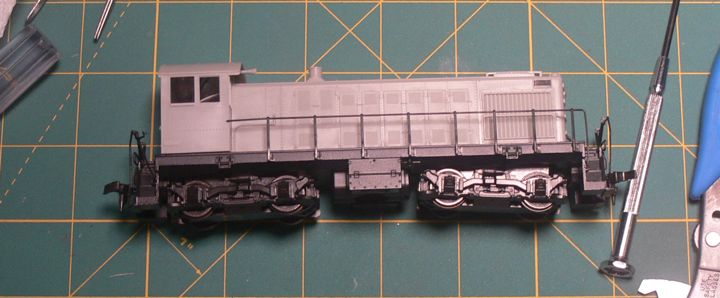
I hadn't tested the loco yet, so once the body was off, I hooked it up to a DC power pack and a piece of test track.

Not surprisingly, it worked fine, but I felt better testing it at least this little amount.
Disassembly
With that working, it's time to take it apart. From my research, I know that this machine needs to have the electrical motor isolated from the frame, so disassembling everything is required. I started by cutting the truck power feeds close to the copper power strip.

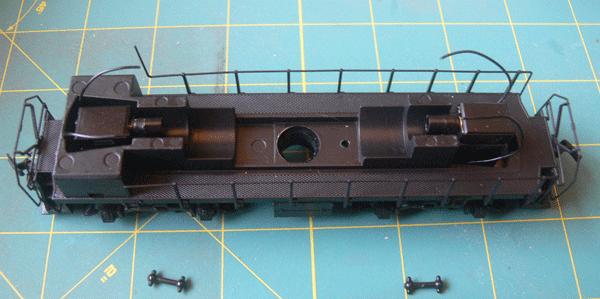
Next up was unscrewing the single top screw, and removing the copper power strip and top weight.
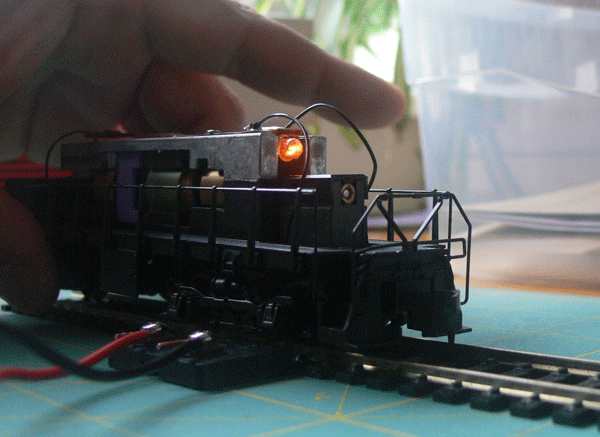
Flipping the model, There is one metal screw that holds the motor to the bottom of the frame. The screw is right behind the front truck, as you can see here from the location of the screwdriver (apologies for the blurry picture).
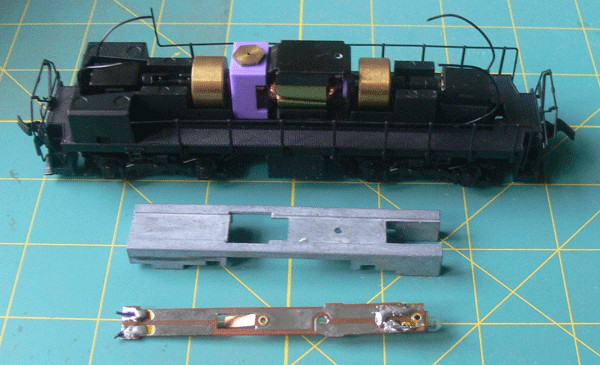
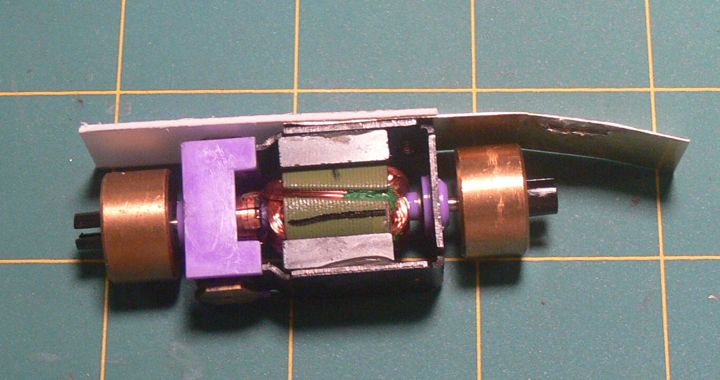
Here's the motor assembly. The black screw as shown is one that needs to be replaced with a nylon screw, I'm headed to the local hardware store this afternoon.
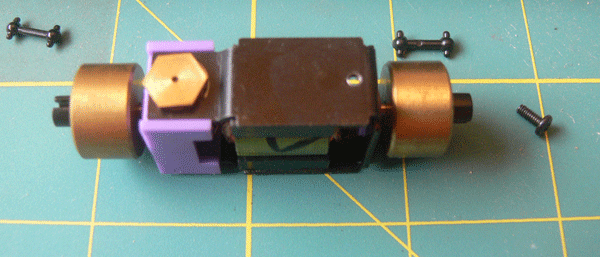
and the empty frame. Additional isolation (electrical insulation) will also be needed between the frame and the motor.
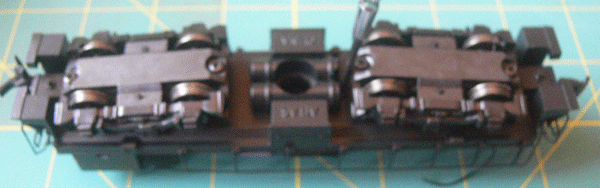
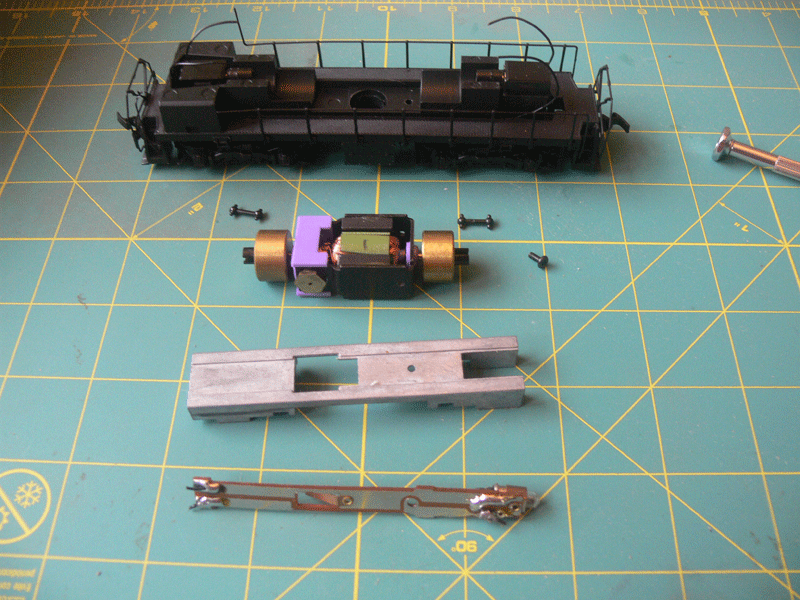
And the completely disassembled model. Note the motor is out, as well as the drive shafts (I didn't want to loose them).
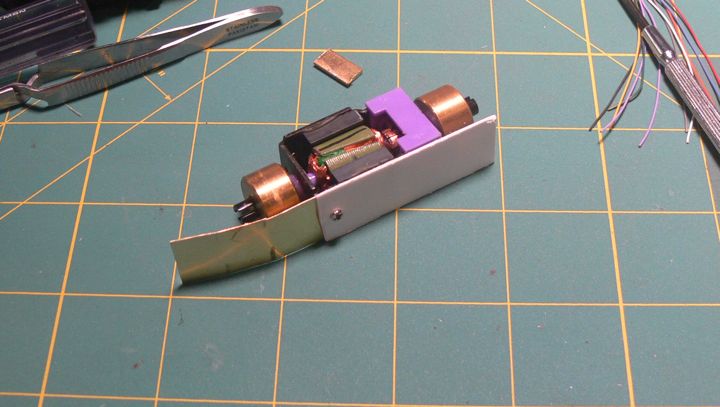
After reviewing the articles of other's work on this, I decided to dump the top weight in it's entirety, and instead make a two part shelf to keep the wires and decoder out of the moving bits. I used half brass, and half styrene, the brass is for the decoder (per Litchfield Station), the plastic for the speaker and wires. Here's the two shelf pieces
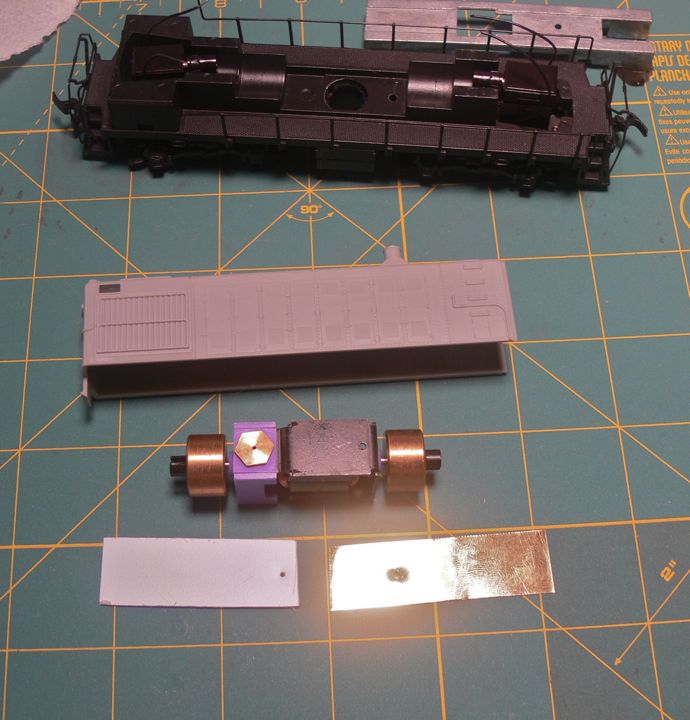
and mounted on the motor with the original screw. Note the bend in the brass is to provide clearance for the decoder in the front of the hood.
and a top view
I than dry fit this to make sure the shelf parts were not too wide.
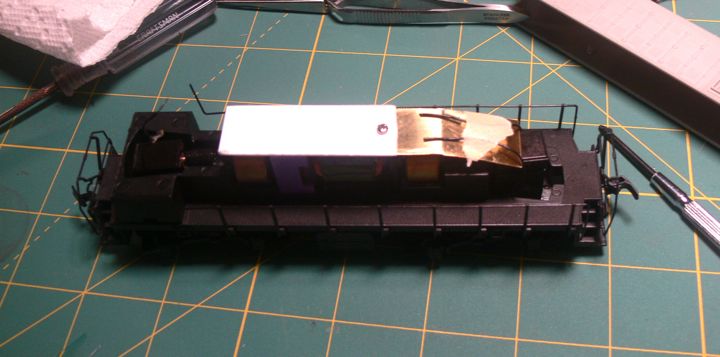
and everything fit just fine.