Scenery
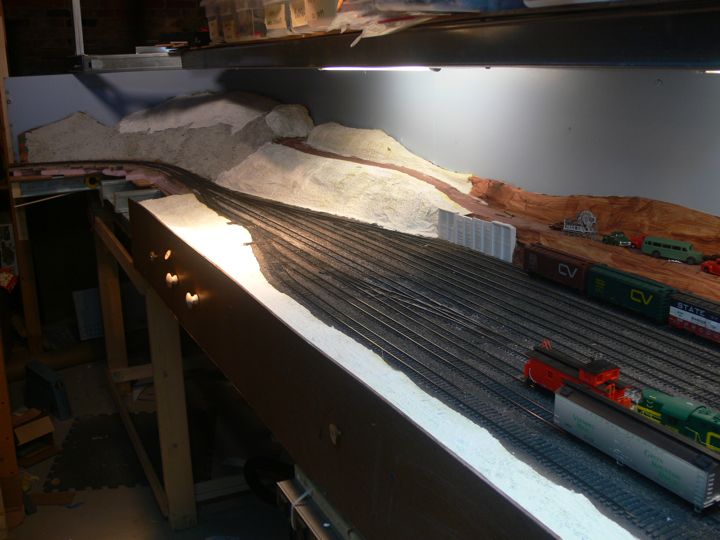
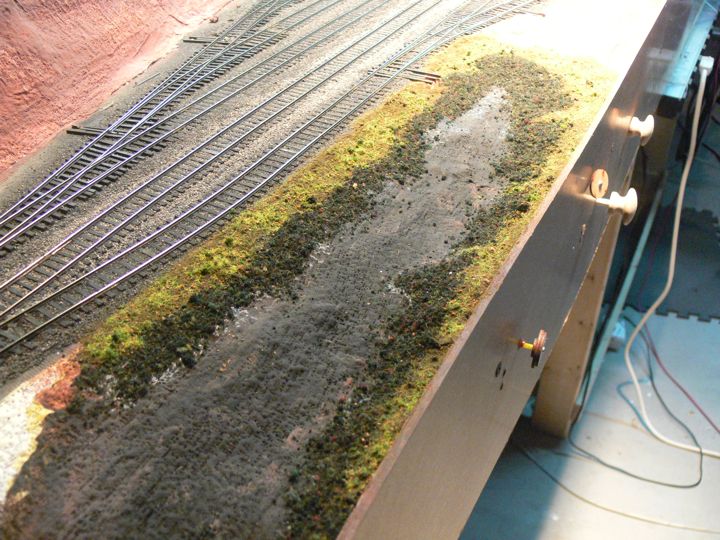
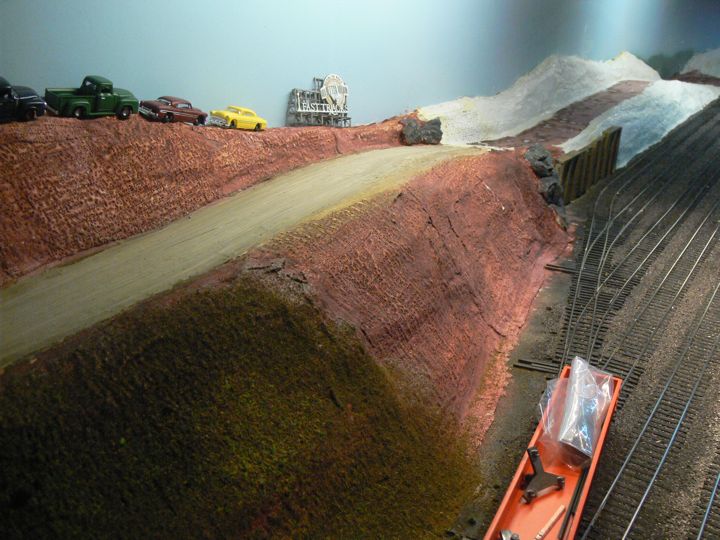
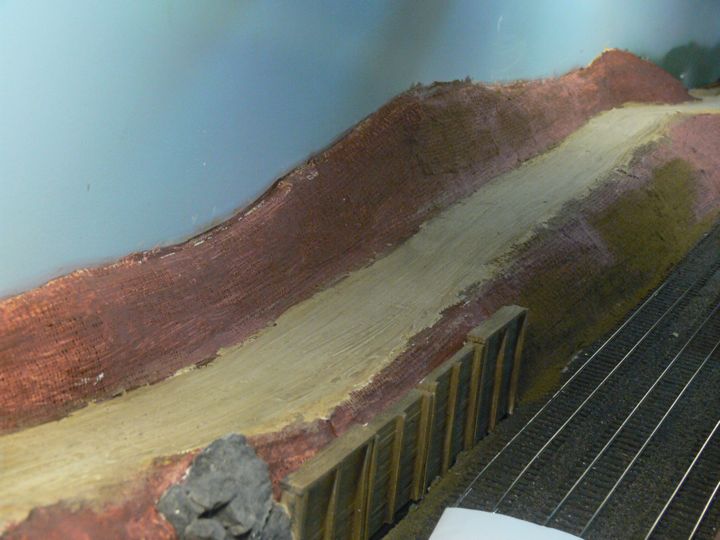
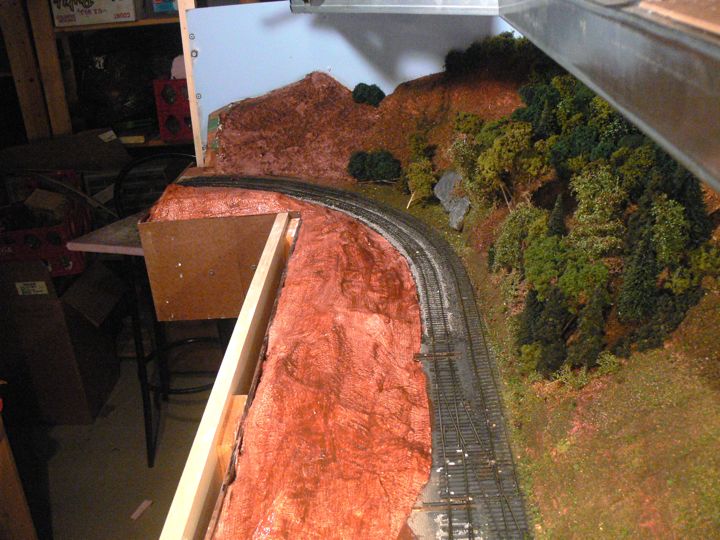
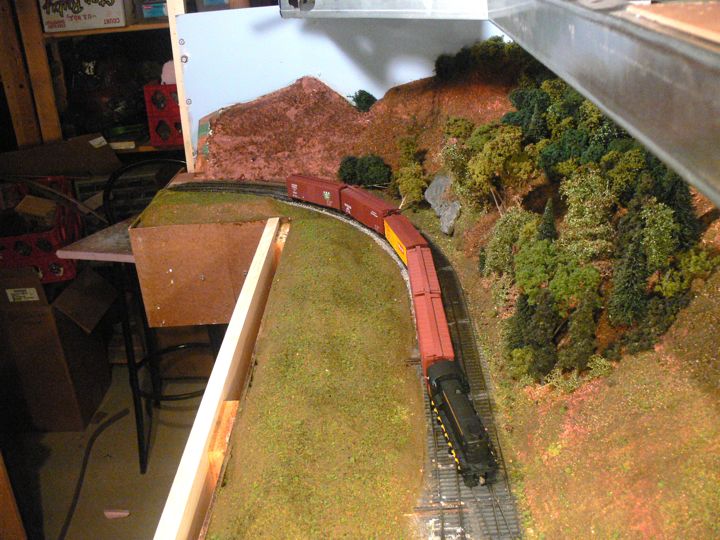
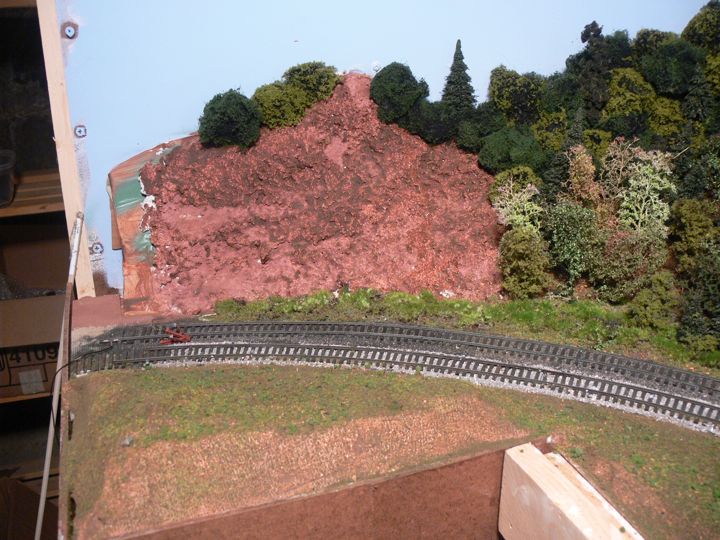
My attempts at a vermiculite mixture (shown here in grey) were not as successful as I would have liked. 4 parts vermiculite, 1 part concrete, and 3 parts plaster, it went on rough - much rougher than I would have liked.
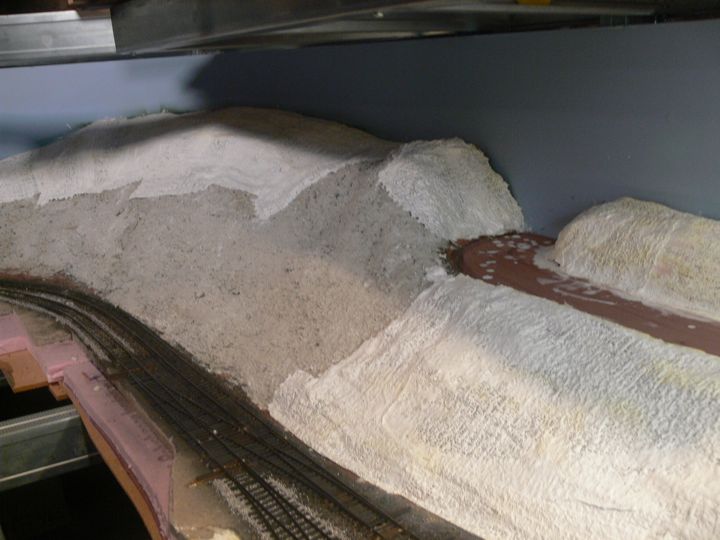
A bit frustrated, I had a roll of plaster cloth left over from the first layout, and used that here to flush out the remainder of the back hills on the left
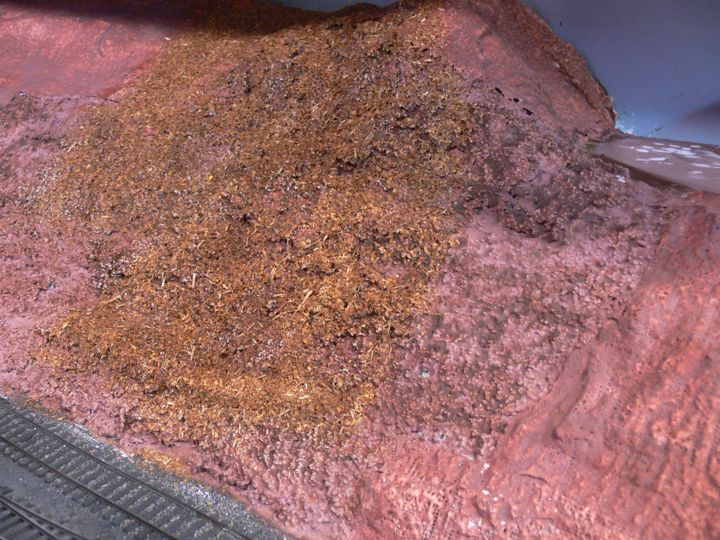
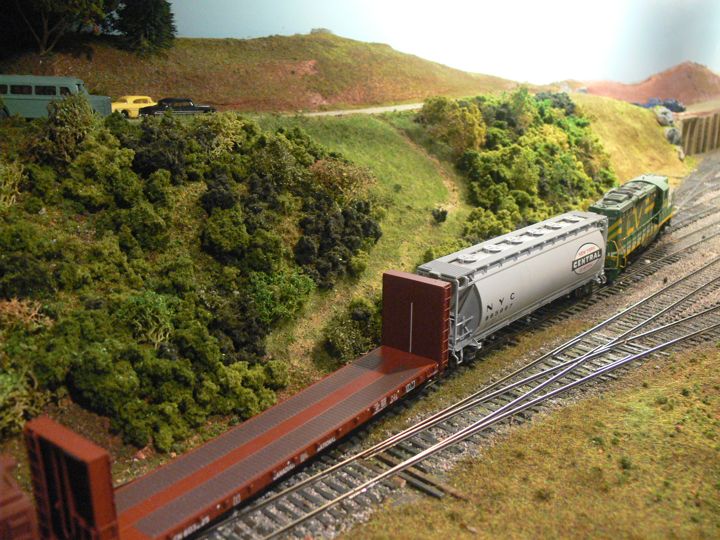
After painting the surface (it's more brown than the red shown) I ground up leaves from the yard to make my own ground cover as a test.

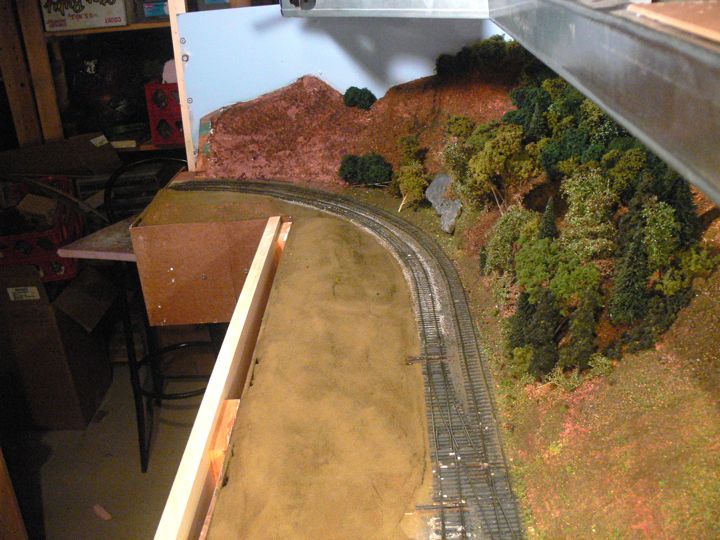
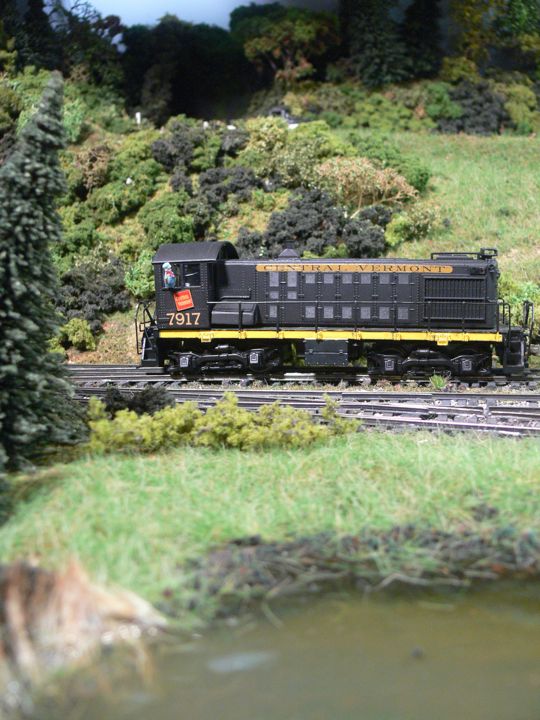
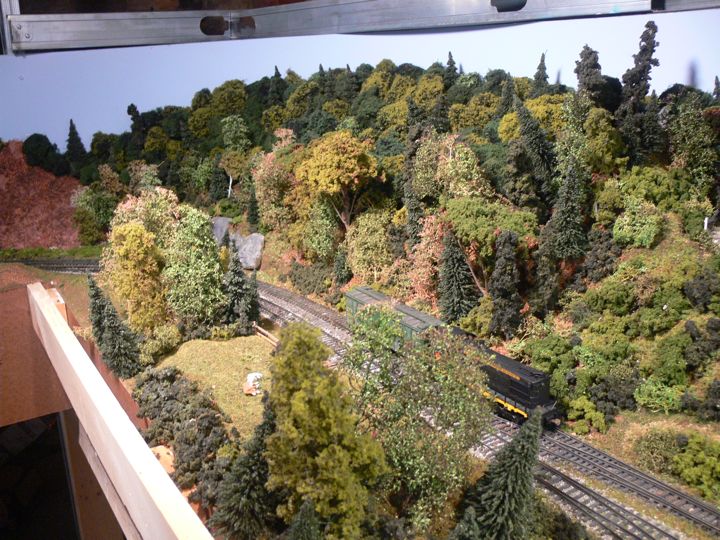
With a tree for effect.
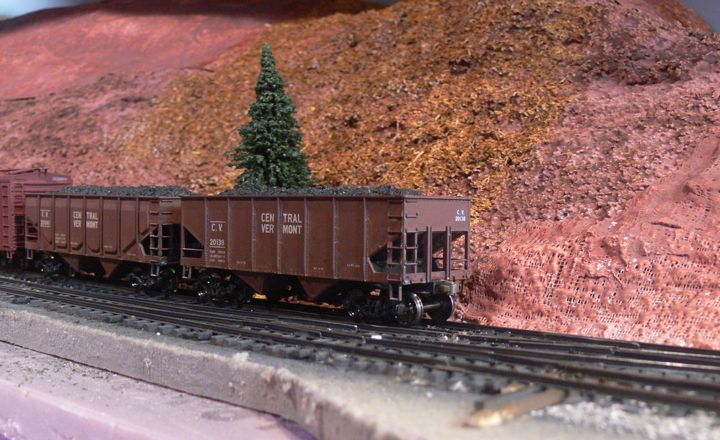
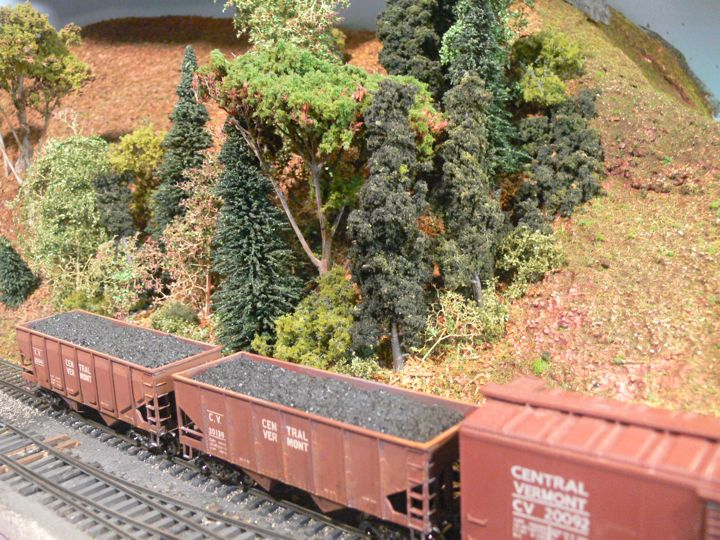
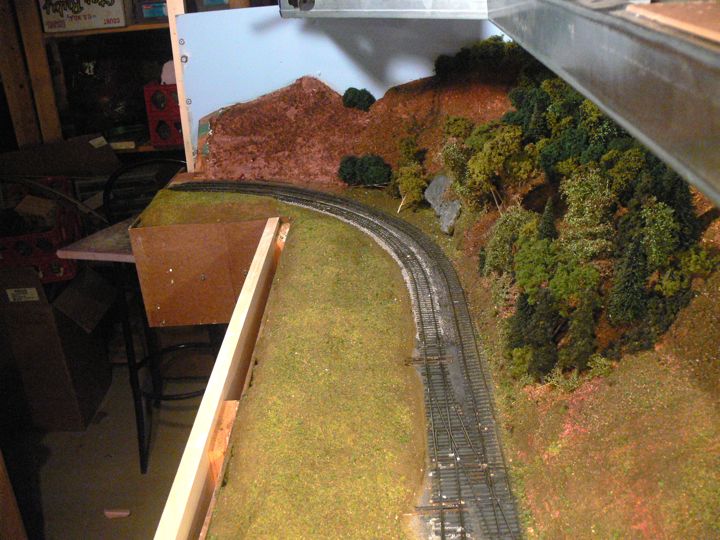
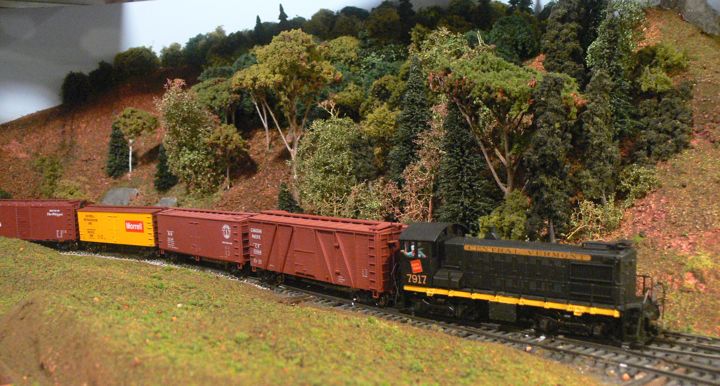
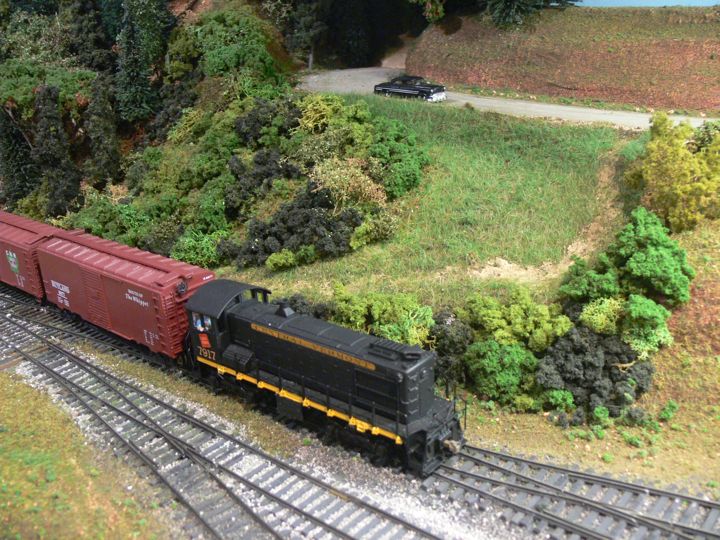
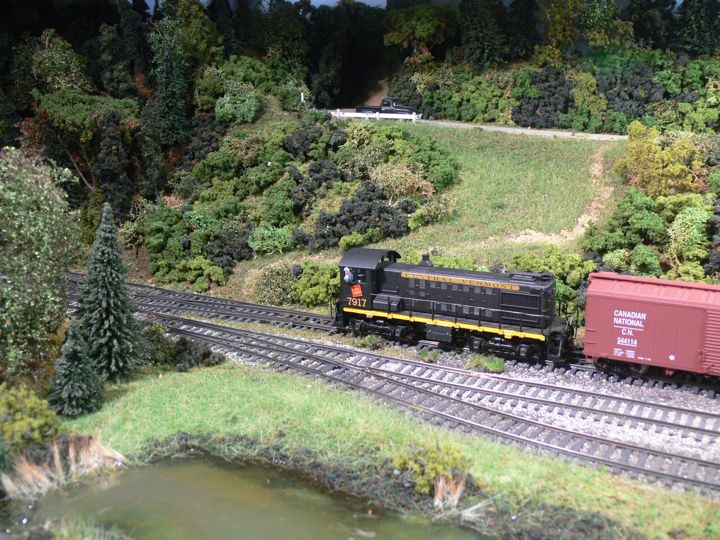
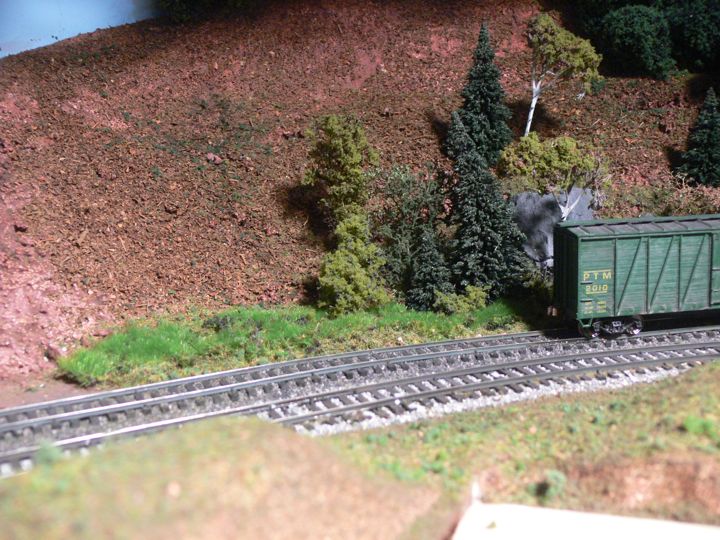
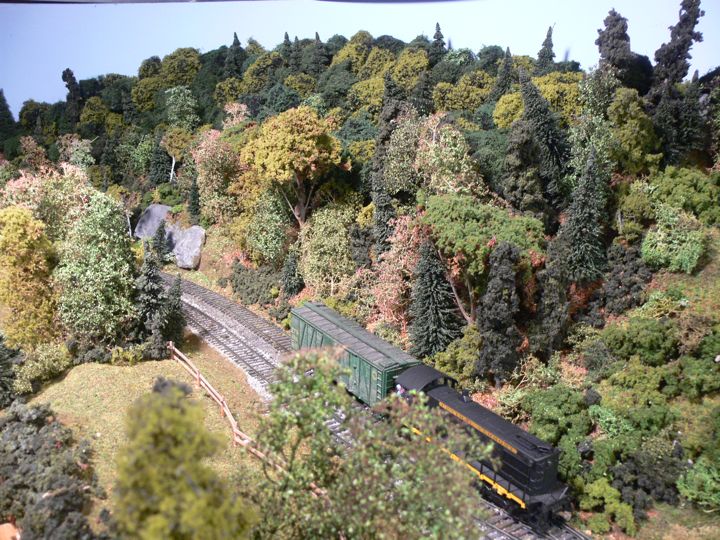
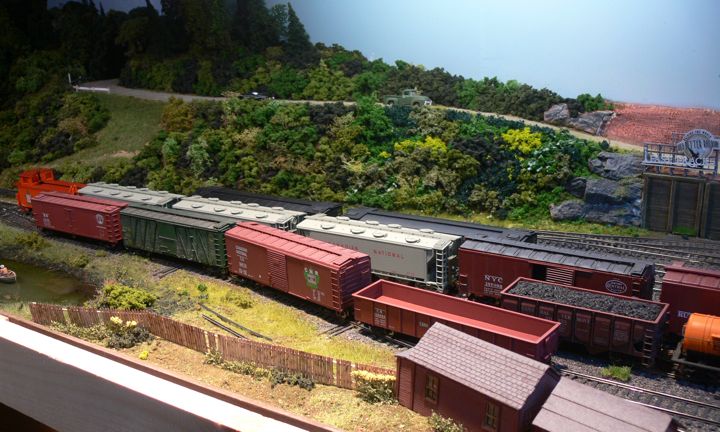
With a tree and train.
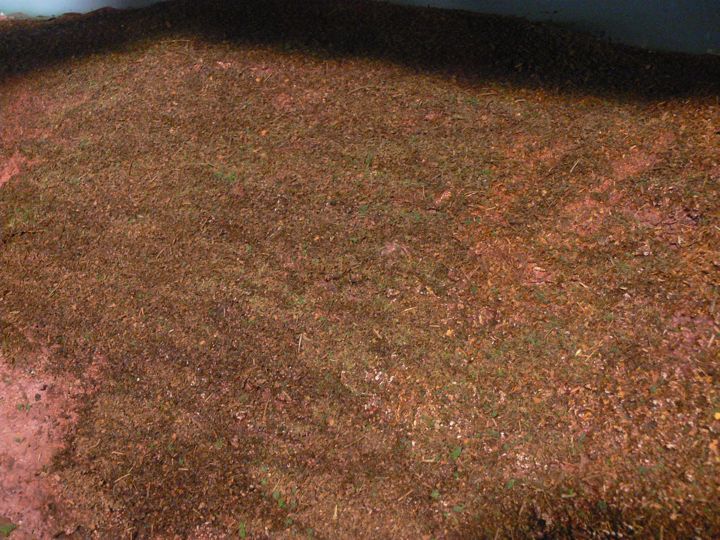
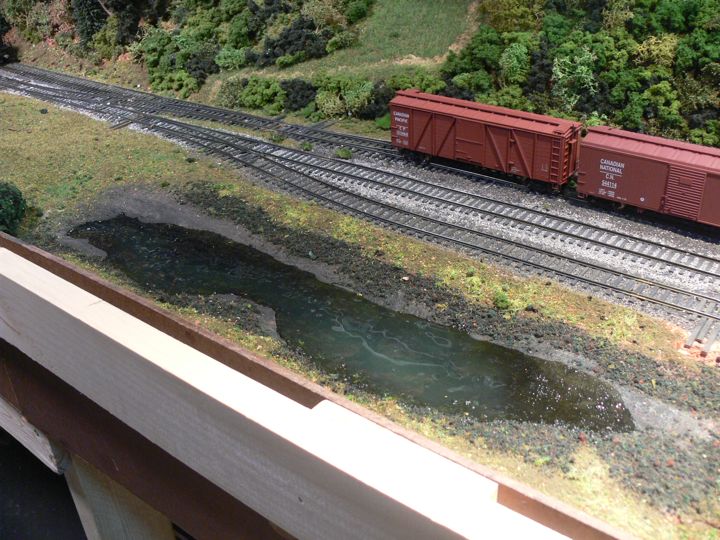
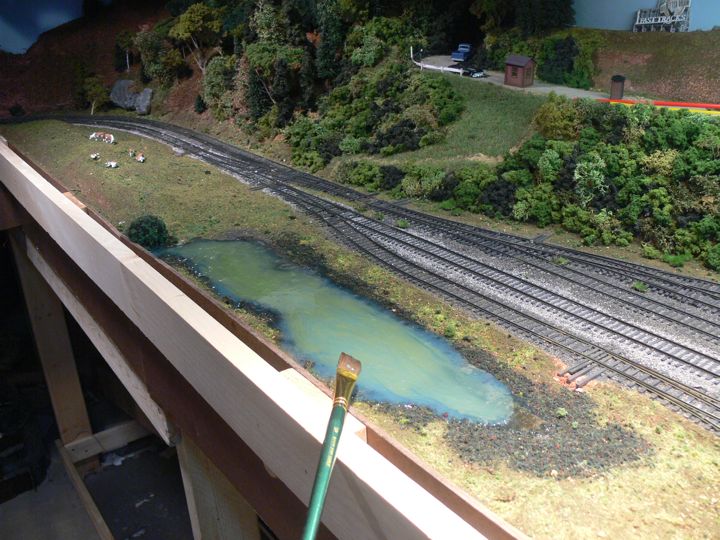
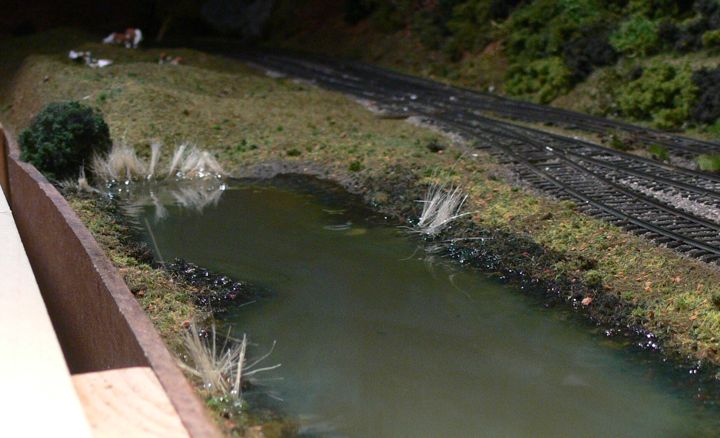
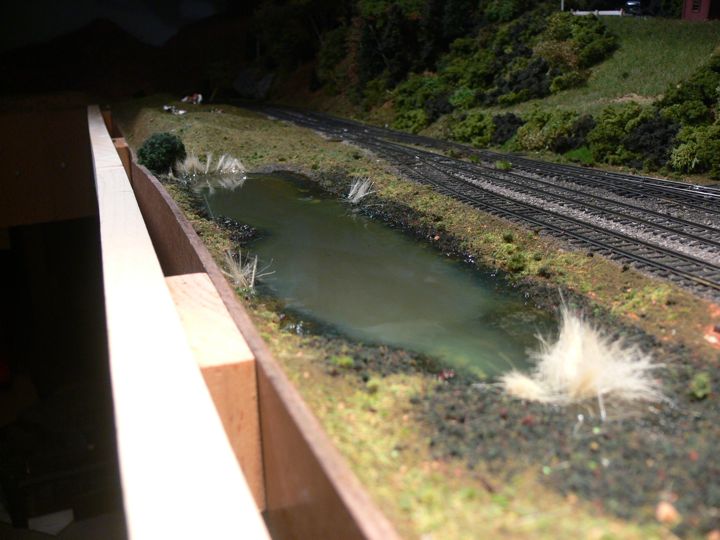
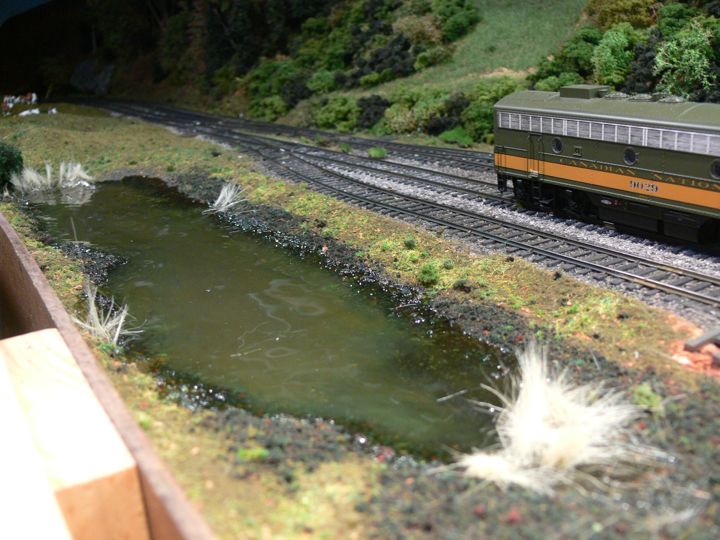
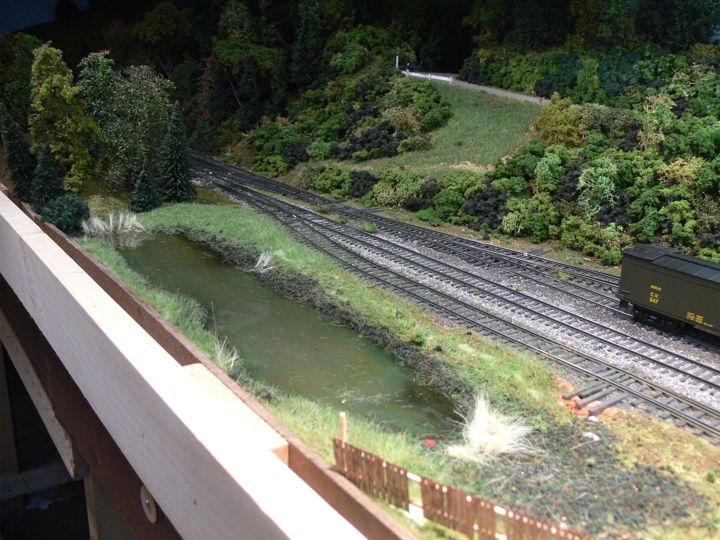
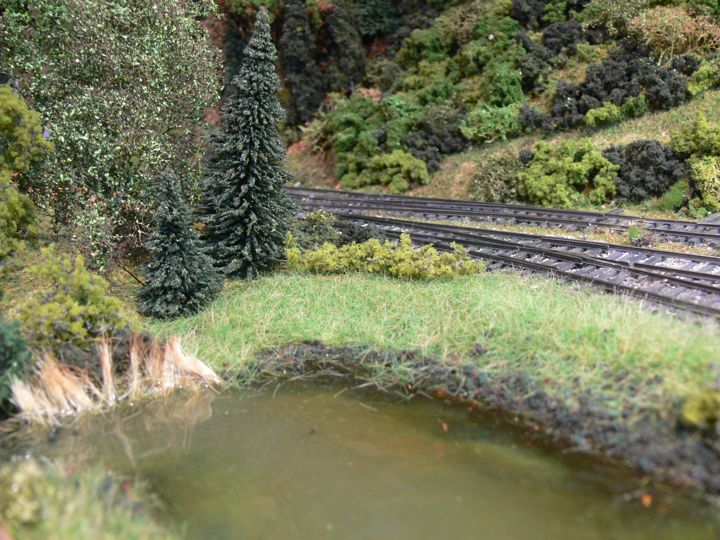
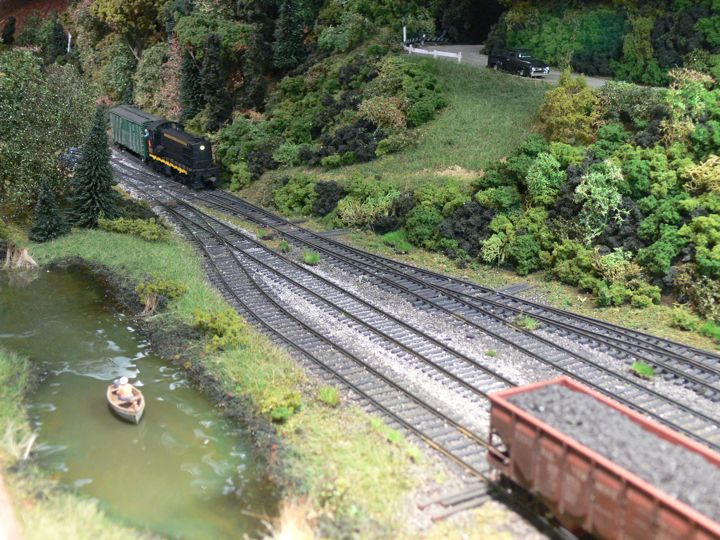
A quick shot of the water area in the front. This is Scenic Express Swampy Bog mix, with Woodland Scenics fine turf (Earth) and Scenic Express Alpine Meadow mix. I need water materal next, I intend on submerging most of the Swampy Bog.
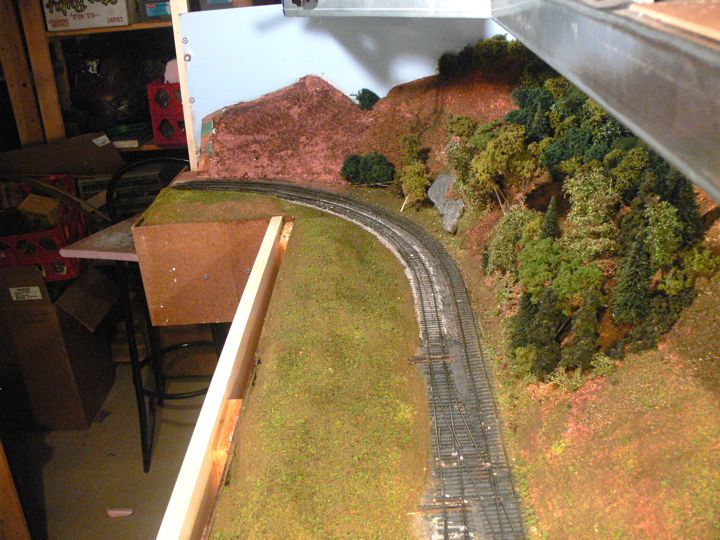
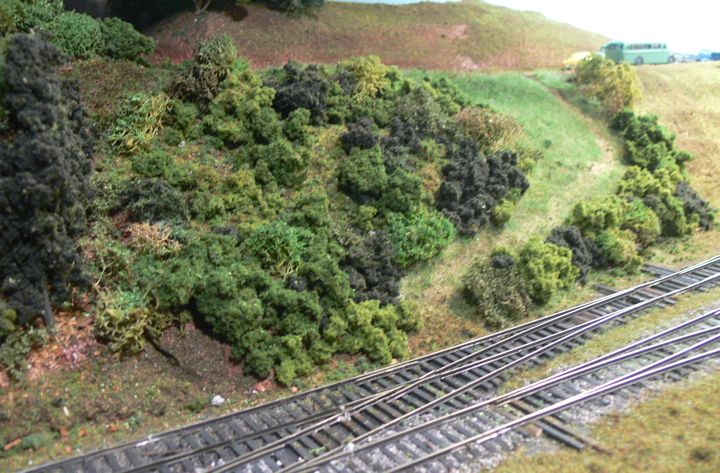
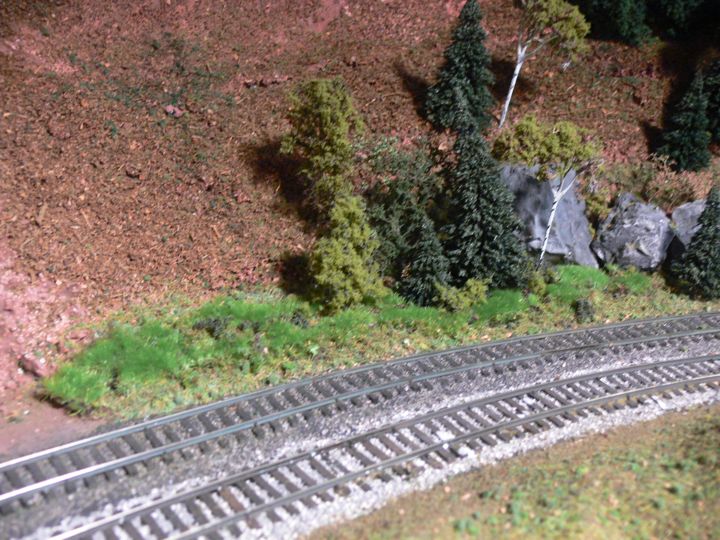
More ground leaf mixture on the wooded hill; I also very lightly covered the area with the SE Alpine Meadow mix.
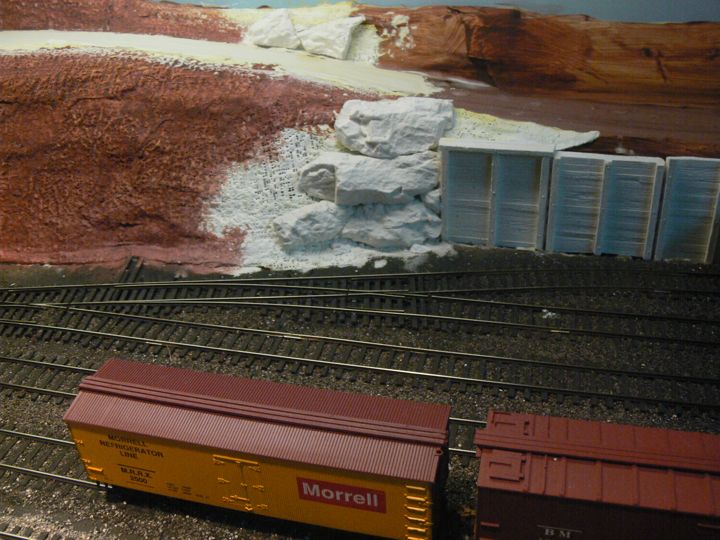
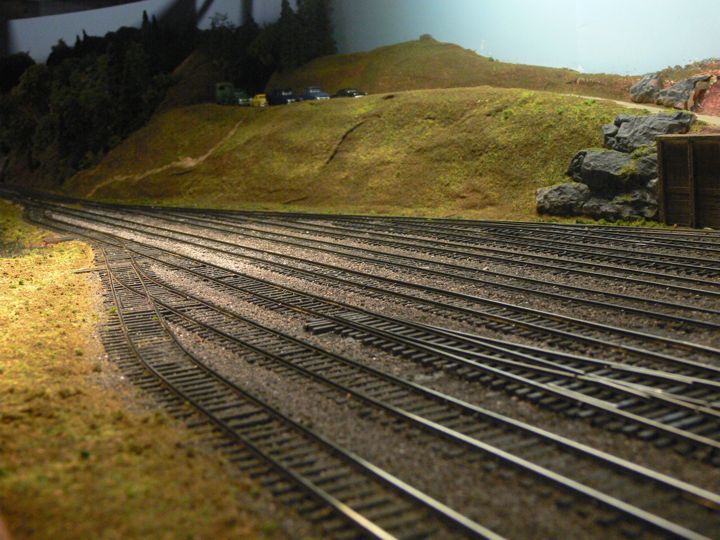
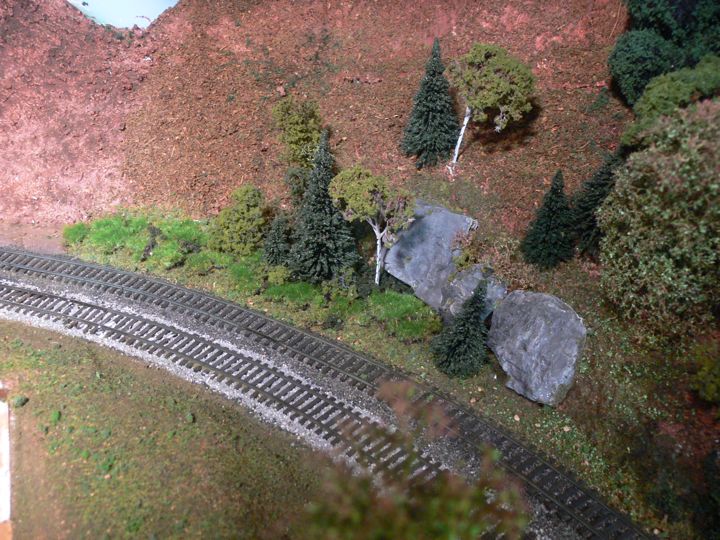
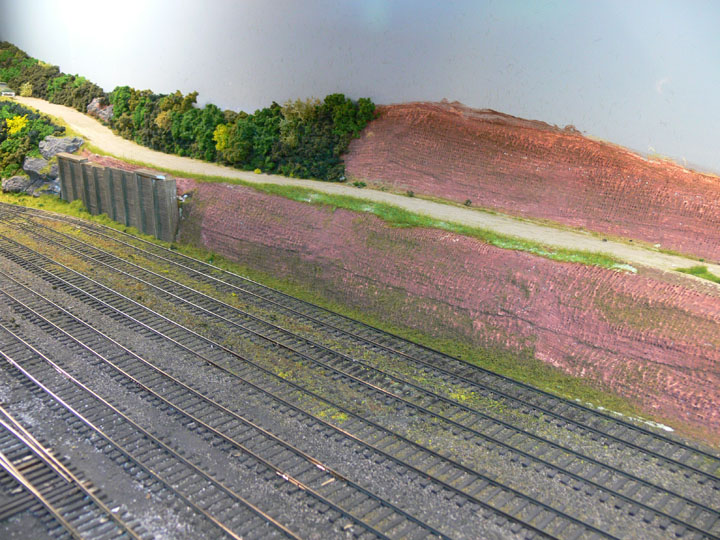
Back in the middle, I cast up some rocks using the Woodland Scenics molds and lightweight hydrocal. You can also see in the back left the road surface was applied, using lightweight joint compound.
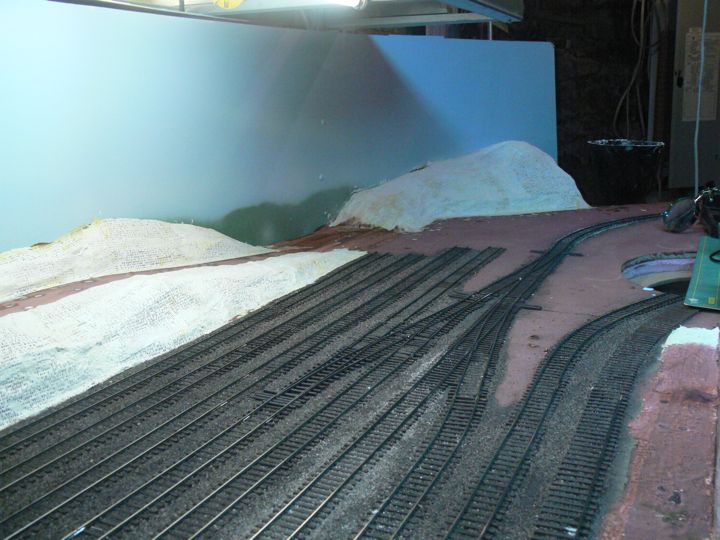
A trip to my not-so-local hobby shop got me enough plaster cloth to complete the main land forms, as well as a nice branchline kit.
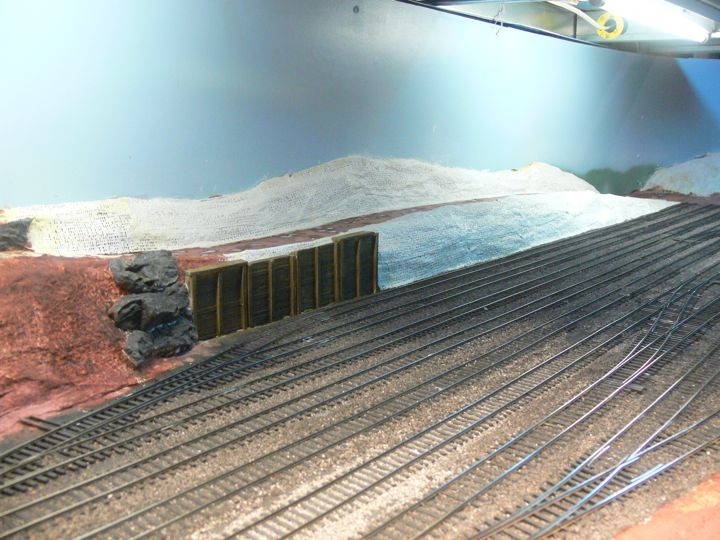
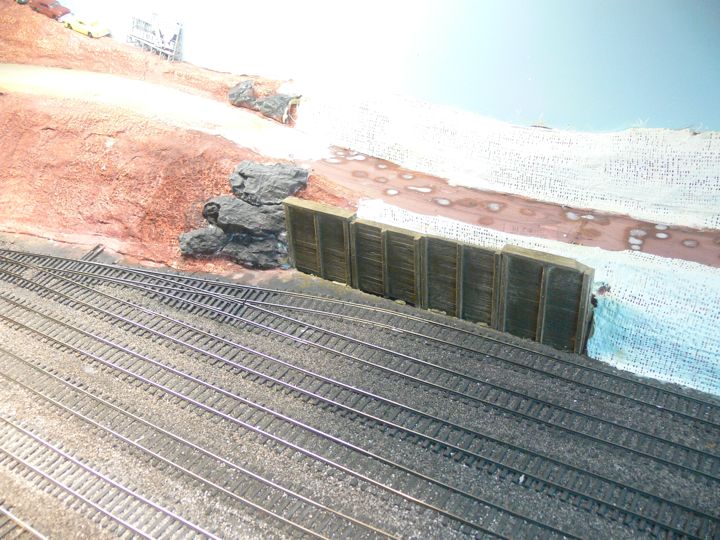
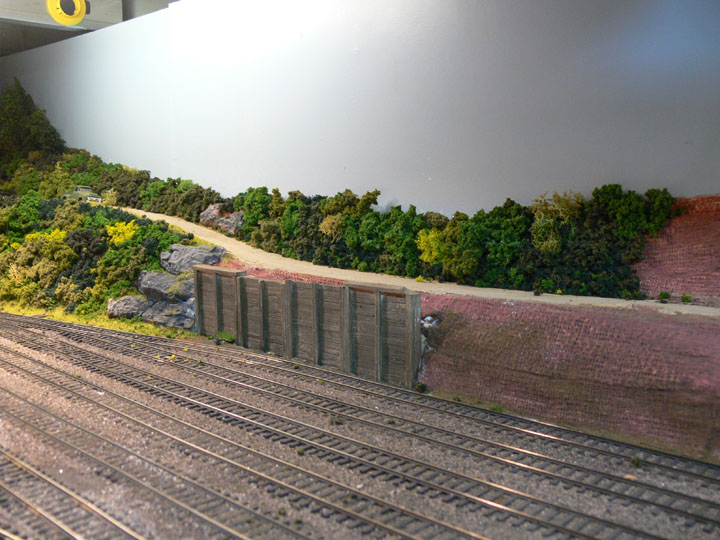
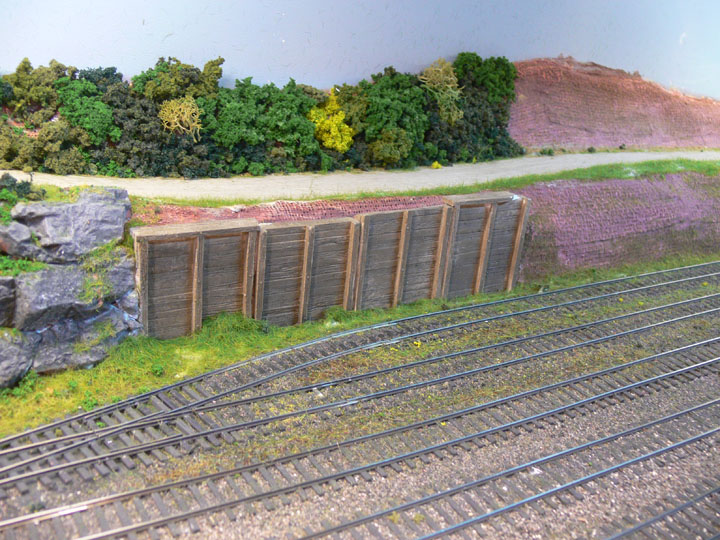
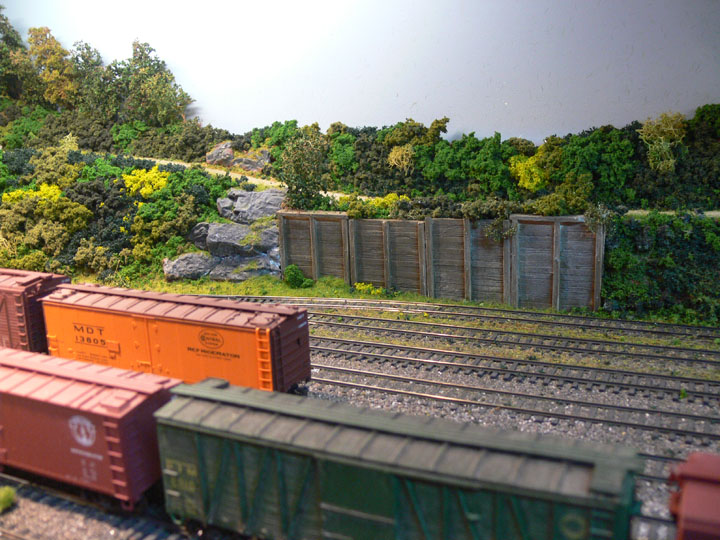
I used the Woodland Scenics dyes to color the rocks (Slate Gray, with a light Black wash), and to do the retaining wall (Earth, with a Black Wash).
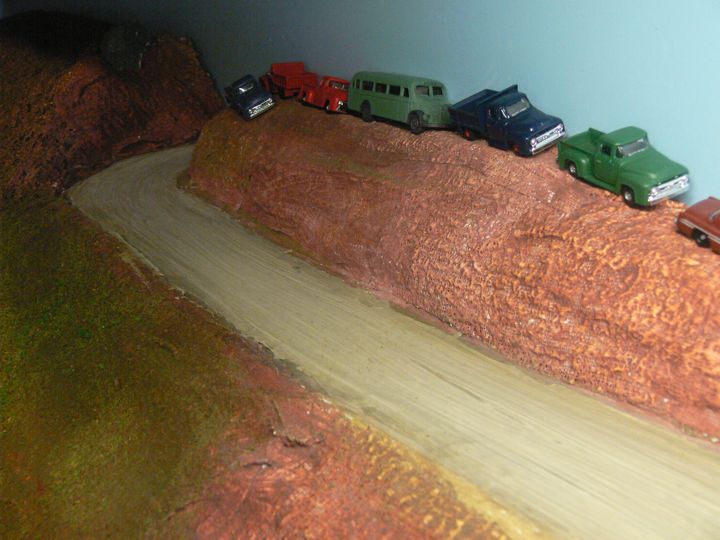
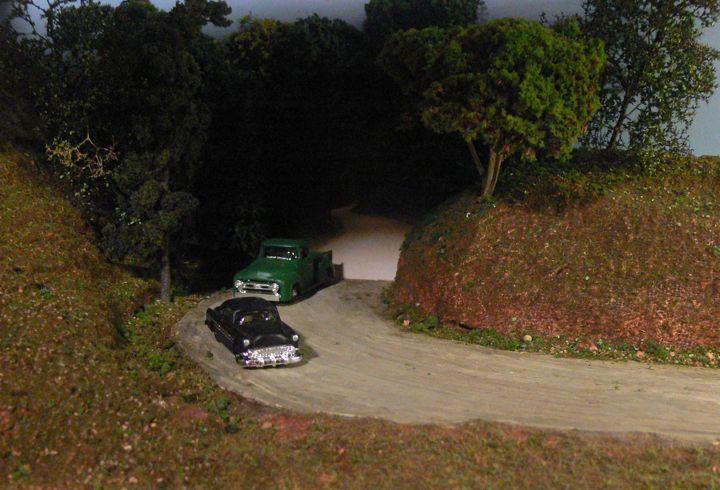
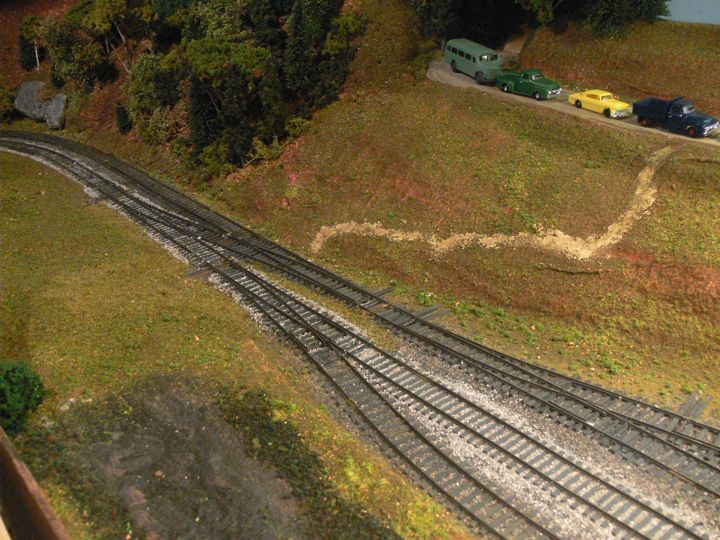
The dirt road surface has been a surprise. I was following the lead from The Bear Creek and South Jackson web page, and first up put down the lightweight joint compound. Instead of using a sponge to smooth it, I instead used a damp paper towel which left a series of ruts - almost perfect. I than hit it with the Woodland Scenics Earth dye, just to take the white away - and the color was immediately nice. Another Black wash, and I was impressed at how it looks already, even without the further steps that were outlined.
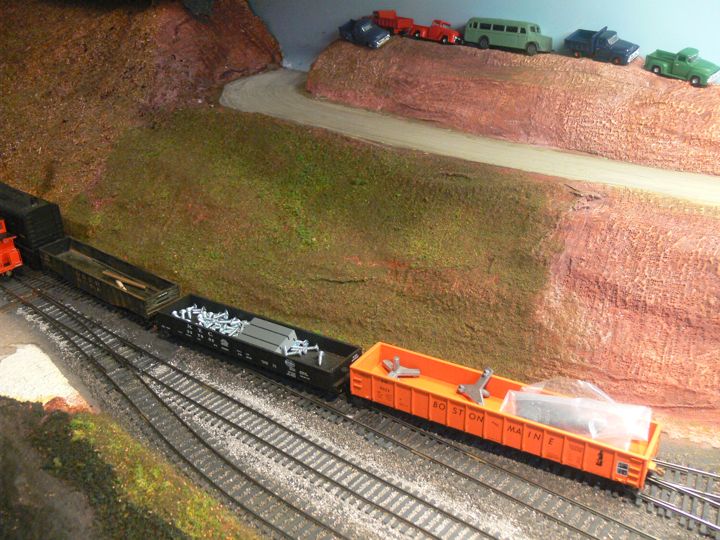
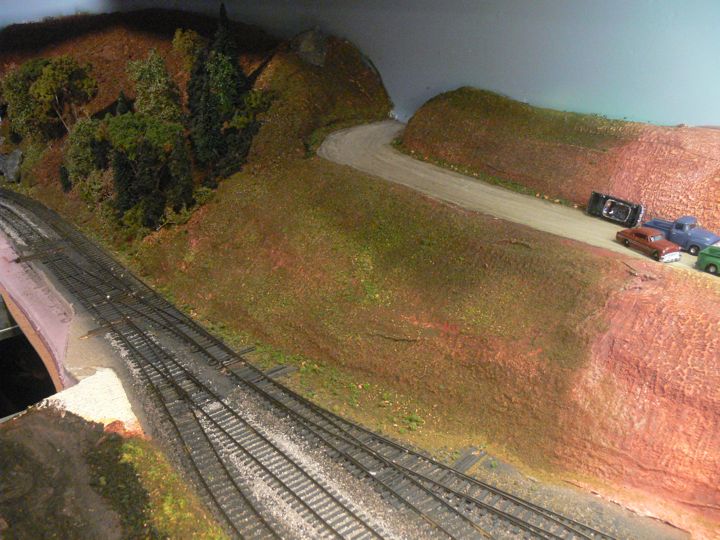
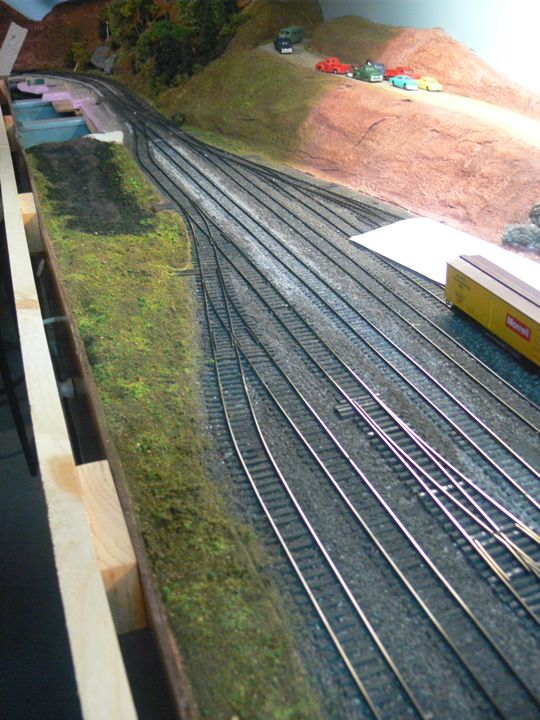
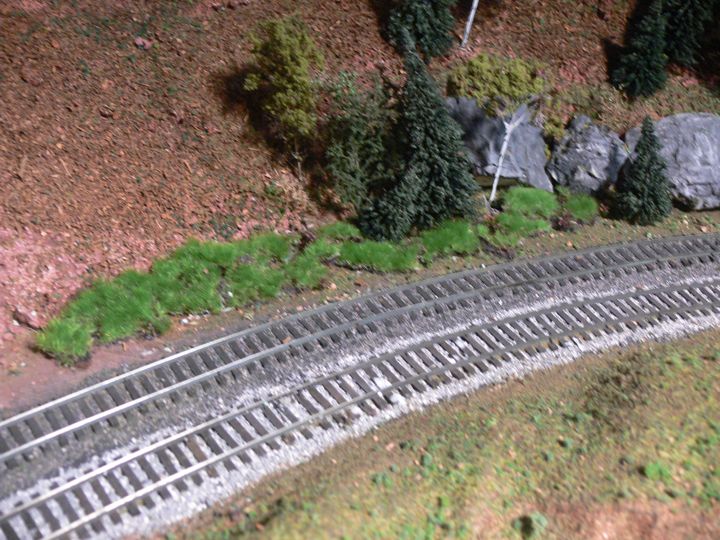
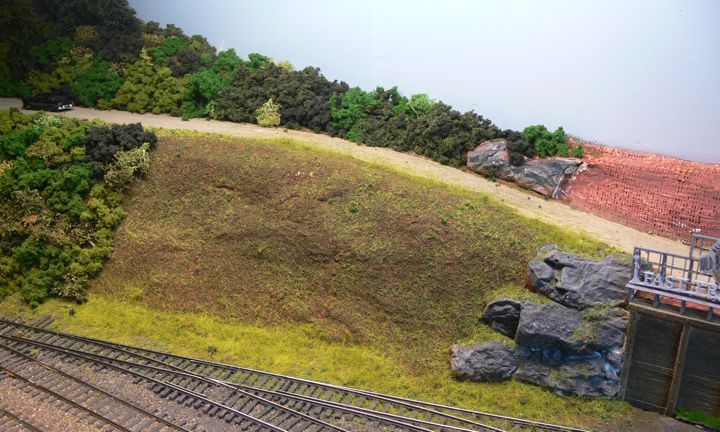
This non-wooded slope is currently a combination of Woodland Scenics Earth fine Turf, and the Scenic Express Alpine Meadow mix. This is a base, only.
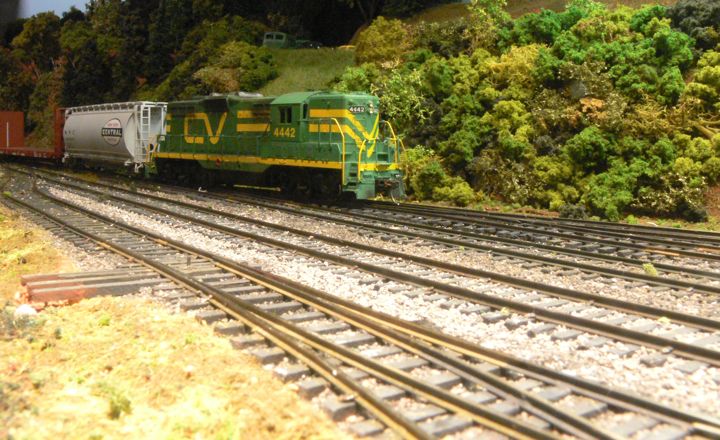
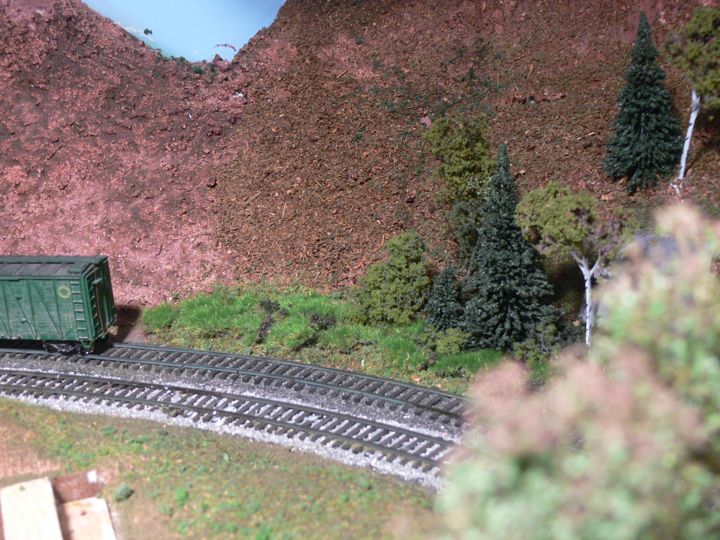
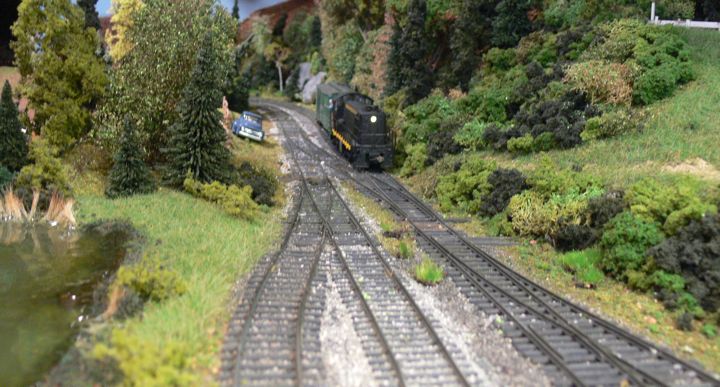
A decent view of the transition.

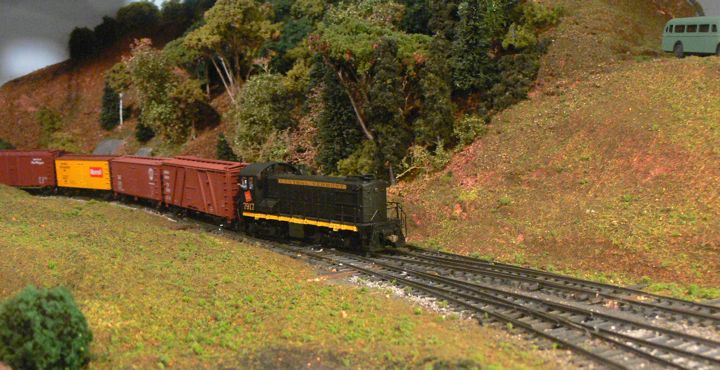
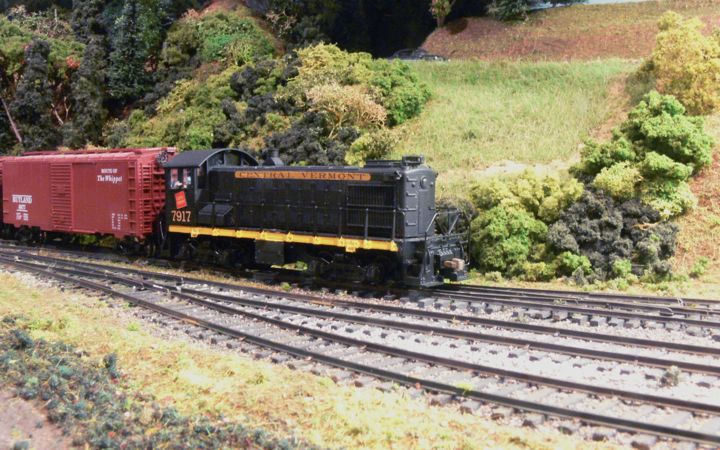
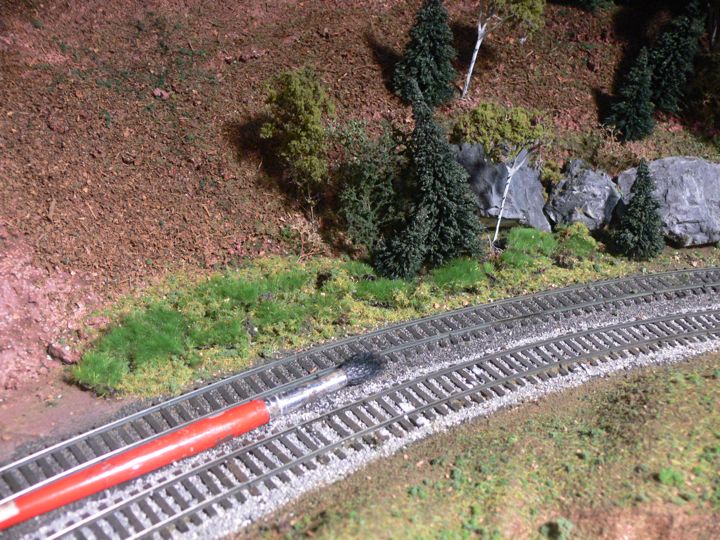
Vroom!
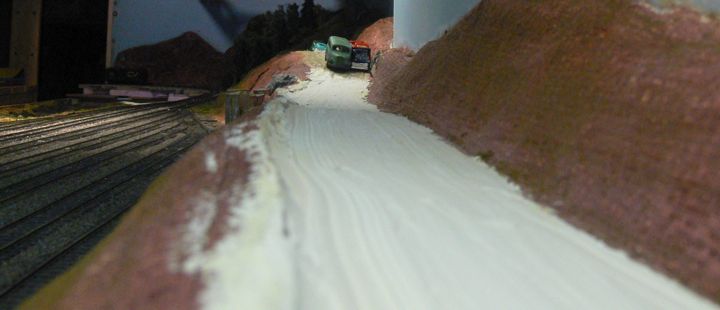
With the remainder of the hills plastered and painted, I was able to extend the road. Again, this is just lightweight wall patch, smoothed out with a wet papertowel. Nice ruts!
While that dries, I continued putting down a base coat of ground foam.
And yes, started planting trees! Another reason to not like the vermiculite, I shattered a section by using an awl instead of a drill, but I can hide it. The trees are being freely looted from the first chainsaw/test layout.
The plaster road was finished along the back.
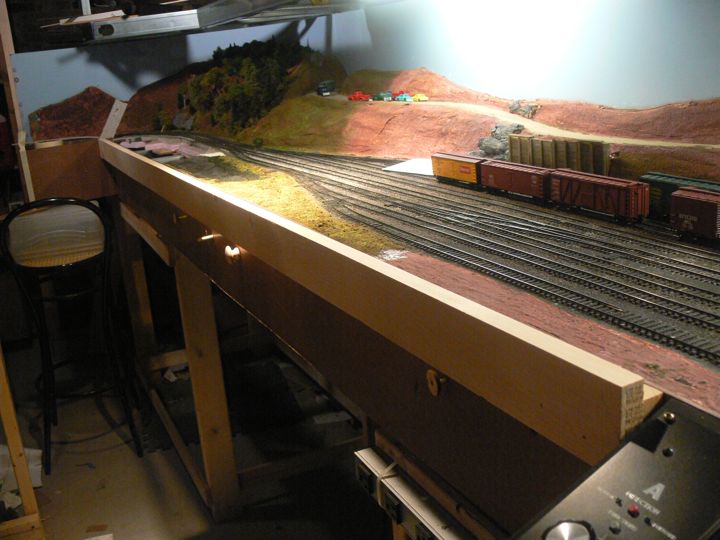
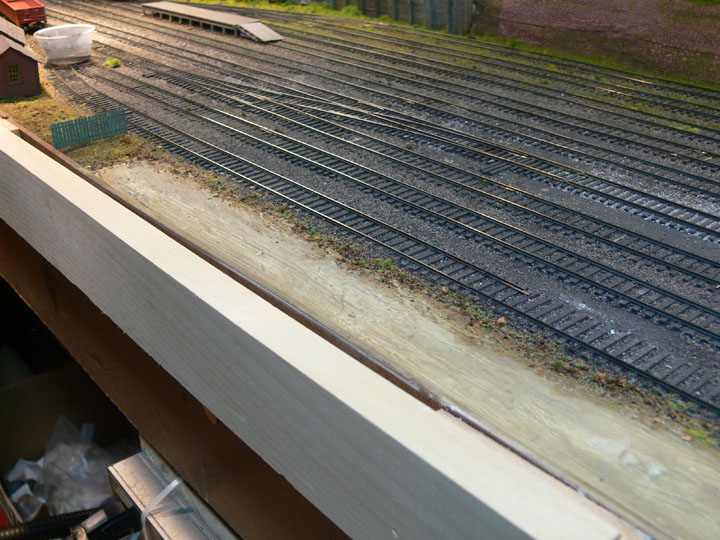
I broke a turnout pull handle by catching it on my leg, and being fed up, broke out the saws. The Fascia was completed along the whole layout, and I added a "rub" rail. The rail is made up of a 1x3, mounted to the fascia with 2x3 blocks every 24 inches; everything was glued and finish nailed in place.
Note the rail sits .5 inches above the fascia edge, which should protect scenery from my arms, and over the turnout pulls, protecting them from catching.
A good shot of the layout cross section.

Puffball trees are in production.
The rub rail extends all the way down the front where I'll be fiddling with cars. You can see here how it protects the turnout pulls.
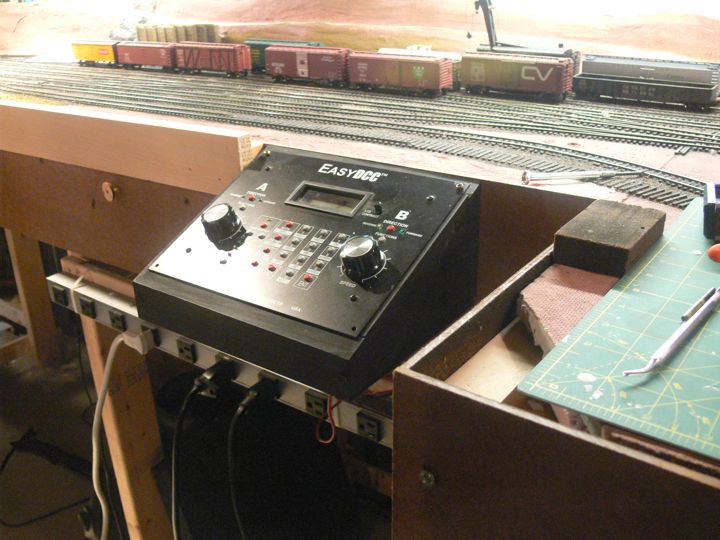
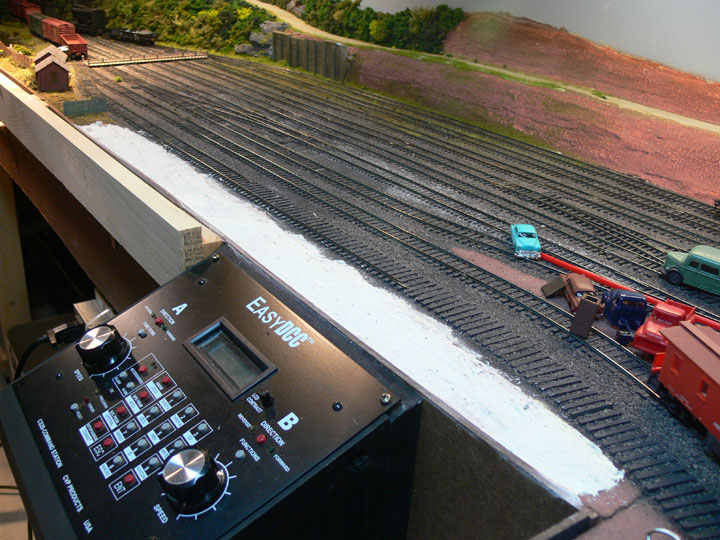
Lastly, I moved and mounted the CVP control panel.
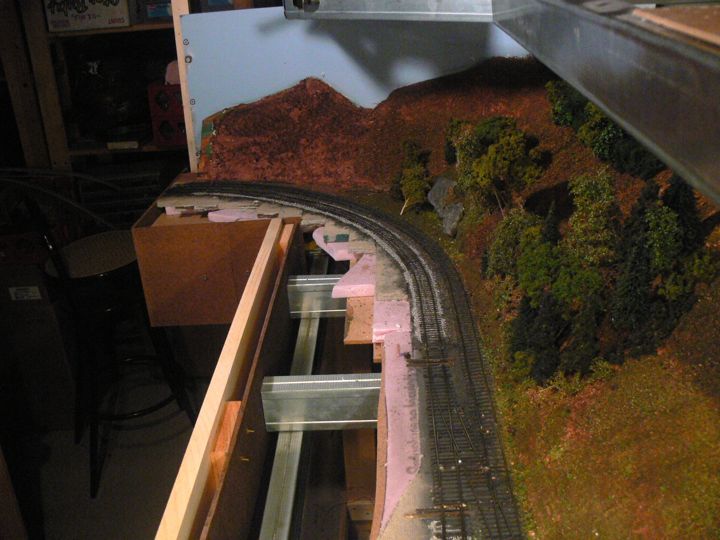
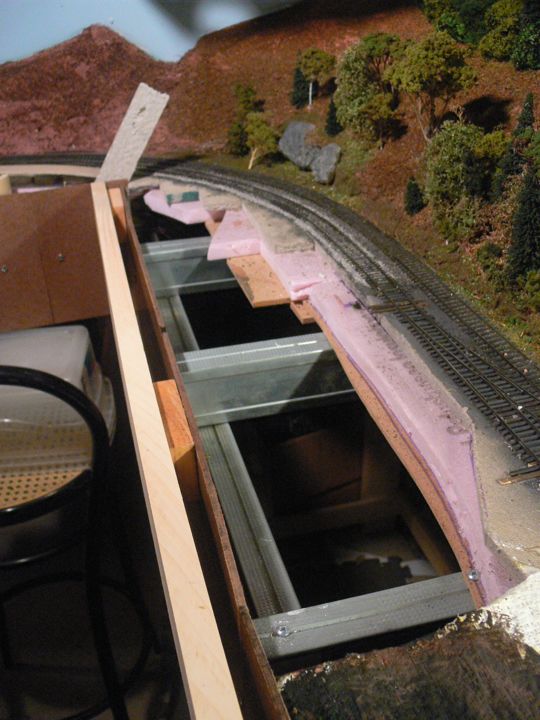
So with the Fascia now on, it was time to fill this ugly hole that's been driving me nuts.

I use the cardboard lattice work method, and here the first piece goes down. A special thanks to Craig at Dallas Model Works for his donation!
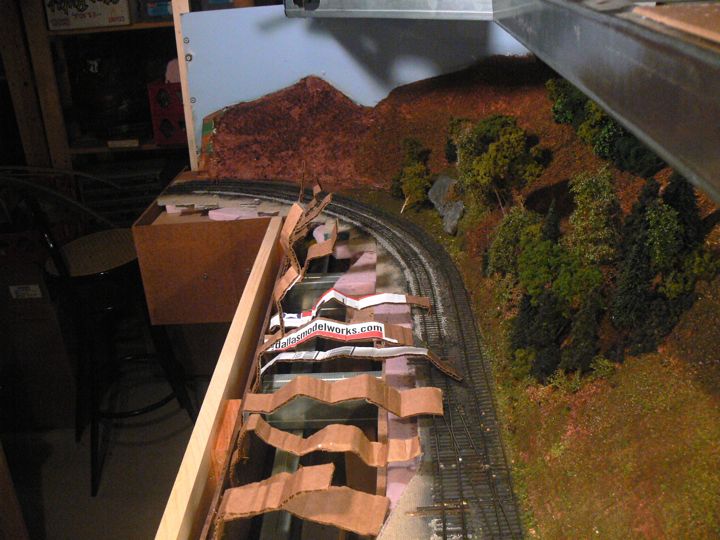
I find it easier to hot glue one side first, than go back and do the other. Here the fascia side is glued
And than the track side.
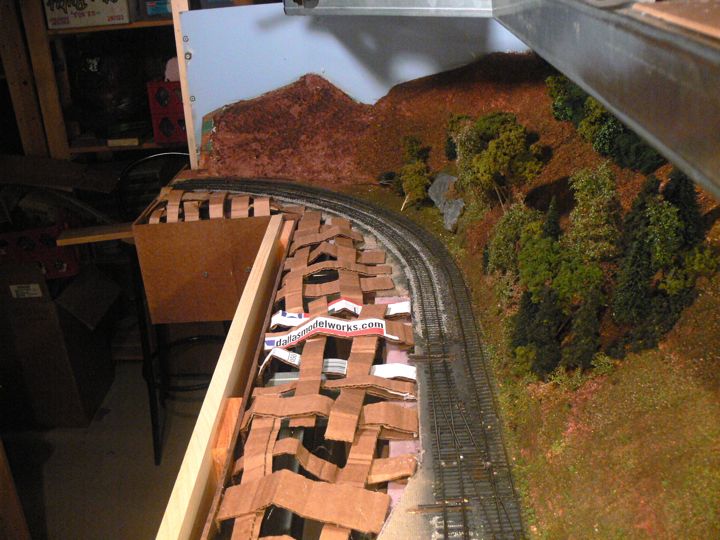
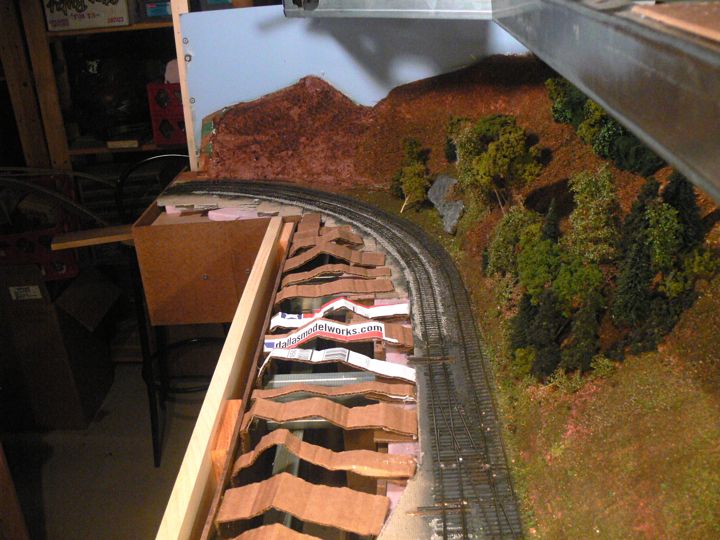
More cardboard is woven in, and hot glued.
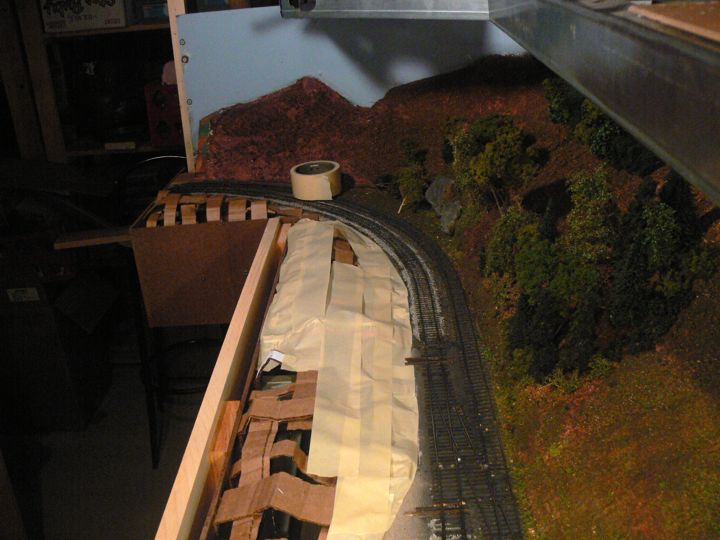
After the cardboard, comes a quick base of masking tape. I was thinking about not using it for this, as I was going to immediately use plaster cloth, but this helps smooth the terrain out a bit.
the tape is on.
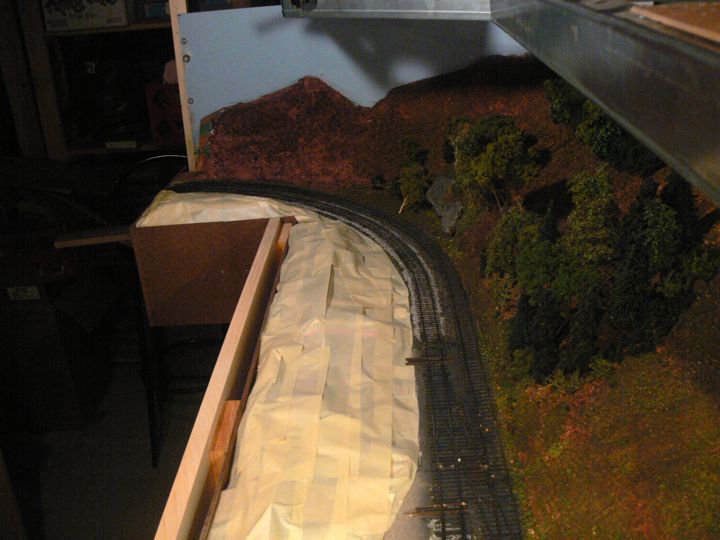
And plaster cloth. I like to cut mine into small strips, and work the edges first, than go back over the center.
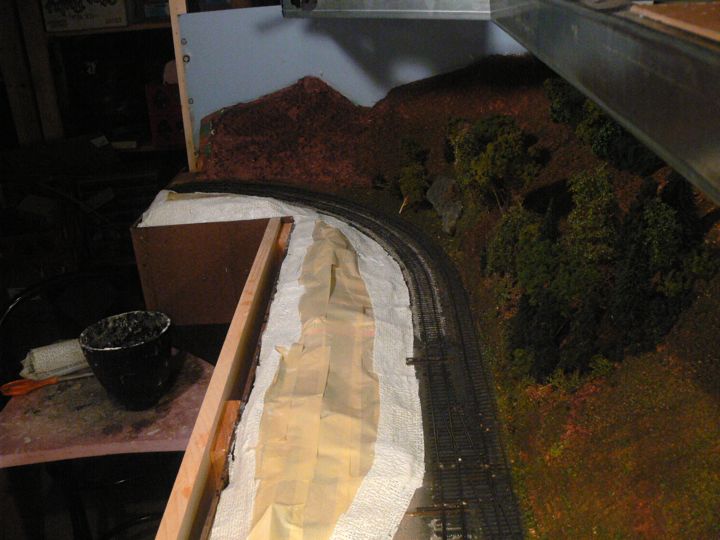
Once all of the plaster cloth was down, I waited about three hours for it to dry, and than hit it with my not-so-brown brown paint.
While the paint was wet, I added (shook and blew) Woodland Scenic's Fine Turf "earth" on.

Next up was a dusting of Scenic Express "Alpine Meadow" mix.
And finally a very light dusting of Scenic Express "Cow Pasture" mix.
An than it all got hit with a good coat of Isopropyl Alcohol, followed by a good soak of white glue and water mixture.
There you go , the picture was missing something.
Slowly but steadily, this test section is coming along.
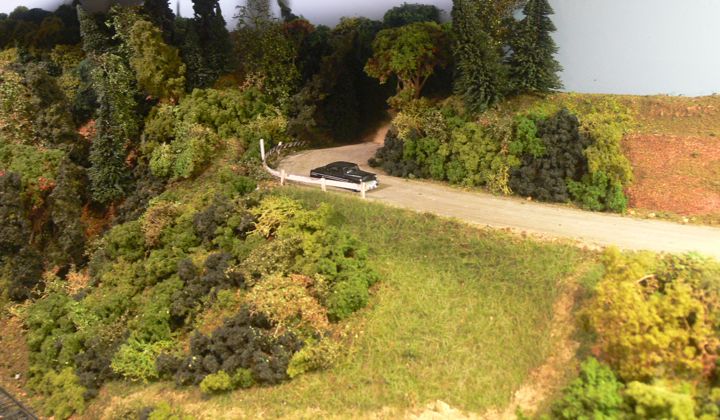
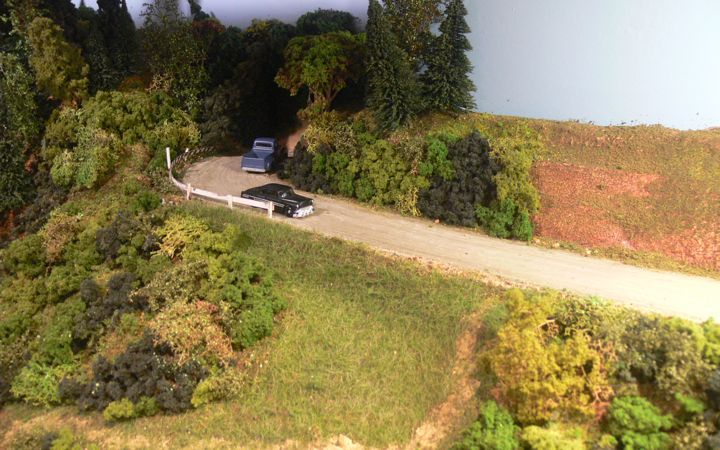
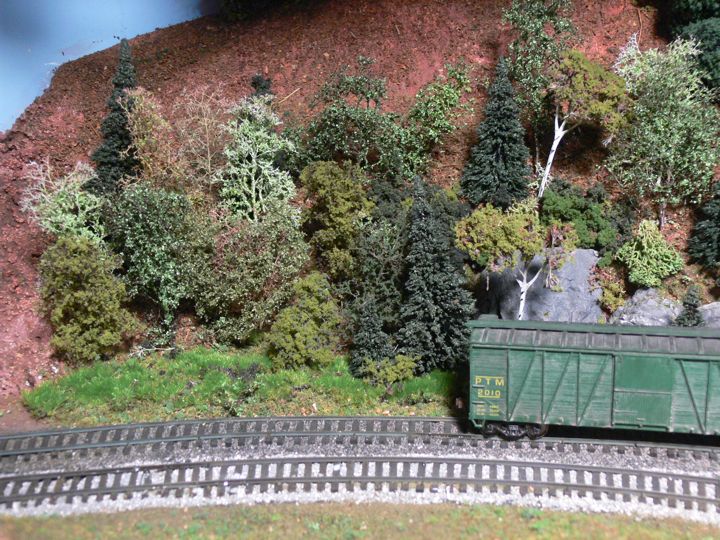
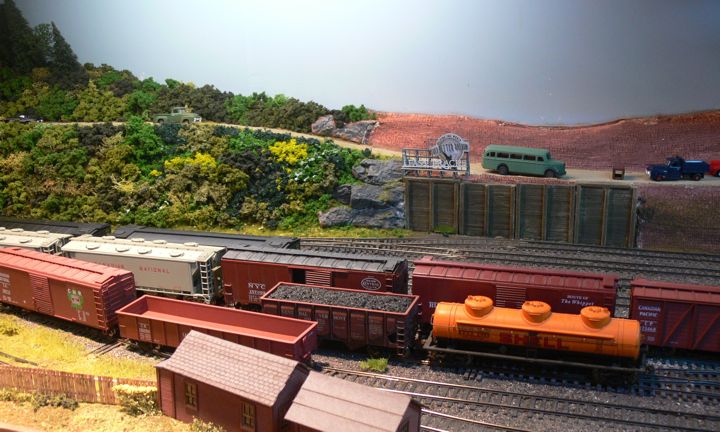
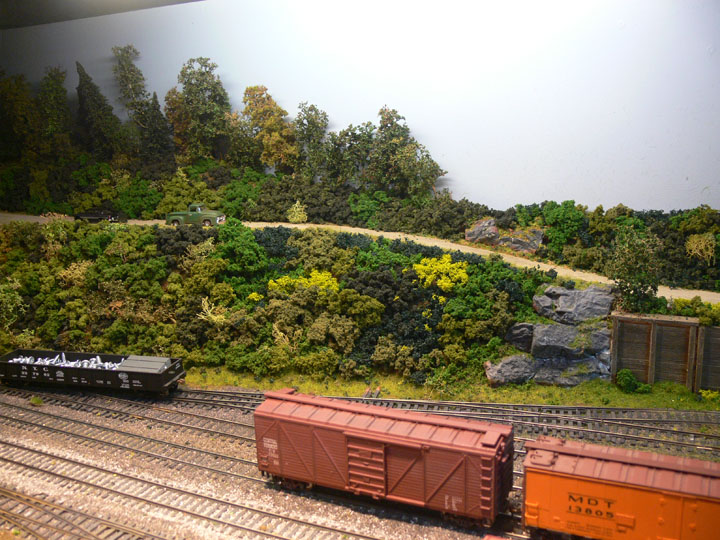
Back on the hill I had seen in Railroad Model Craftsman the idea of using a photograph to add distance to backgrounds. I did a quick search on the internet, and found this picture that fit.
The color of the road is off, I need to darken it / blend it in.
The photograph is just printed on plain paper, and buried with foliage to hid the top and side edges.
Over all, it's not a bad effect, especially once I get the road darkened.
More ground foam base in place, now down to the retaining wall.
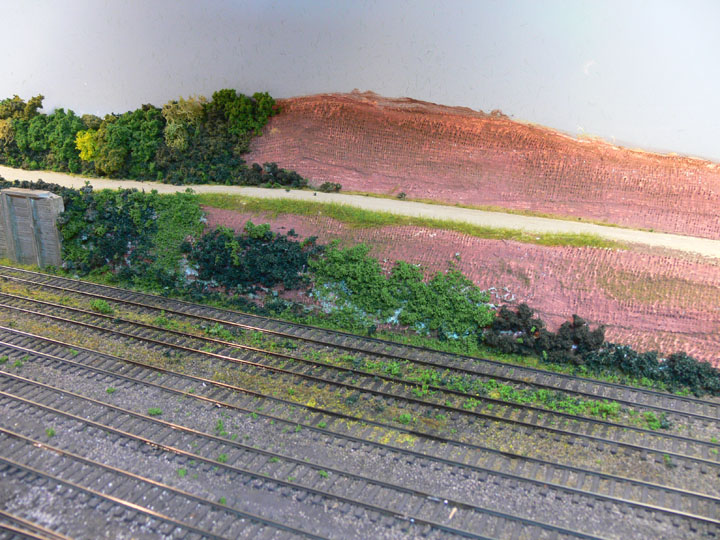
I felt the hill slope was a bit bare, so I added a path made of drywall filler (stained). One mistake here was a lack of a berm on the down hill side of the slope.
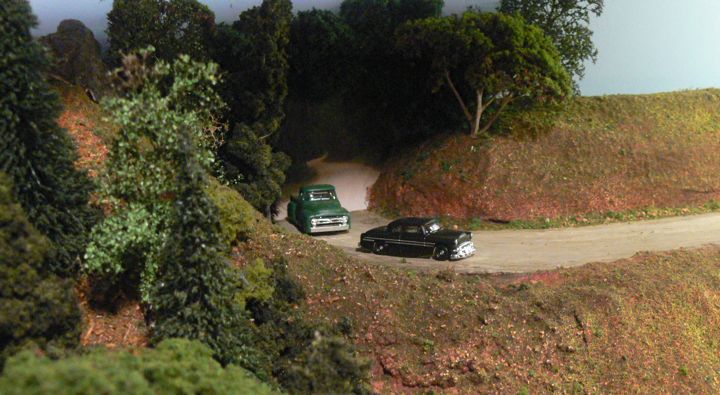
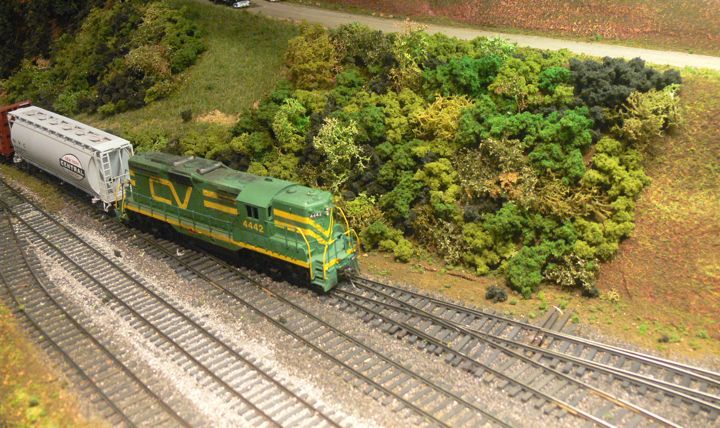
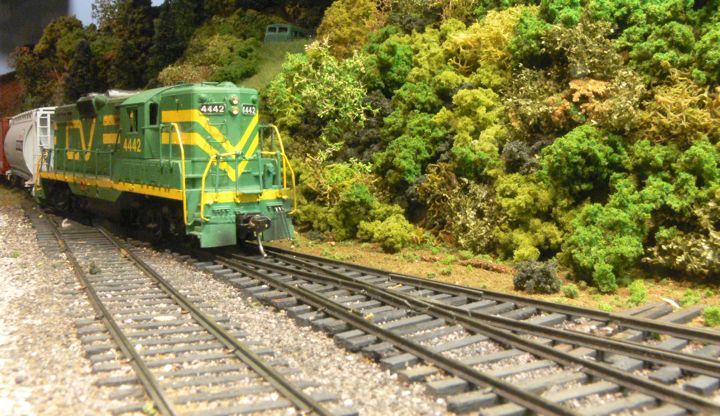
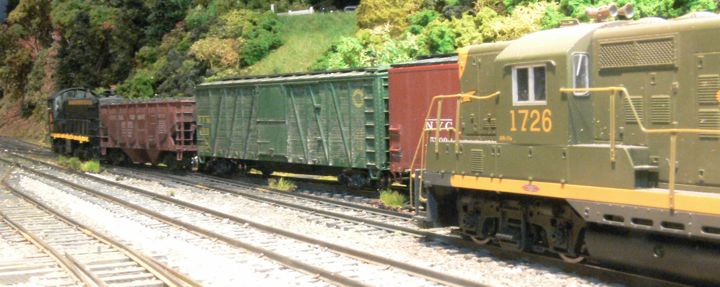
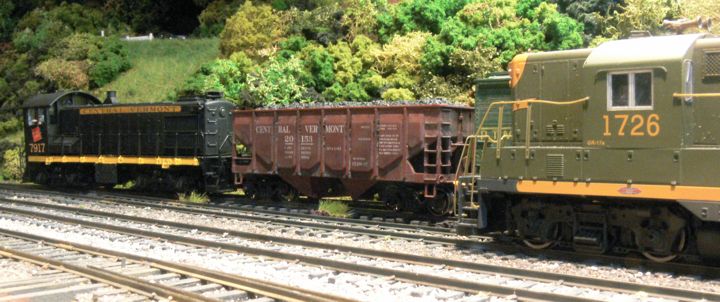
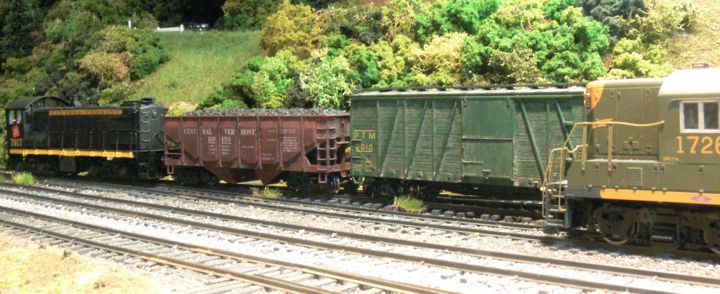
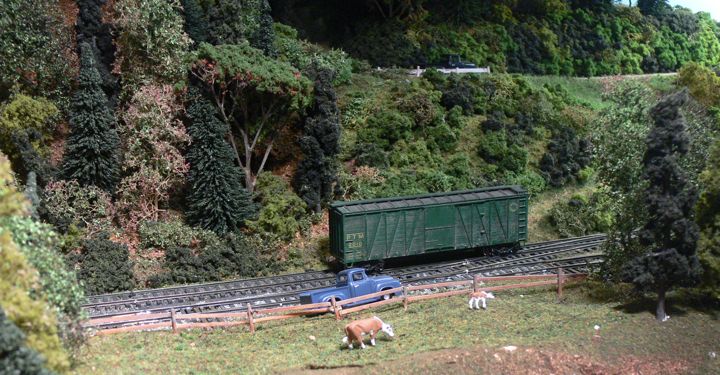
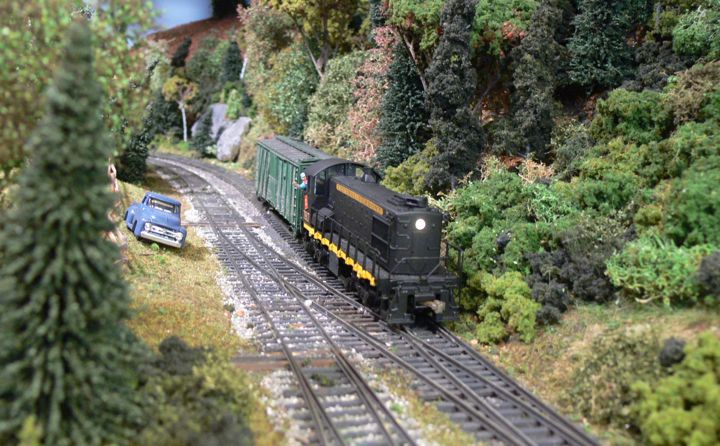
gratuitous action shot!

Along the edge of the path, and along the flatter part of the main hill slope, I hit the area with 6mm static grass, using my homemade applicator.
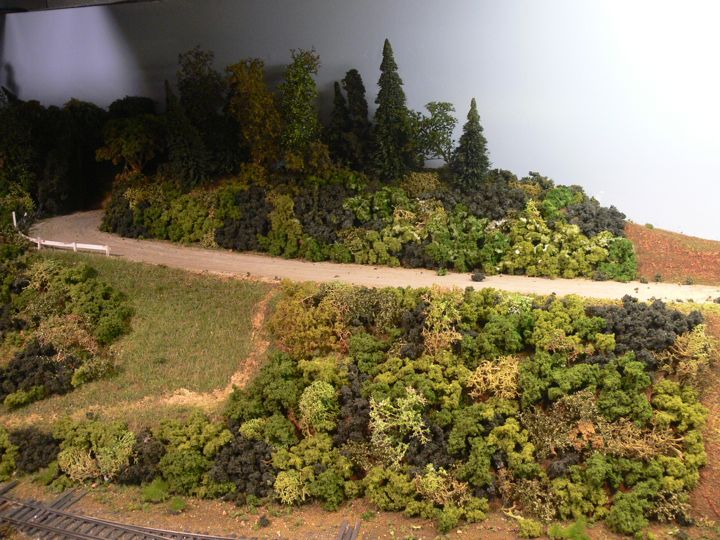
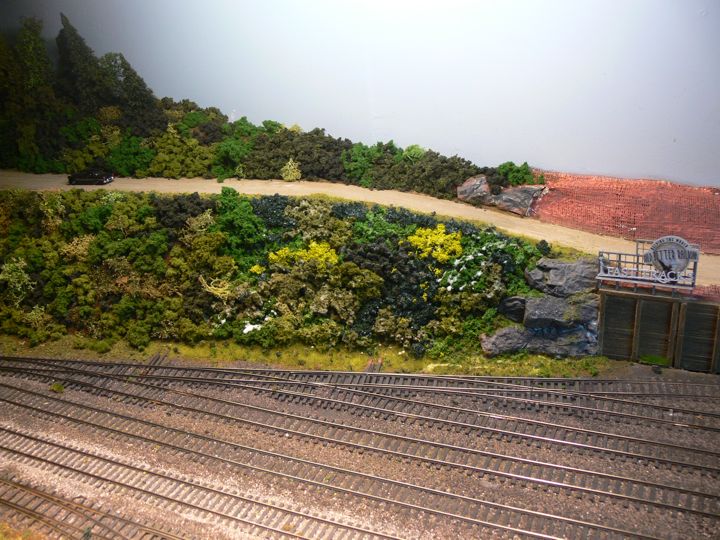
With that down and dried, I started on the hill slope. I wanted the area to represent relatively new(er) growth instead of full size trees.
this is a mix of Silfor, Woodland Scenics foam, Lichen, Busch leaves, and Scenic Express Super Trees. While the variety of colors and textures works well, it's still not exactly the look I was envisioning, but I'll take it.
It's almost too much of a grassy area...
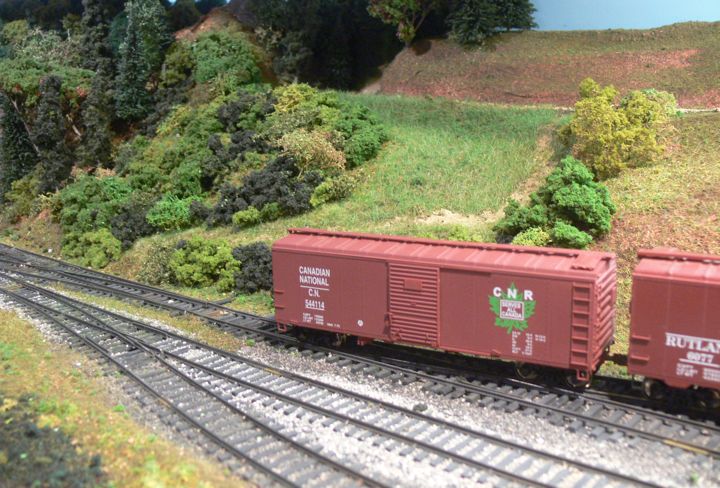
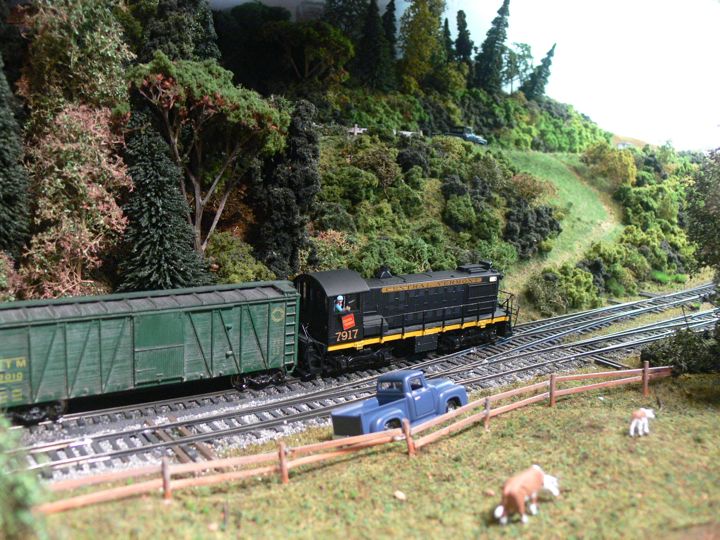
another gratuitous action shot. Hope you don't mind! (there's more coming...)
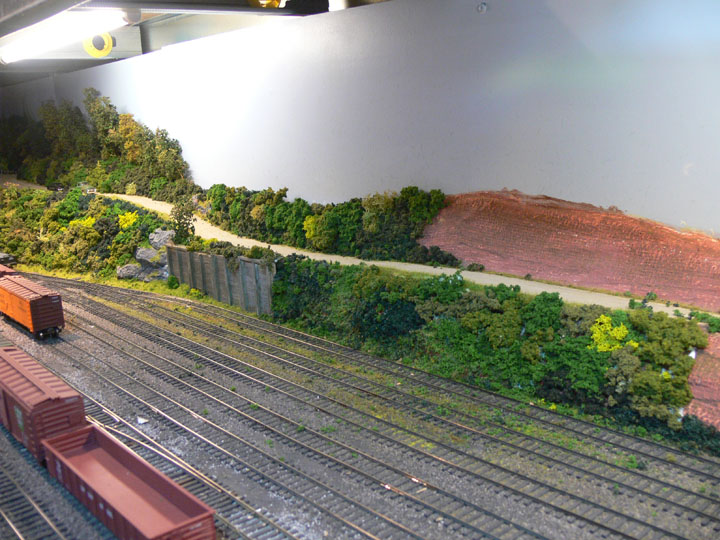
The next evening I progressed with the same combination down the hill slope.
It's interesting to note that that the grassy area becomes visually smaller and smaller as the rest is filled in. Despite the lack of a berm, the path is looking ok.
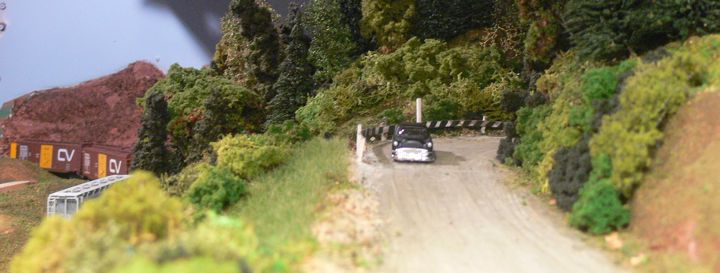
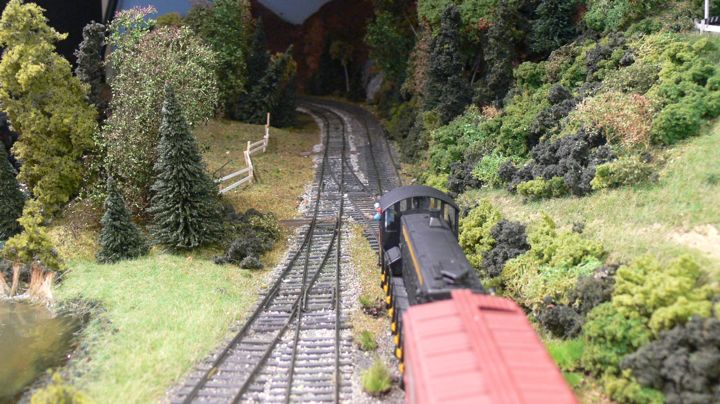
I changed up the selection a bit for the action shots.
Check out this photoshopped version of this picture!
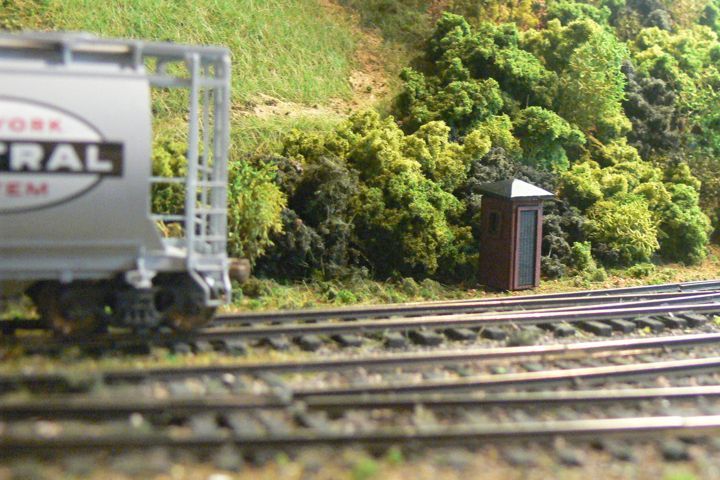
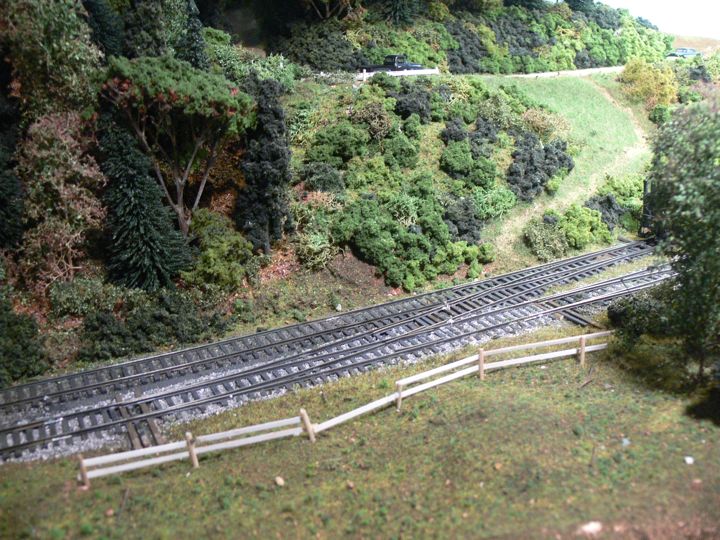
I "reinstalled" this guardrail from my first test layout, and added some more slope coverage.
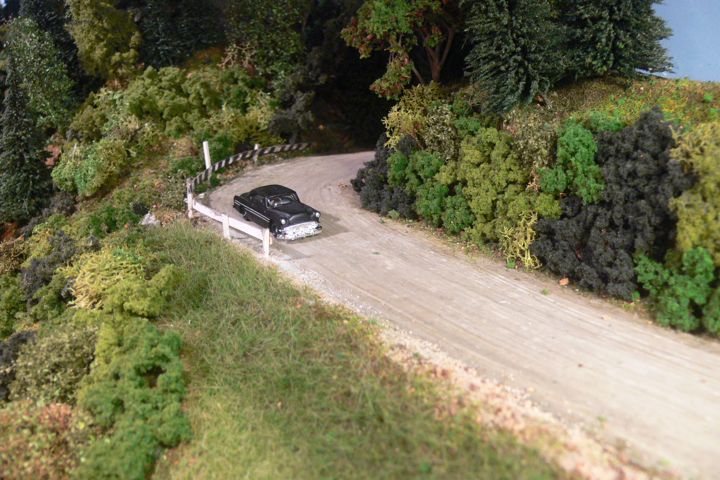
The tall post will be used for a sign.
I'm impressed at how good the dirt road looks - and this is just the
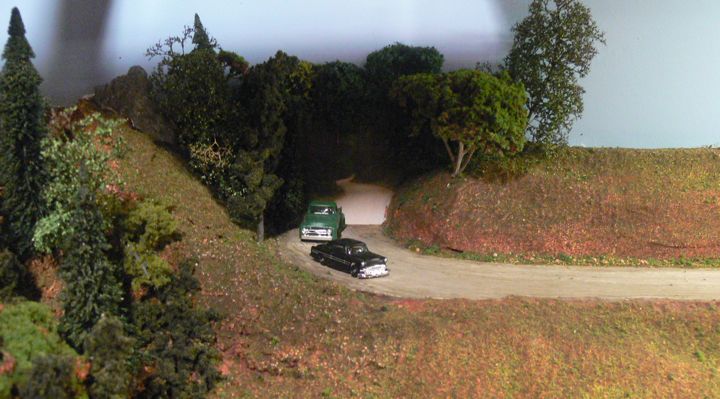
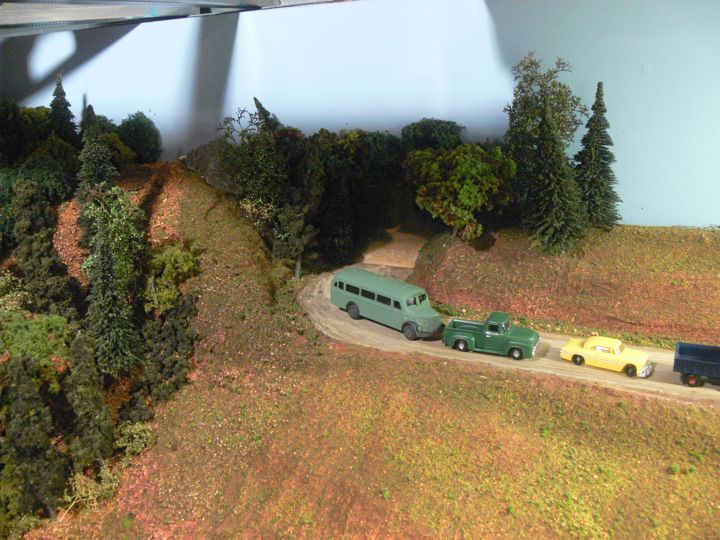
Heavy traffic!
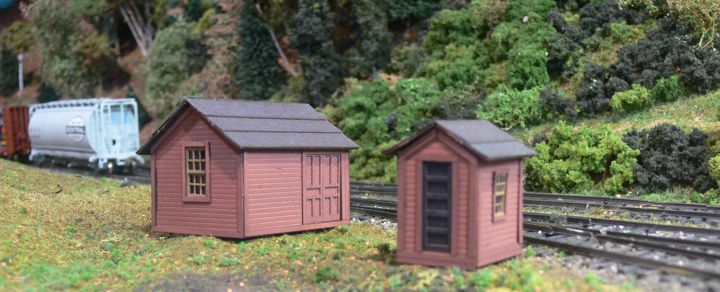
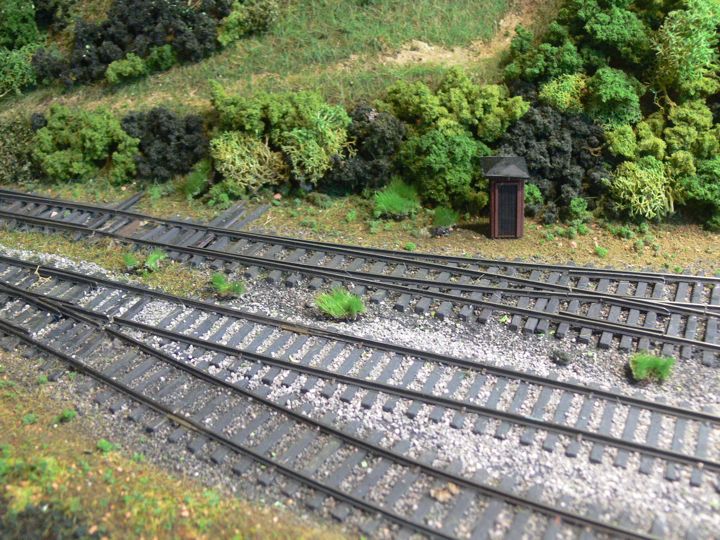
I was ill for a week, and managed to assemble the Branchline Trains trackside shed set.
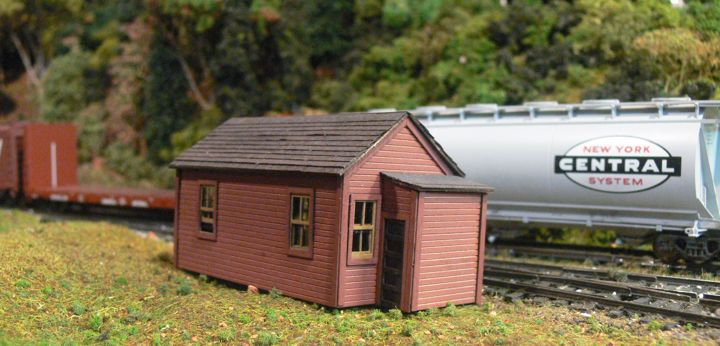
The colors were recommended for the CV - boxcar red walls and trim, with tan mullions, and black (human) doors.
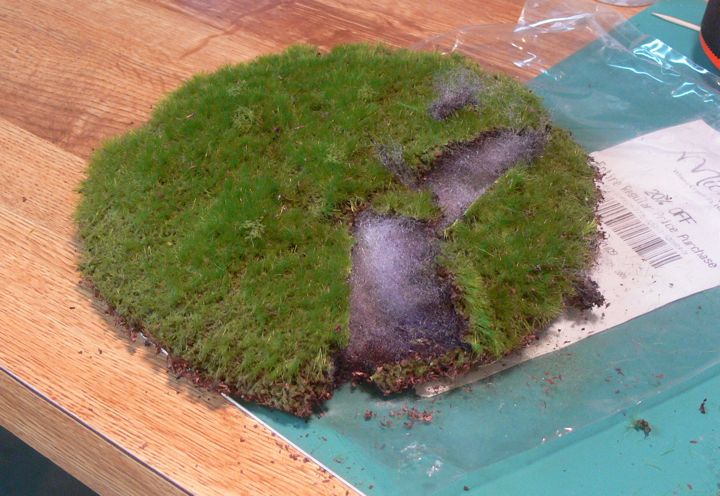
Next up was playing with a pot topper. Here's one cut apart.
The larger piece on the left still has it's backing - the one on the right has that stringy stuff removed.
and in place. I'm not sold on the affect yet. I might need to drybrush them, or perhaps even sand them down a bit.
Some action shots with the pot toppers in place.
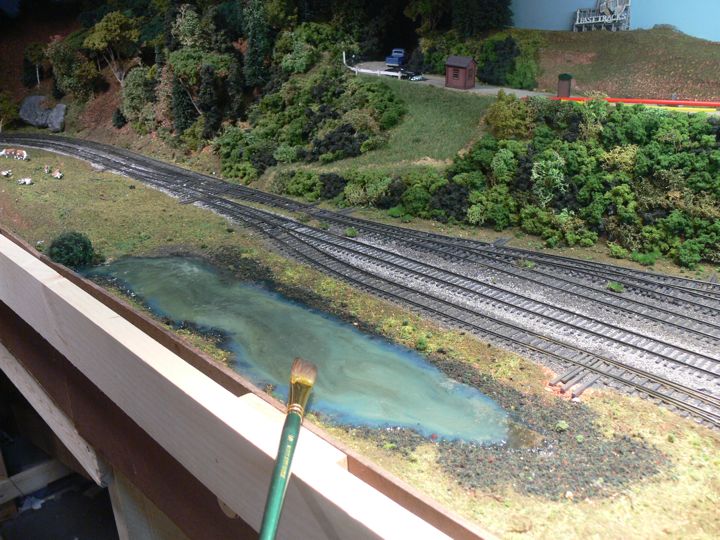
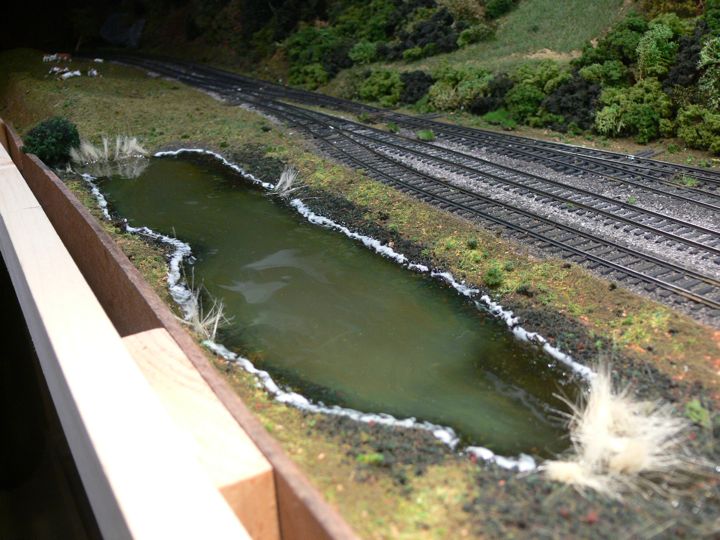
The first run at filling the pond with Woodland Scenics Water.
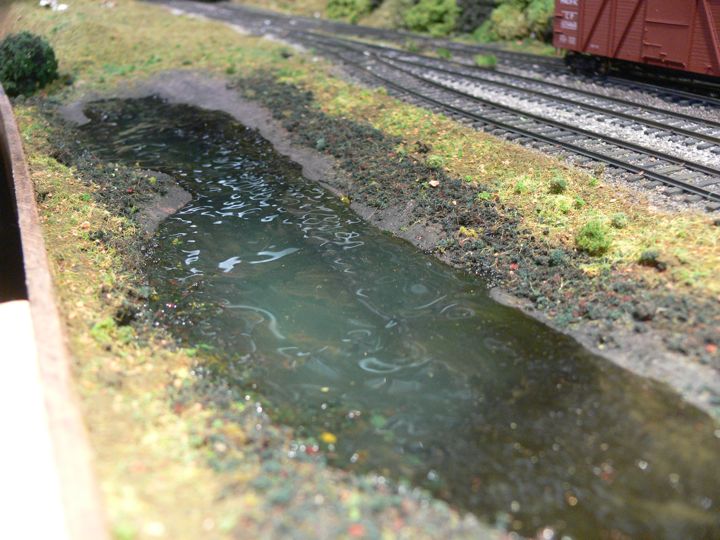
With one coat down, a second heavier coat went in.
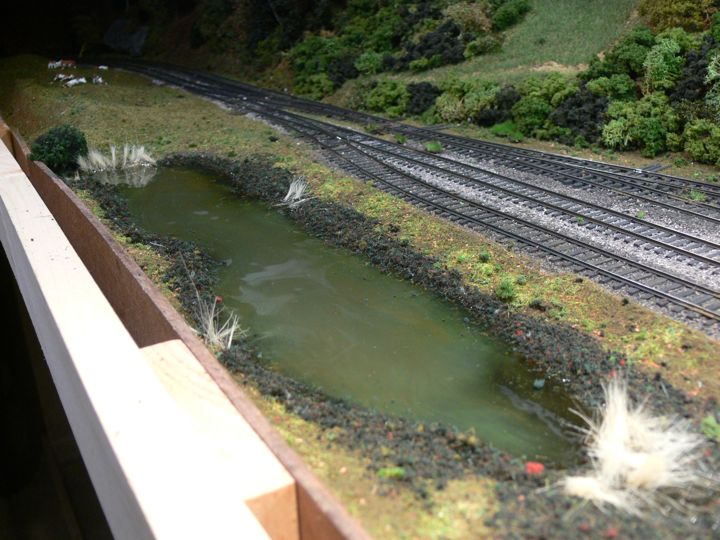
I started adding coloring to the mix, and put in way too much green (also a Woodland Scenics dye)
I tried to correct that with some watered down brown (the old brush is used to mix the colors)
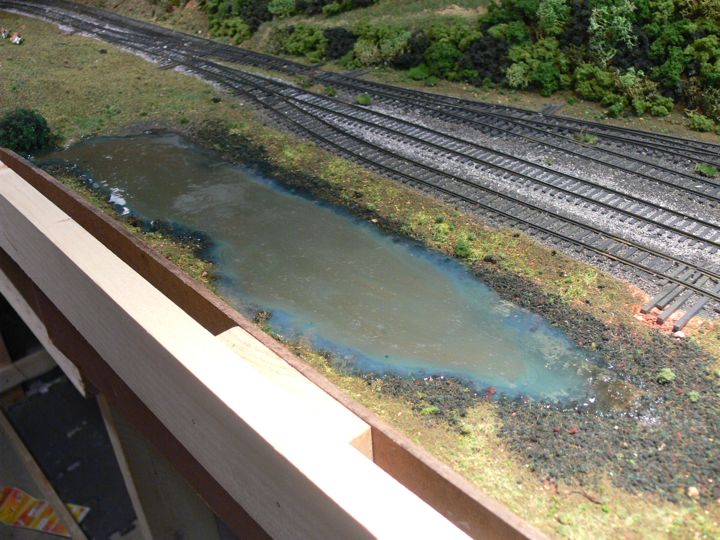
And ended up with this muddied "mess".
now to let it dry.
Before it dried though, I added some "reeds" while the mix was still fluid.
They kind of wicked up the "water" and tipped over a bit.
and a few days later in my cold basement, not much clearing.
Always a good time to run trains though.
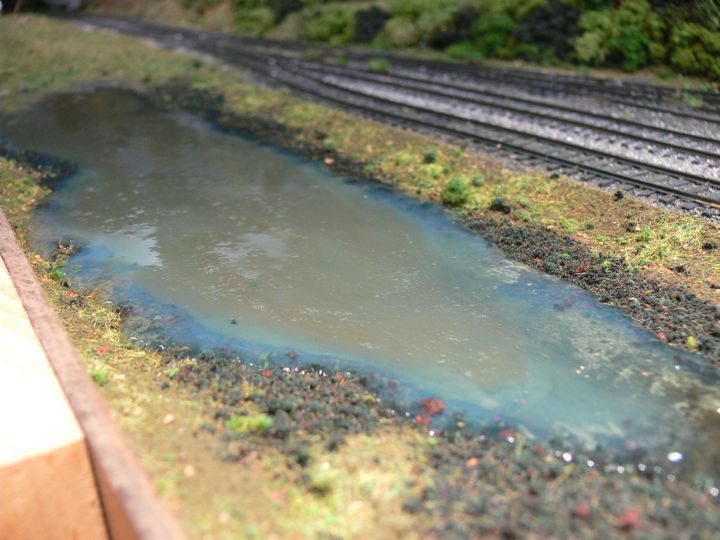
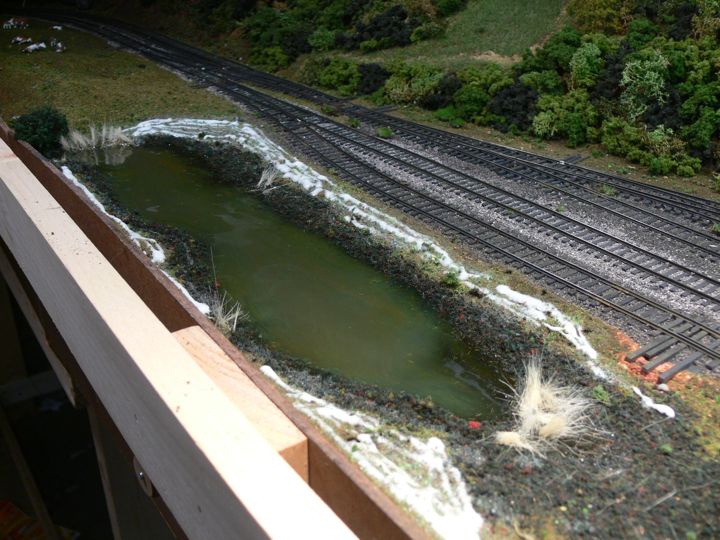
Finally it was kind of clearing up, but the water's edge "creep" seemed kind of extreme.
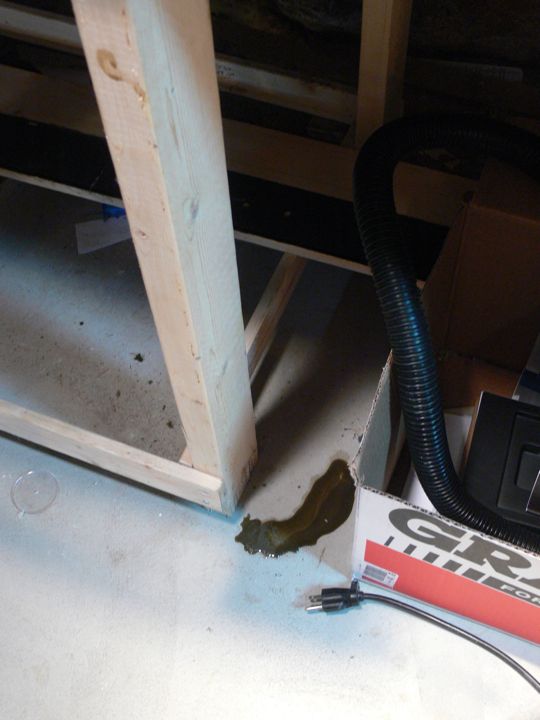
Turns out because I had a leak, from a bad seal along the fascia.
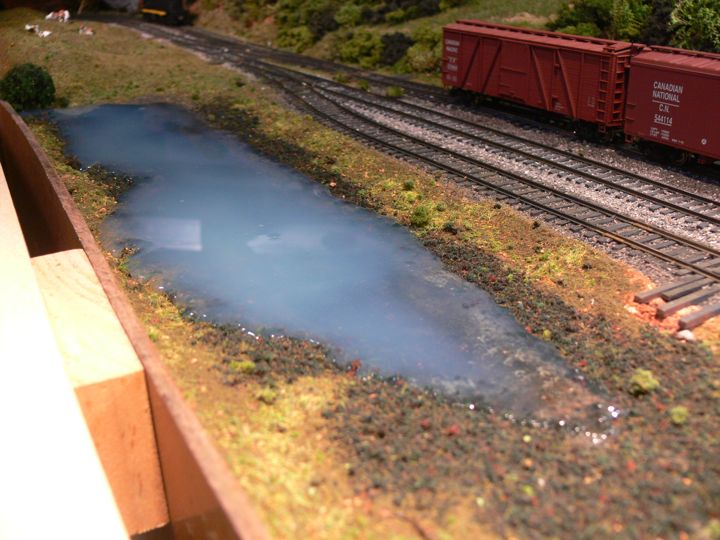
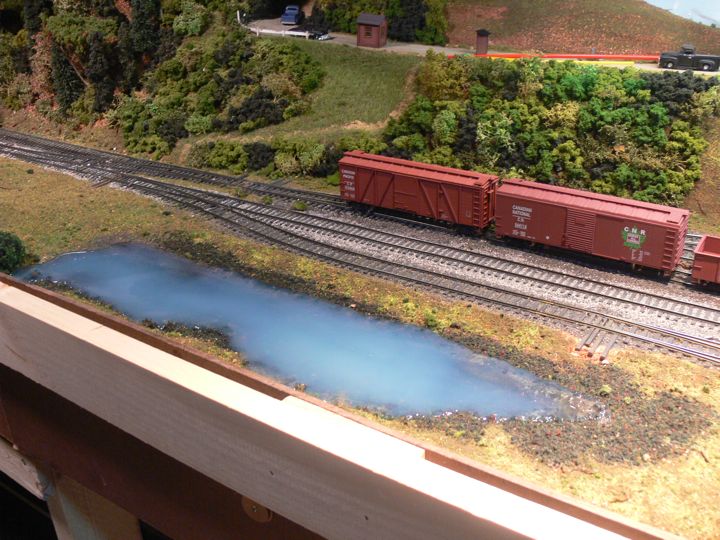
So, another coat goes down, this one not colored.
And slowly it dries in my cold, cold basement.
Once the top was firm, I applied some glue along the top edge
and covered it again with the Scenic Express swampy bog mix
and than the outside area got a nice coat of glue.
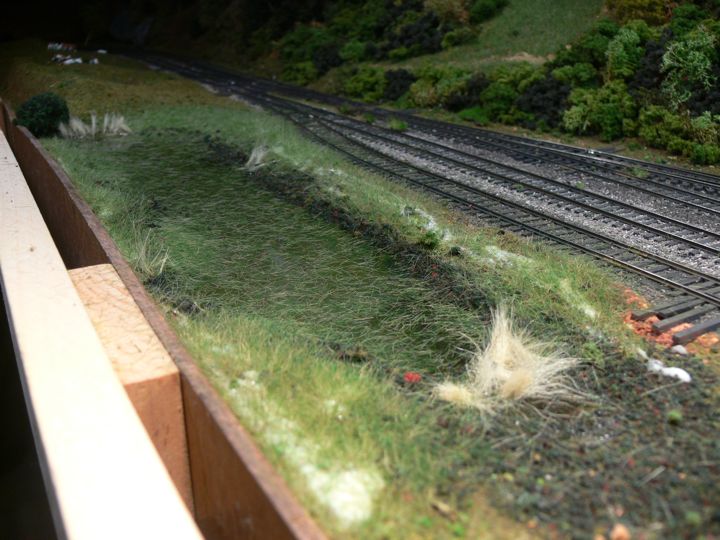
and out came the static grass.
with the glue drying, and the pond kind of cleaned off.
More coverage along the back hill
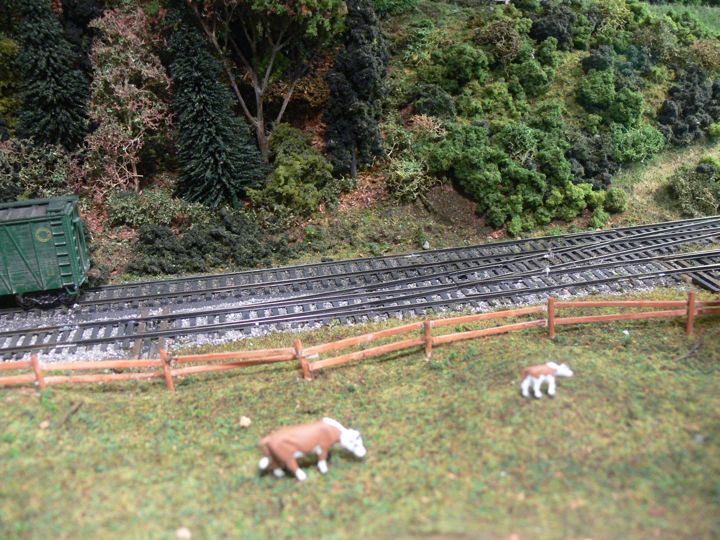
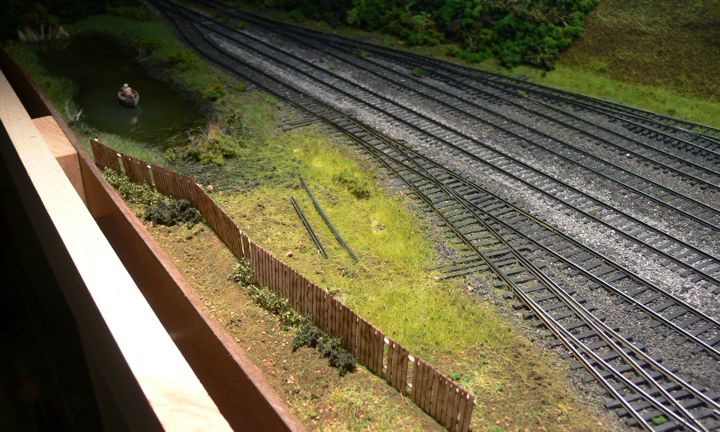
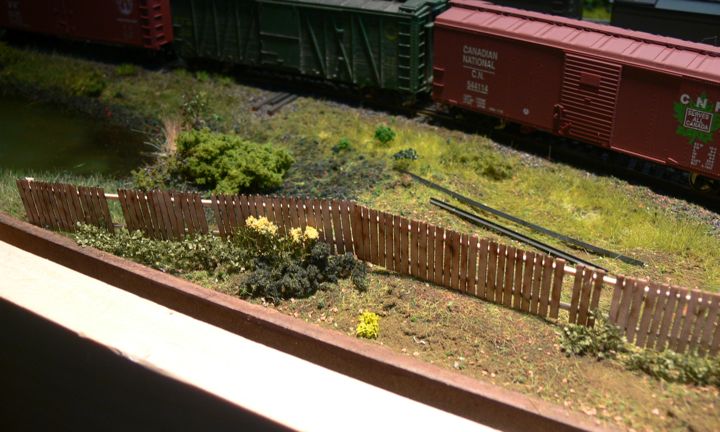
And along the front, a few groves of trees along the layout edge. I left the center area open so I'd have access to the switches. That's a starter fence going in.

Back to the pond, once it had dried all the way, a good vacuuming took up most of the loose grass.
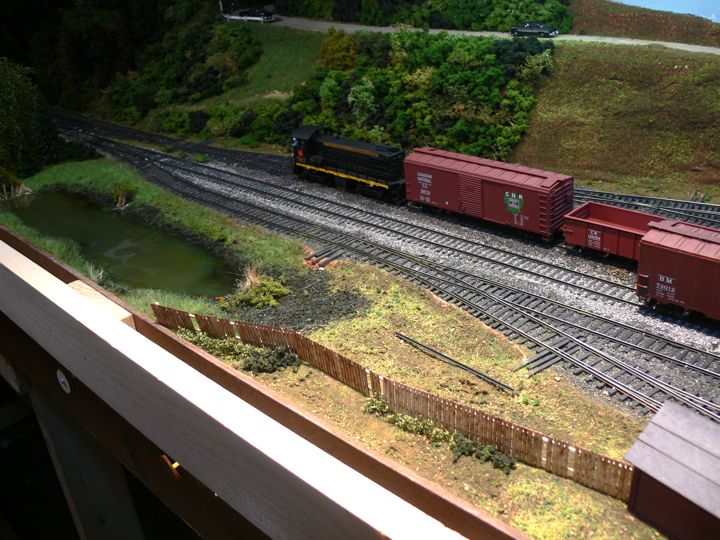
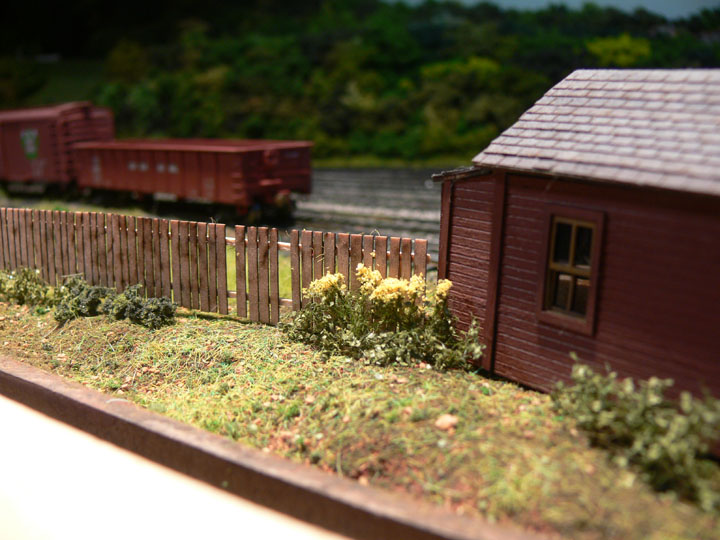
And a fence was erected from the tool shed to the edge. Note the beginning of a scrap pile.

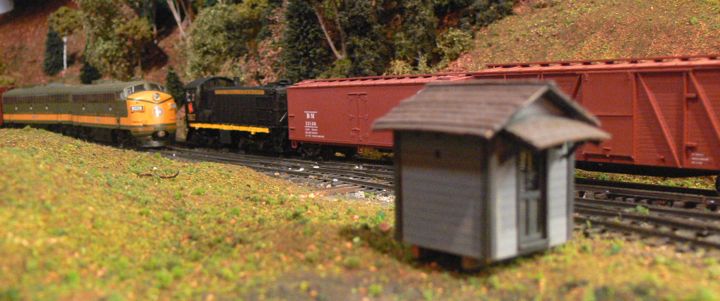
Tool shed and office
another gratuitous action shot.
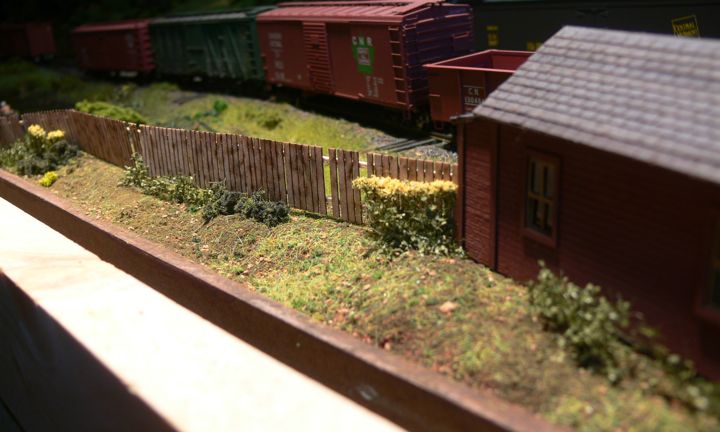
The fence continues to grow, toothpick posts and left over wood from a craftsman kit.
This area is beginning to look a bit better.
More greenery planted around the pond.
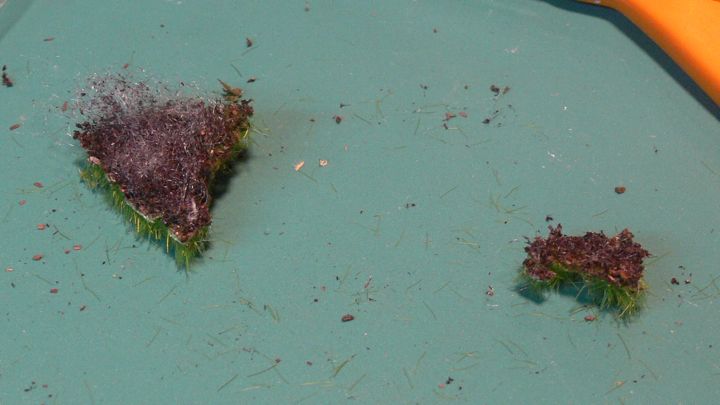
Back over on Fither's Bend, I thought I'd try out my hand with the Pot Toppers from Micheals again. First up was gluing them down in a rough pattern (torn into little pieces, with the bottoms separated).
Next up was adding a flock mix around the tufts. The brush was used to remove the flock from the tufts before gluing.
And glued down.
From a different view point
The next day, with the glue dried, here's how it looks.
I think there is a lot of potential for this product.
The fence got a couple of coats of paint
Seen from across the water...
Back to the Pot Toppers, you can see how they improve in appearance as the back gets filled in.
The fence received a light hint of gray dry brush.
v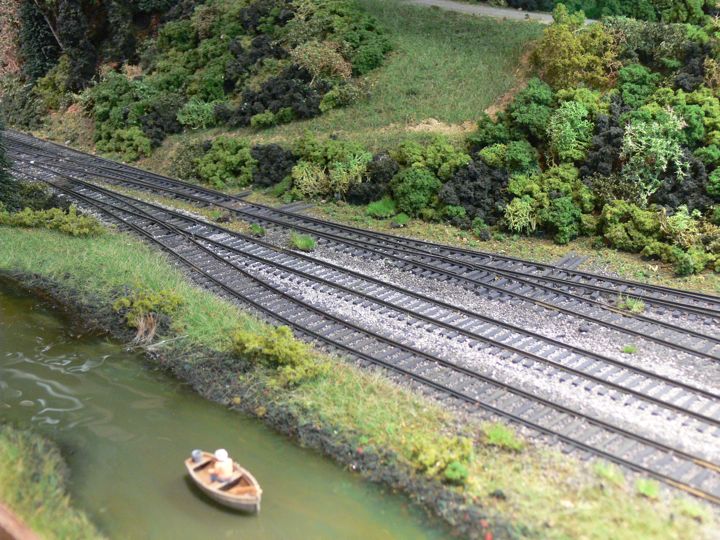
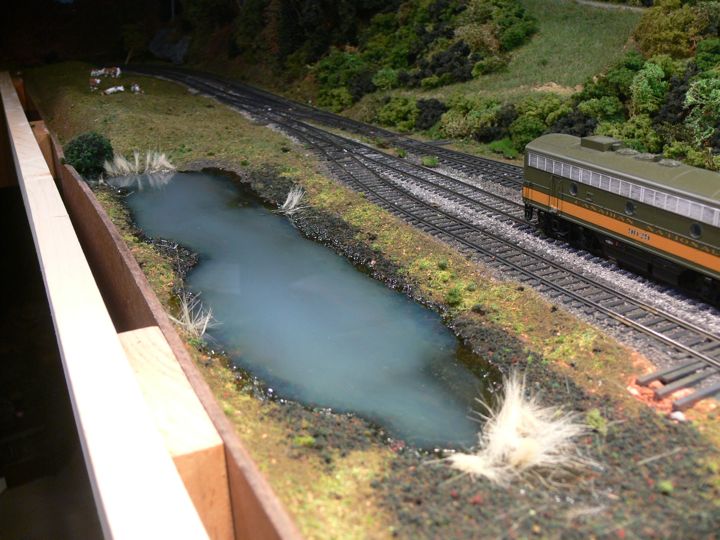
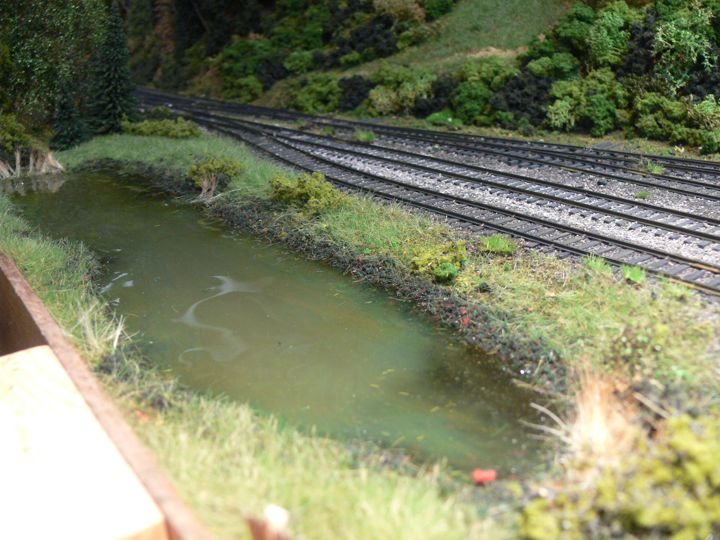
And the pond is looking better every day.
Just a fun picture to start of this page.
Having the area filled in does make it look better and better.
Went puffball tree crazy, and filled in the whole corner (until I ran out of puff material). Can't speak highly enough of the Micro Mark black poly puff, works great. Note that I also removed the upper shelf from this area, in order to improve light, and as I'm not doing a second level.

Note that I also removed the upper shelf from this area, in order to improve light, and as I'm not doing a second level.
More Pot Toppers in place.

and I extended the back hill coverage down until I ran out of materials.
With the shelf gone, the lighting situation has improved
After a visit to the Springfield Train Show (2010) I was able to pick up some new scenery material that would allow me to get working again. First up was this 4mm (approx) meadow green static grass from Heki (Item no. 3367). I picked this up as it was the same price as the Silfor, but a full 75g bag
More of the static grass along the tracks, and the upper road edge (this pictures is pre-vacuuming).
And than the rest of the slope was filled in with Woodland Scenics foam, and Scenic Express Super Turf (in a variety of colors). The white spots are from the glue mixture that will dry clear).
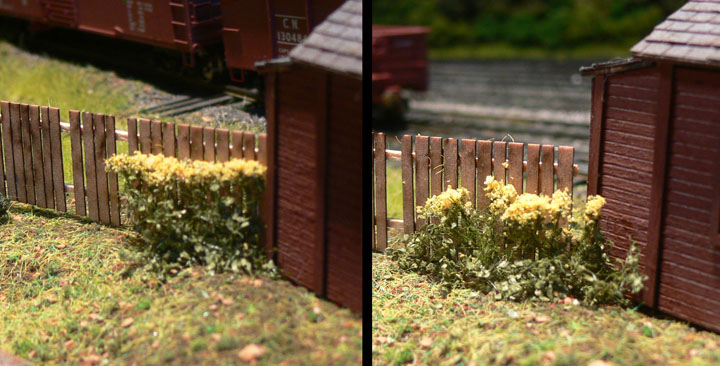
Besides ground foam and static grass I picked up some flowers from Silflor. These are great, and really dress up things - like this ratty old fence!
You can see in this picture how cutting the flowers all at the same height looks much less good than varying the height.
The scenicked part.
and the transition to the great brown expanse.
Next up was part of the upper level. Note that I'm purposely not putting down ground foam first to see if there is a noticeable difference. There doesn't seem to be in the middle, but along the edges it may be worth putting in.
At the Springfield Train Show I picked up some Silfor Flowers from Scenic Express. I didn't like the even ness from my first application, so I took out the gardening shears, and cut away.
You can definitely see how much better the variation in height looks.
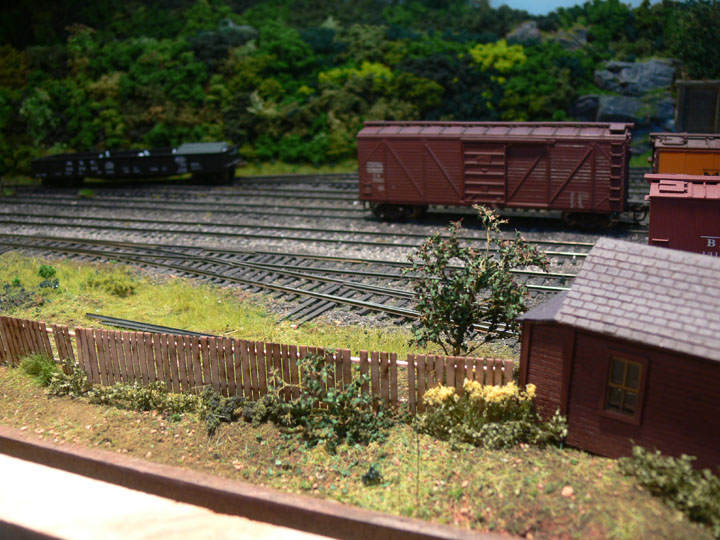
I also added some slight bushes, and a small tree to the side of the office.
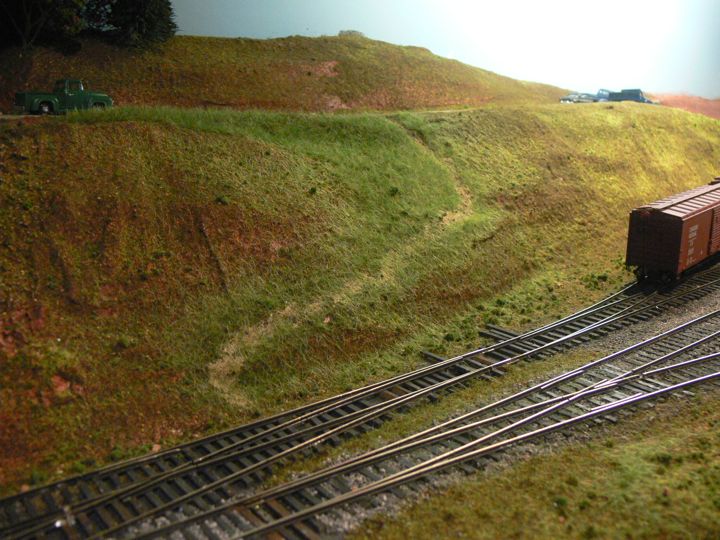
On the front, I decided to dirt in this section.
The drywall patch dried, stained, and edge sceniced. The loading dock visible in the back will be sited here, as it makes a nice team track, and it's easy to work over.
On the back, static grass was applied to the base of the hill along the tracks, and the road edge.
And than the first bit of bushes. Note a major failure here on my part, the slope is way too steep for this. I had to let this bit dry before I could go back and fill in the rest - for vertical surfaces, you're better off using rocks or retaining walls.
Filled in.
The Road edge is starting to look nicer.
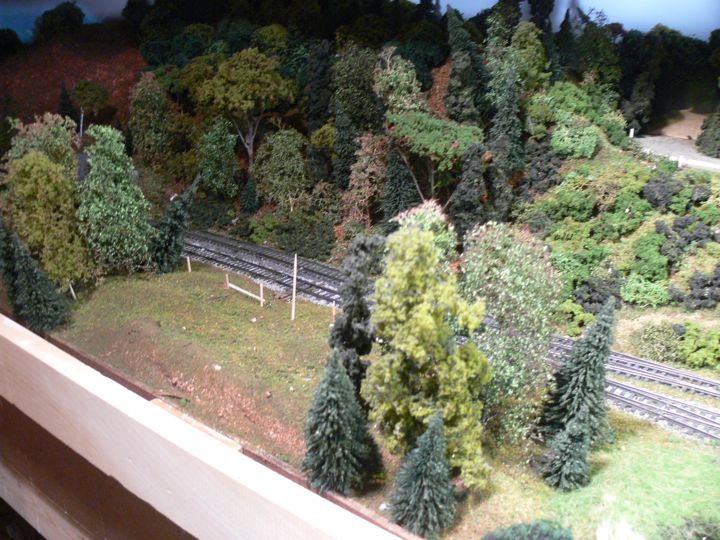
I also put together some Scenic Express Supertrees for the back edge, filling in another foot or so.
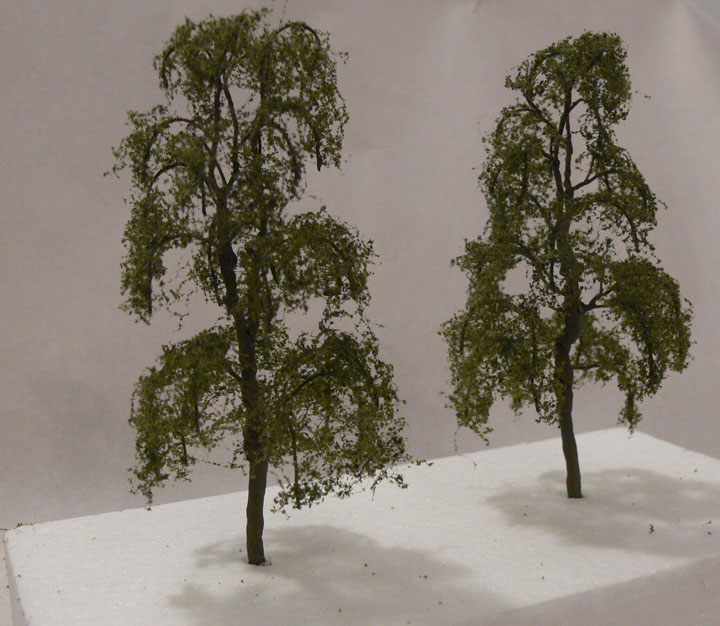
MRC was "giving" these trees away (JTT trees) for the shipping costs, so I picked up a box or two. These are Birch - and I was very disappointed with the lack of color on the trunk.
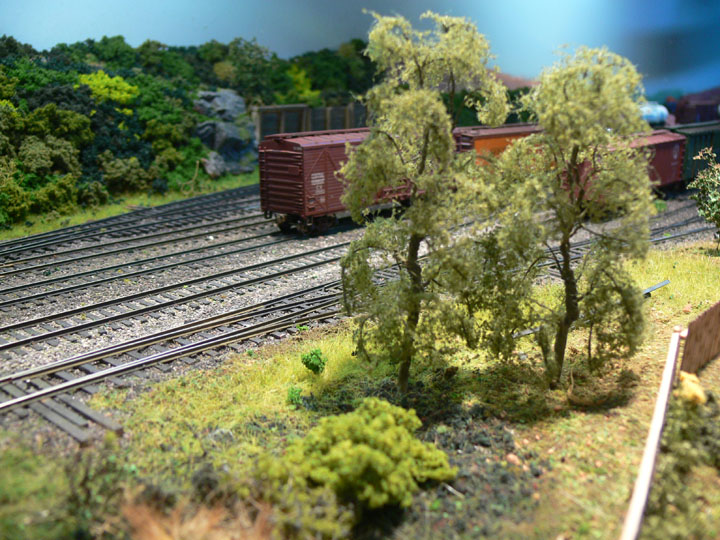
Here they are on the layout up front. Not bad looking trees, the shape and the canopy is ok, but the trunk color is still a disappointment. These normally retail for $7 a tree, and I'm hard pressed to recommend them, as the Super Trees armatures are pretty darn good!