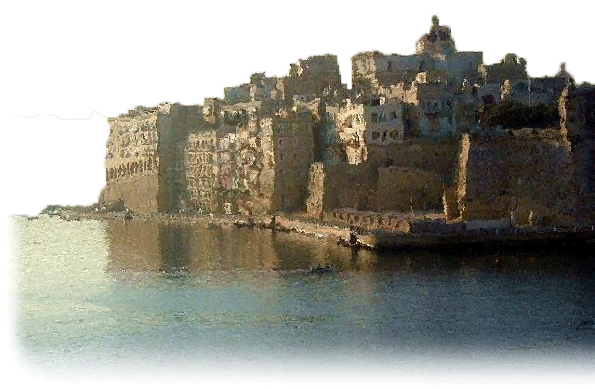
Attack on Malta
After checking the initial Axis advance into Egypt, the 8th army continued to retreat back to positions around El Alamein where it looks like they are organizing a defensive line. The Axis forces brushed off their initial check and have continued to pursue on the heals of the 8th Army as it fell back, albeit somewhat more cautiously then before Round 1
You can find roster, and an after action report here.
ALLIES - The allies did not spend any resource points on Malta so don't look for any favors in this scenario. Three 1000 point forces. Basically, Motor or Rifle companies with additional restrictions. Each of you has to cover two airfields with your force and your force must be split evenly or as evenly as possible (in terms of platoons, not points) between the two. If you need to proxy models because of the restrictions on what you can field, let me know if you need anything - you can use my Italians or Soviets, or Wayne's Australians if needed.
AXIS - The axis have three 1250 airborne forces. Two German and one Italian. Each platoon needs a weapons canister marker (a small base) so you will need to come with those for your force - even a small base with the platoon written on a piece of masking tape. Again, let me know if you need any models.
I think that we are planning on practicing with the Death From Above rules in the Africa book.
British deployment zone is the entire table except for any impassible terrain (if any).
Each platoon in each of your forces must be assigned (mark it down clearly in writing somewhere or on the roster sheet before you get there) to one of the two airfields in their command sector. They must be divided as evenly as possible between the airfields, based on number of platoons, not points. Six platoons means three to each of the two airfields. Seven platoons means 4 to one and 3 to the other. The CiC goes to one airfield and the 2iC goes to the other. Any HQ assets that are not combat attached out to a platoon must go with the 2iC.
Remember Germans that each of your three forces selects a specific airfield to target before you get there. Write it down!
OBJECTIVES: The objective is controlling the airfield on the table. How do you do that? By holding an objective counter as per FOW rules (platoon within 4 inches, no enemy platoon within 4 inches, etc). Both sides may view the three tables prior to any deployment. The Axis then announce which of the six airfields they have already chosen to assault and we determine which British force defends which airfield. The British player then places one (1) objective counter. That objective counter must be placed at some point that would be key to controlling the airfield - on the runway, on an airport building, on a key terrain feature or point generally nearby. You have to convince me that it is placed on a key point. (OK, so that is a wasted objective that the Axis will never go for just like most self-placed objectives in all FOW games.) The Axis player gets to see where that objective is placed. Then the Axis player secretly chooses and records the placement of two (2) other objectives. Same rules apply about placement - convince me it is a key point - suggesting the single tree at the opposite end of the table may not work! Next the British player deploys. After his deployment, the Axis player places the two objectives on the table at the pre designated spots. Then let the games begin!
DESIGNERS NOTES - I have probably over thought this but I have been trying to find a way to minimize the "win the game" aspect of taking the airfield. I want to avoid the British just plunking down 500 points on the center of each airfield right on the objective and digging in knowing that may well prevent the objective from being taken in 6 or 8 turns and thereby winning "the game". Someone convince me that tactic would work in real life! It also doesn't feel right to me to artificially make the British scatter they deployment all over the table either (one platoon per table quarter or something like that). So, it seemed that there are key points which, if you control, are likely to greatly increase your chances of taking the airfield. Maybe not within the 6-8 turns of the game, but holding those points very likely seal the fate of the airfield well enough so we can consider that the airfield has been taken. So, hopefully, this contrivance for objectives will force the British player to "spread out" somewhat and defend what he sees as the key points to maintaining a defensive position to hold the airfield beyond the length of the game.