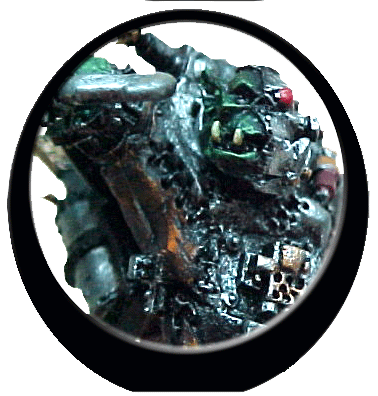
 Fighta-Bomma
Conversion 1.0
 Fighta-Bomma
Conversion 1.0
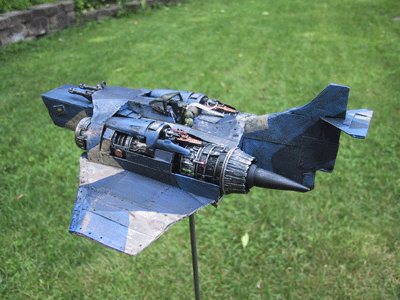
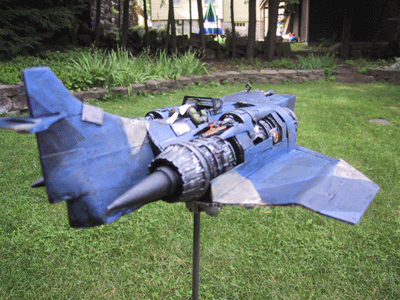
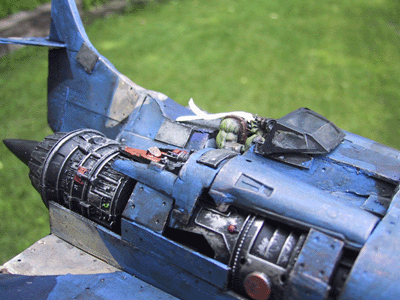
- UPDATED 12 JULY 2004 - Well the model is complete - for now that is!
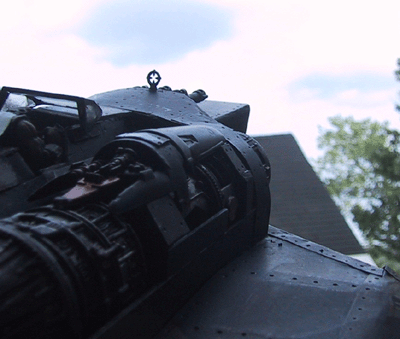
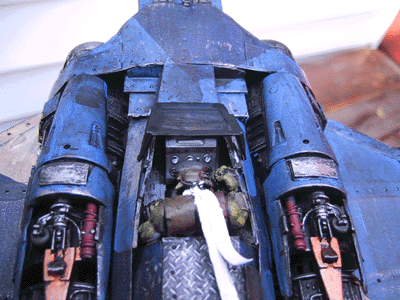
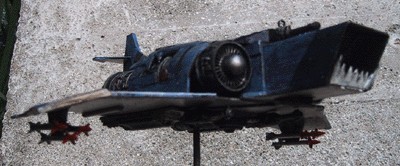
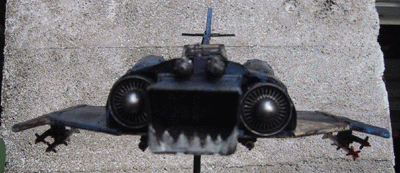
Here are a couple of shots of the completed model - and below, you can find the construction notes. You might want to check out da local def squadron too.
 |
 |
 |
 |
 |
 |
Construction Notes:
Next on the mad mekanikz hit list is a new fighta bomma for da krew! This will be more of a scratch build than a conversion, so 'ere we go!
My initial plan is build an ork version of the Forgeworld Imperial Thunderbolt Heavy Fighter

I really like the looks of this model, and it's blockiness should lend itself
to an ork version pretty well. I am basing the model on the engines from the
Star wars pod racer kit, they are exactly the right size and look like the kind
of powerful engine any speed loving ork would die for.
If you have time, check out the rest of the site too - including the ork army list, and the other conversions.
so 'ere we go!
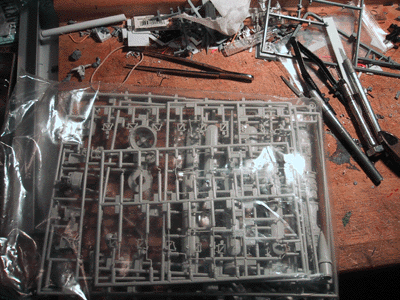 |
This is the engine parts from the Star Wars Episode 1 pod racer model. |
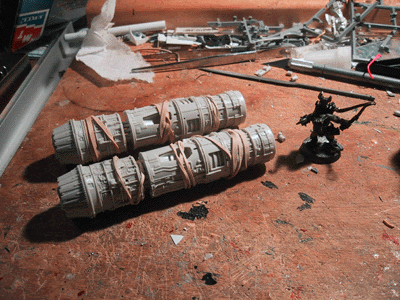 |
And here are the two engines drying. These are sort of a pain in the the grot to assemble, as they are made up in quarters. I found it easiest to insert the two ends before the quarters set up in order to get a proper shape. |
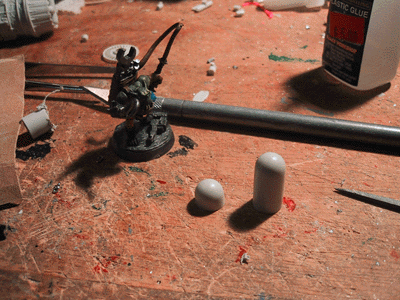 |
The original intake nacelle has the large projection on the right in the center of the intake, I decided to cut it down (the one on the left). Nothing like a burna when you need one! |
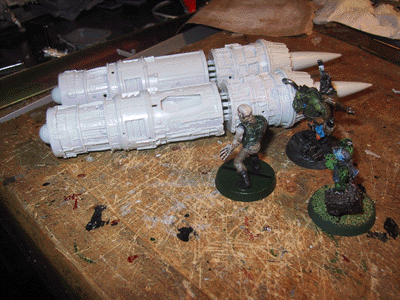 |
The two engines now have the intake and exhaust modules in place. |
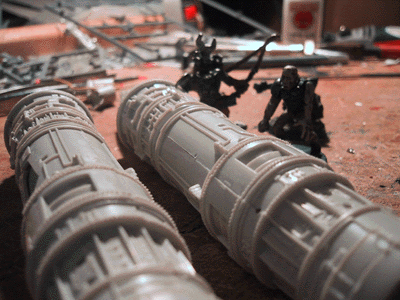 |
Mekboy gooba whips his human slave back to work. |
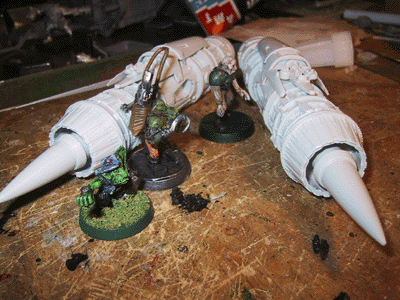 |
The two surface devices I debated about mounting, but did any way. These have so much character that I am going to try and leave them as exposed as possible - so now, we need to work on the airframe! |
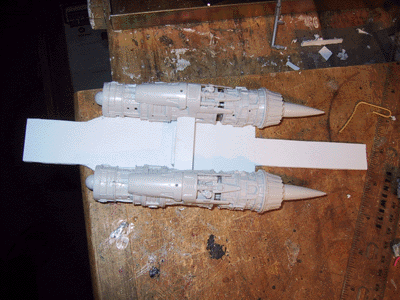 |
Next on the list was to begin fleshing out the hull. A 25 cm x 5 cm piece of .6 plasticard (very thick) was cut out as basic mold. After cutting the basic rectangle, than the front and back ends were slimmed; 5mm in the front on each side, and 1 cm in the back on both sides. Note that in this picture the front of the aircraft is to the left. |
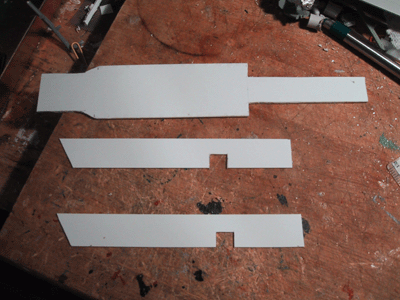 |
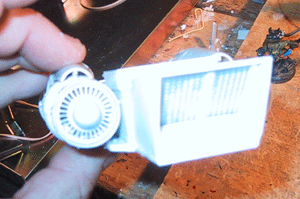
Here is the
bottom panel, made out of .6, very thick plasticard, and the two sides,
from .3 stock |
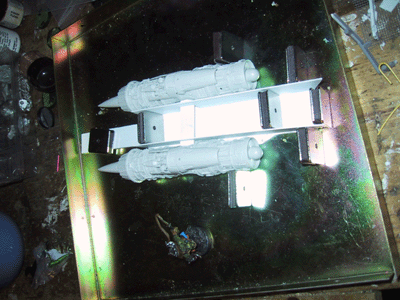 |
and
drying in place. |
 |
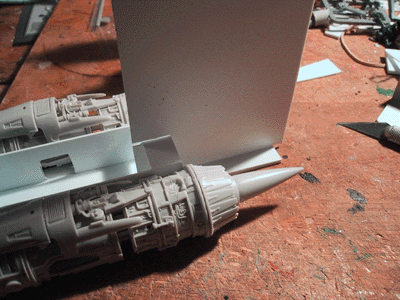
The
front grill was added, and recessed in the nose. |
 |
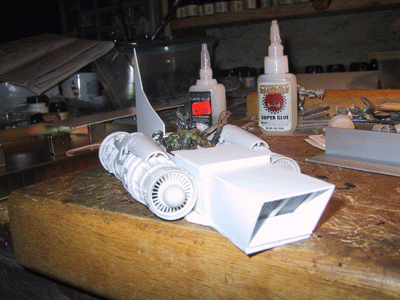
The
tail section was notched to fit the upper cross beam - note that the tail
piece pictured is a skeleton only. |
 |
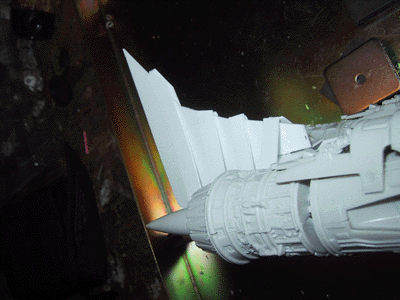
With
nose and tail skeleton in place. |
 |
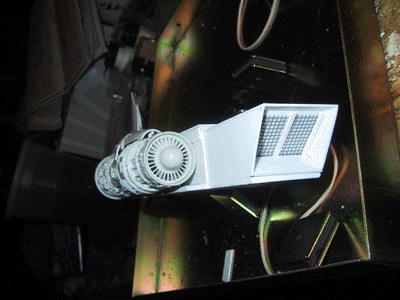
On
the back, vertical ribs were added to the tail section. These will in
turn be covered by thin plasticard. |
 |
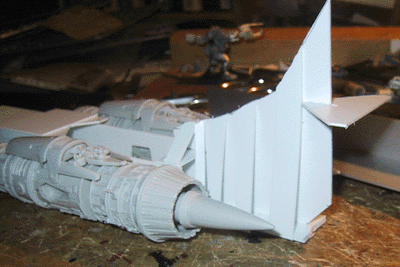
A
better front view of the nose. |
 |
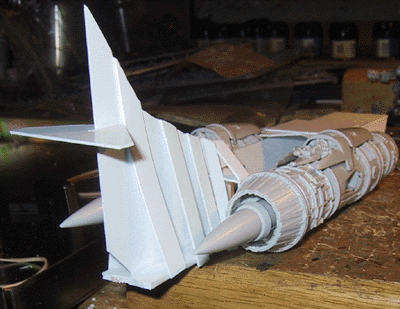
Here's
a better shot of the tail structure |
 |
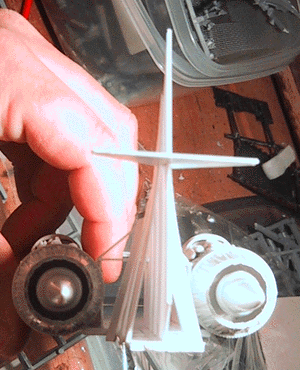
and
from the other side. Again, my concept is to make a skeleton,over which
very thin plasticard will be riveted on. I hope it's going to work! |
 |
Tail cross section. |
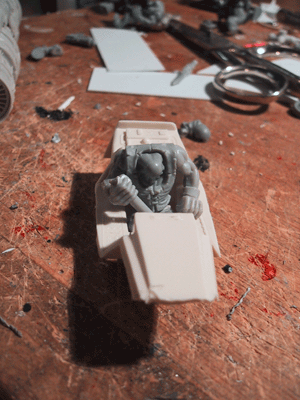 |
Next
on my list was the cockpit - and luckily I remembered that I had this
Star Wars X-wing model - with a little modifications it fit perfect! The
pilot is a fantasy body, ork driver legs, his right arm with the stick
is a cut down spear, and I re-positioned his left arm to work the throttle.
I am waiting for bitz - in this case, a burna boy head (with goggles) |
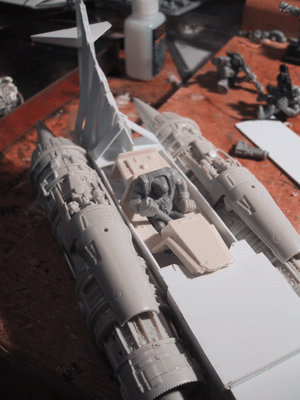 |
And just resting in place. |
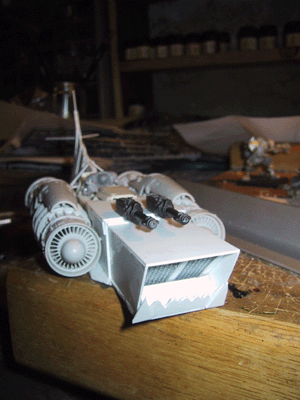 |
I
glued the cockpit in place, and added the twin linked big shootaz on the
nose. |
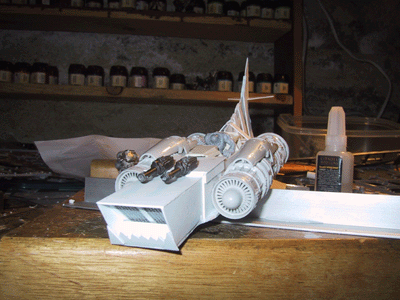 |
I
also decided it needed a "jaw" in the front. |
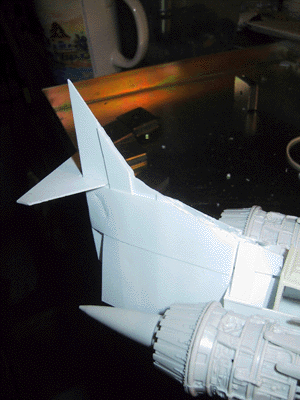 |
I
started the skin by adding thin plasticard to the tail section, covering
over the ribs. |
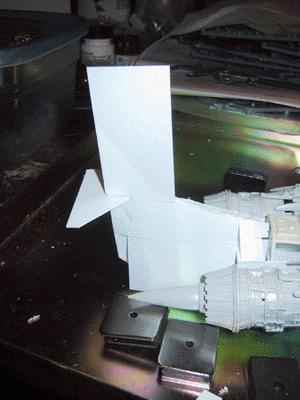 |
Here
a vertical piece dries before cutting the tail curve. |
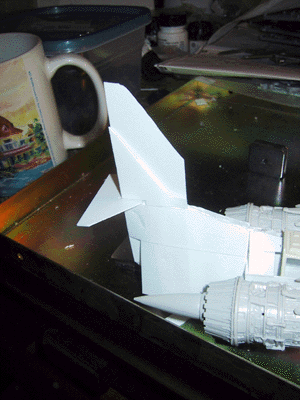 |
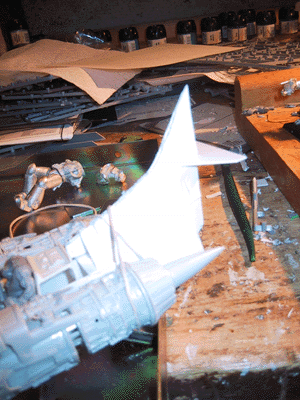
and
with one side dry and trimmed, the opposite side is attached. Before you
get all huffy about the panels, just remember one word - rivits. |
 |
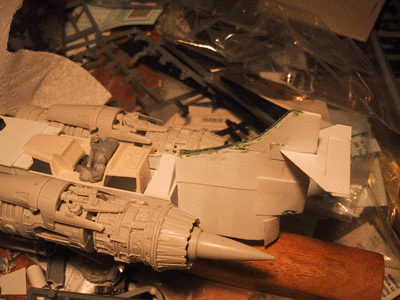
Here
is a very bad pic of the skinned tail. We say Sorry! |
 |
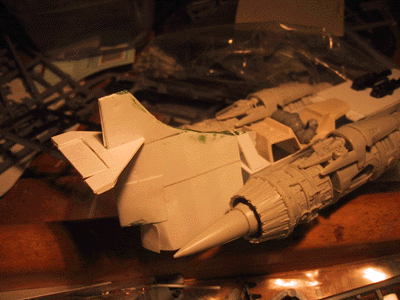
Thanks
to some good advice, I squared up the tail top. |
 |
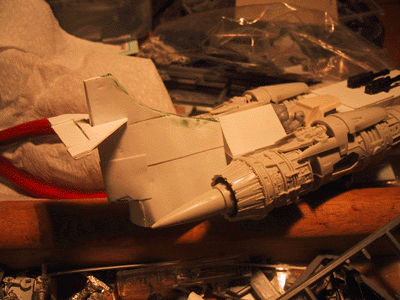
The
green stuff is Squadron green filler, this stuff is great - fills gaps,
sands, etc. Runs about $8 for two tubes from Micromark, worth it! |
 |
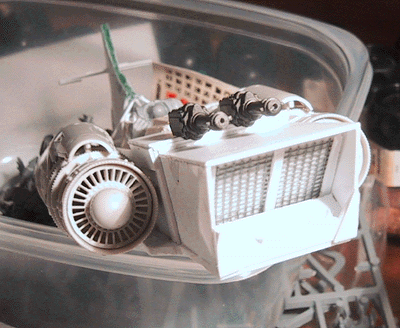
With
the tail done, I started on the cockpit back |
 |
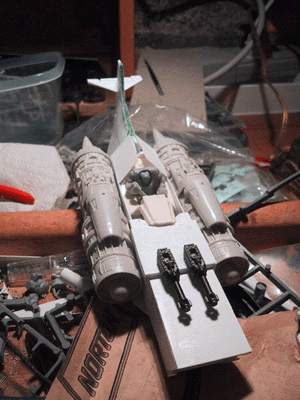
A
front view -note the jaw has been trimmed to the outer dimensions of the
fusilage. |
 |
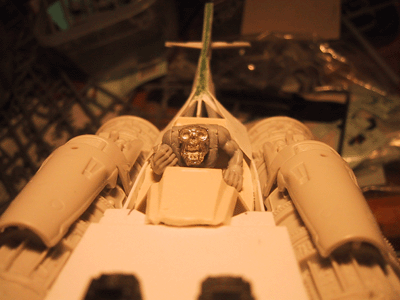
Overhead
shot. |
 |
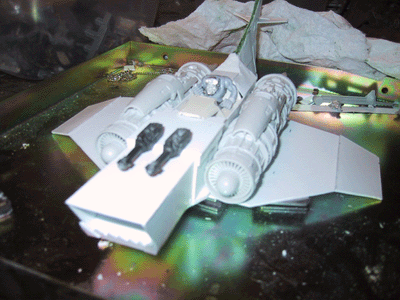
The
pilot has a head! |
 |
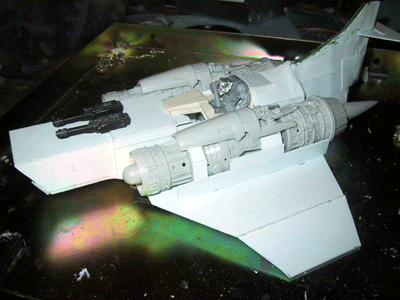
I
(finally) got the rough lower wing structure in place. |
 |
With
that in place, I started securing the engines to the wing surfaces. |
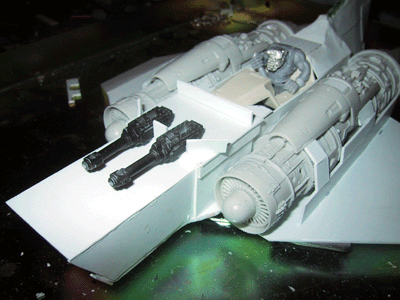 |
I
boxed in the rear gun mechanizm in preperation for the front "mantle" |
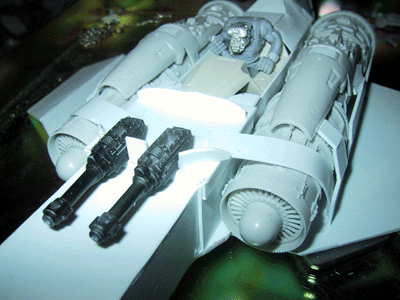 |
And
inside of it, I added a "structural" strap around the engine.
Note some of the gun box area has been shaved down. |
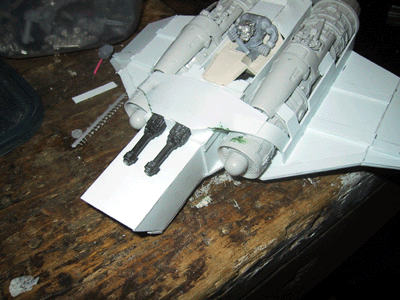 |
Here
it is with the mantel cover in place. |
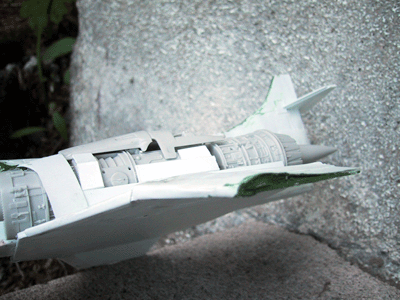
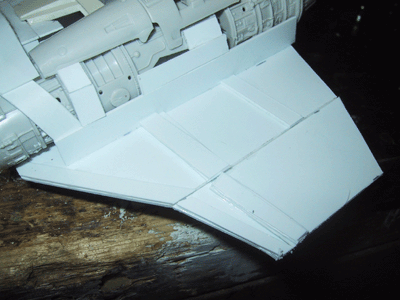 |
Moving
to the wings, plasticard was added to provide shape. |
 |
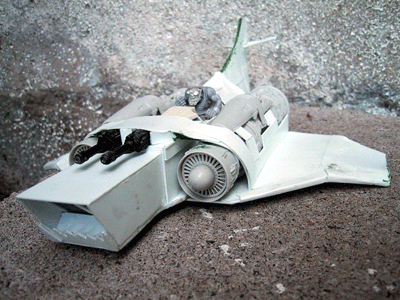
Thin
plasticard was used on the top surface, and along the front wing edge.
Green stuff was used to fill in the wing ends. |
 |
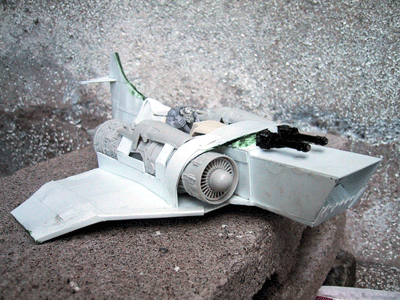
It's
starting to come along.....I think. |
 |
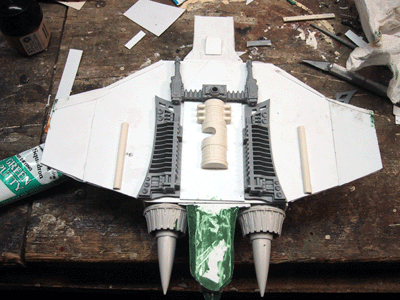
The
other side. Some of the wing top plasticard buckled, still working on
an idea to fix that. |
 |
Spent
some time on the bottom half - the big shootaz went in, as well as some
"mechaniks" bitz left over from the DE raider and the starwars
X-wing. |
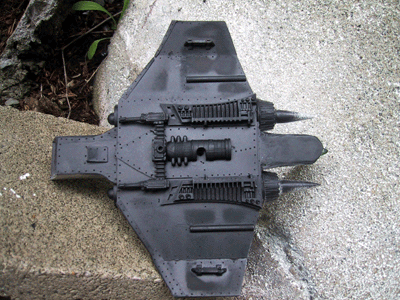 |
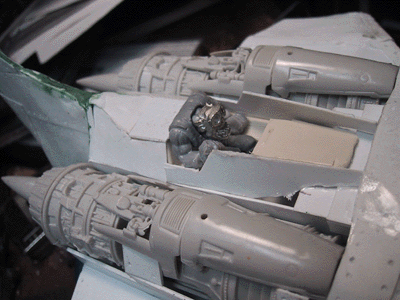
I
couldn't stand looking at the bottom any more, so once the green stuff
had dried and I finished the rivits, I primed th bottom. I know, some
of them are off, but hey, you drill that many holes and see how accurate
you are! |
 |
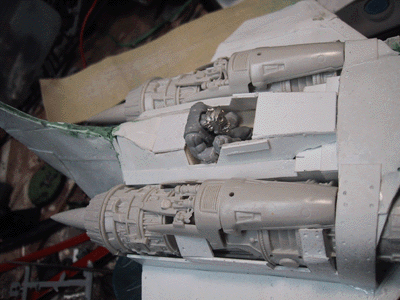
After
a lot of thought, I decided on an "open" style cockpit.Here
the front sides are boxed in. |
 |
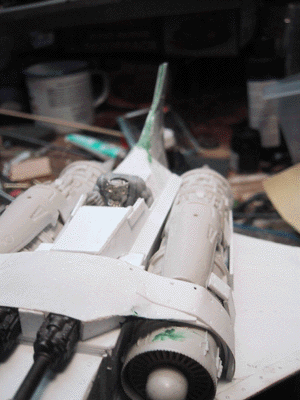
And
the top put in place. The two plasticard strips near the front are for
the windscreen, which will go into place after the model's painted. |
 |
The
front is tapered to meet the front gun mantel. |
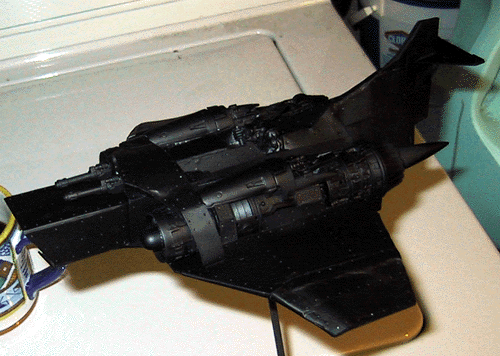 |
After a few more details were added, I primed the model. This does not mean it's ready to paint, but I was having a hard time identifying spots that needed more attention, the primer coat should help highlight them. |
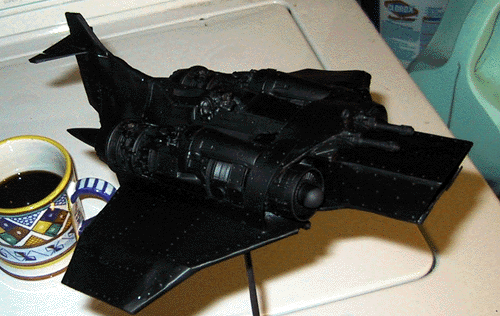 |
The
udder side. |
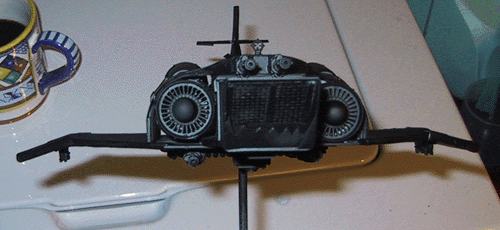 |
here's
a good shot of the wings - and the empty missle mounts. |
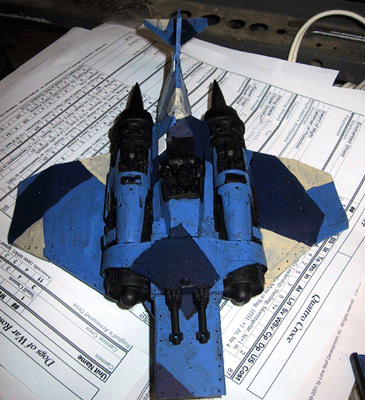 |
The
basic camo pattern was applied. |
 |
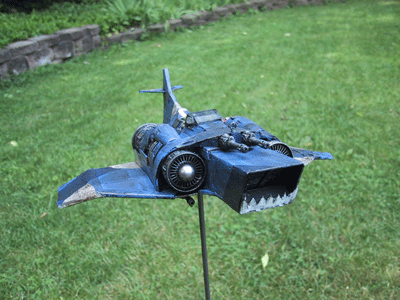
The
main paint is done! |
 |
|
 |
|
 |
nice
scarf |
 |
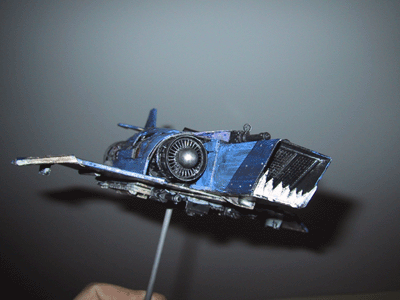
Gunsight
view |
 |
|
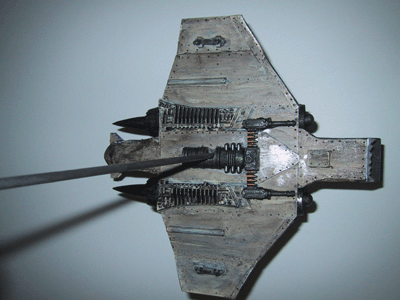 |
Still
needs the rockts, they're coming soon! |
 |
Here's
a low level shot of the craft with the missiles |
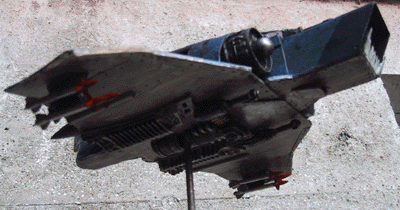 |
And
another - this gives a good idea of the lower weapon load-out |
 |