 Dark
Panzee Raider Conversion 1.0
Dark
Panzee Raider Conversion 1.0  Dark
Panzee Raider Conversion 1.0
Dark
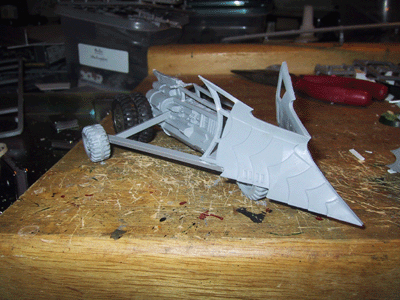
Panzee Raider Conversion 1.0 - UPDATED 10 December 2004 - Warboss Bobz Killa Konvtikz are notorious looters, and their next victim was a Dark Eldar Raider they found wrecked on the battlefield. This was an easy idea for Gooba - wartrukk!.
If you have time, check out the rest of the site too - including the ork army list, and the other conversions.
 |
 |
 |
|
 |
 |
 |
 |
 |
|
Here's how it happened.
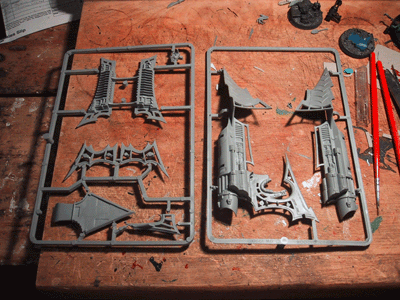 |
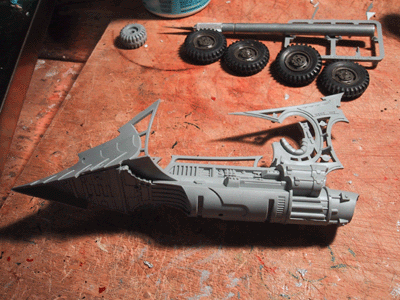
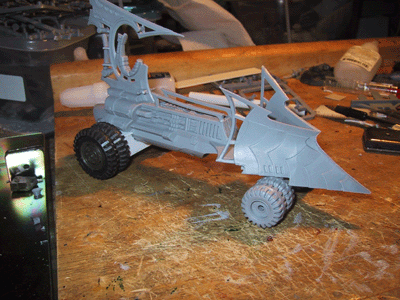
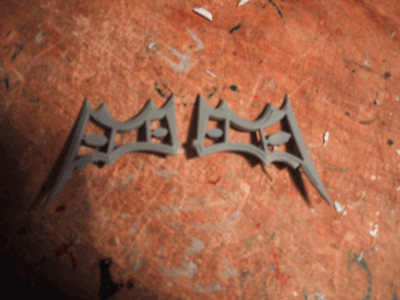
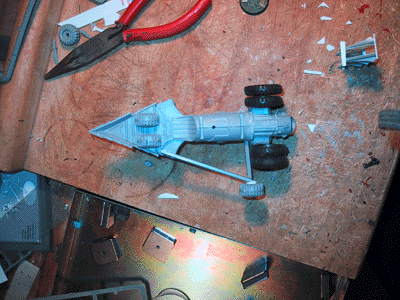
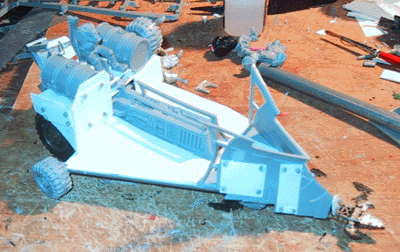
The basic raider sprue |
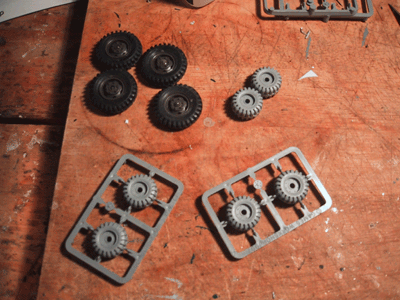 |
GW small wheels, and some bigger wheels off of a 1/35 scale duece and a half model from yesteryear will replace the hover mechanism. |
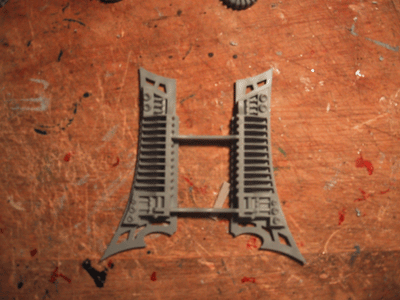 |
Thes side rails and hover plates, will not be used on the model. |
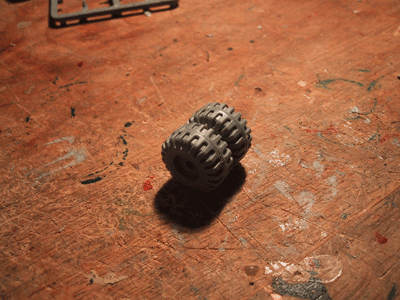 |
I had origionally decided to double up the front rims. |
 |
And the back as well. |
 |
Step one was to glue the two sides together, as well as the front intake piece on the bottom. |
 |
Here's my first thought for the front rims. |
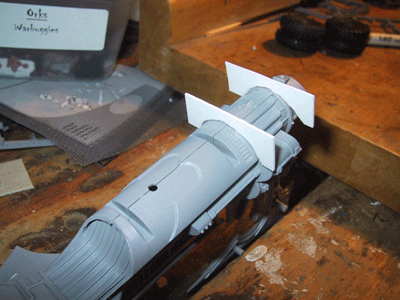 |
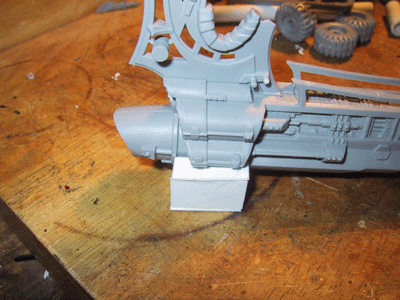
But for the moment, back to the rear axel. Here plasticard is cut to bridge the rokkit engine. |
 |
And than boxed in on the sides. |
 |
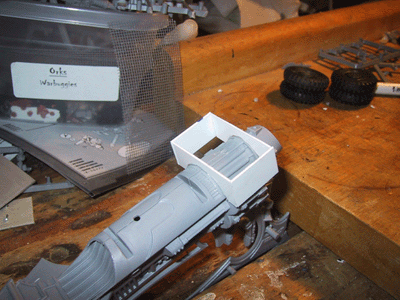
A bottom plate was added, and it leaves gaps on the top. Make sure you fill thes in with plasticard before attaching rear wheelz. |
 |
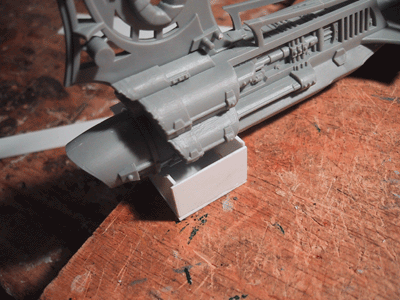
Her
it is "capped" |
 |
And
now the wheels are positioned and glued in. |
 |
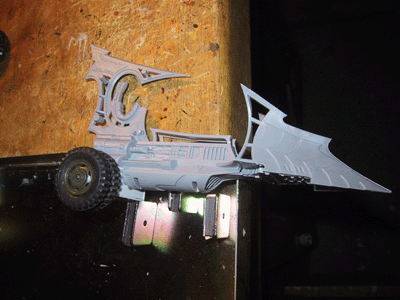
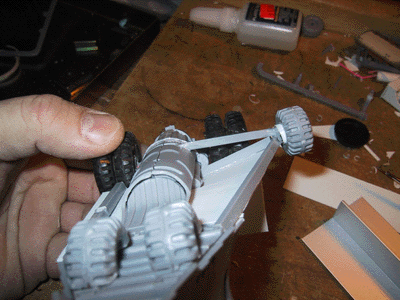
I
like this pic. If you play BFG, you might want to consider this model
for a capital ship! look at that engine! This is also a good shot of the
splice I had to add for the wheel clearance. |
 |
Here's
a rear shot with the rear wheels mounted. |
 |
My
original idea was to have duell wheels up front too. |
 |
But
the consensus was singles. Thanks to WAAAGH input, the front axel will
be slid backwards a bit too. |
And
than the whole thing came to a crashing halt. New ideas were proposed,
and I ripped off the rear wheels. |
|
 |
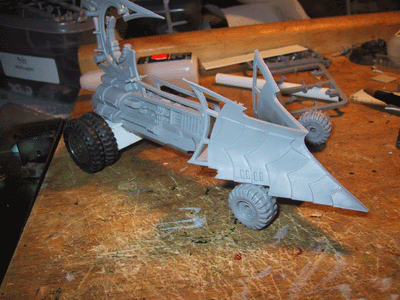
With
the wheels ripped off, some supports were added on one side for an outrigger. |
 |
The
front wheels were "halved", and glued to the bottom of the wedge. |
 |
I
also cut of the tall tail fin and drivers seat. |
 |
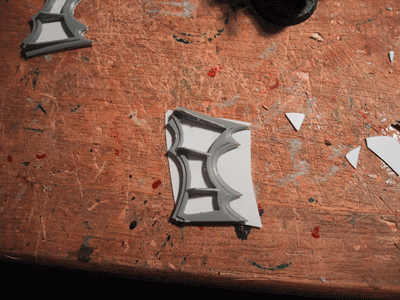
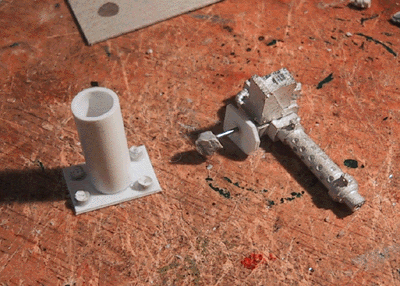
This
large piece is a single section, and is supposed to fit in the large verticl
fin on the origional model. I have other ideas. |
 |
I
cut them apart, and attached a thin piece of plasticard to the glat side. |
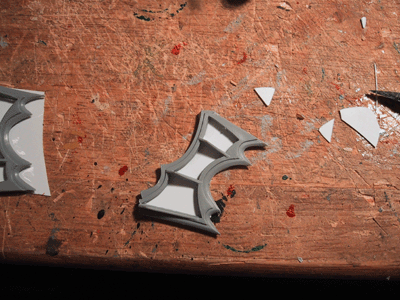 |
Once
dry, I cut out the plasticard to match the DE curves. Stay tuned on what
we're going to use this for. |
 |
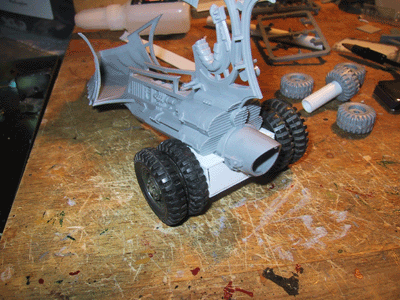
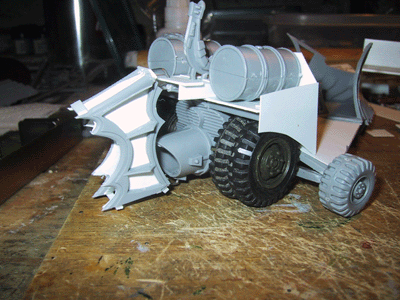
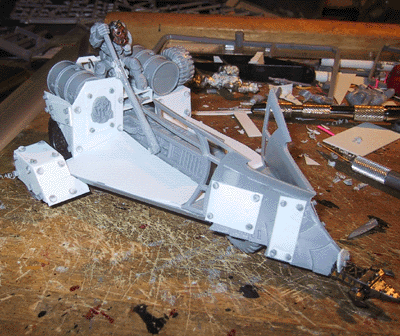
Back
to the main model, the outrigger wheel and rear wheels were added. |
 |
Here's
a bottoms up shot of the wheel configuration. |
 |
I
added a lower support arm to the outrigger. |
 |
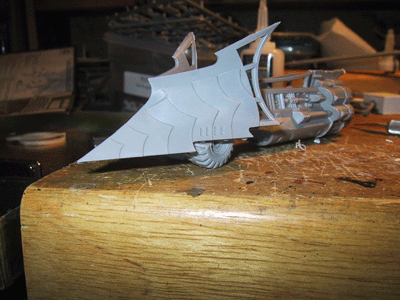
Here's
a shot of the right side wing |
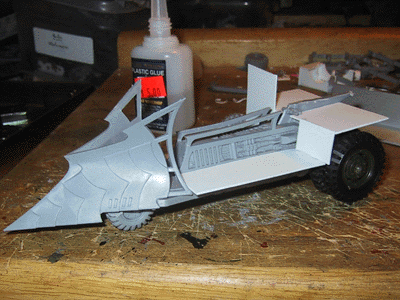 |
and
the running board on the left |
 |
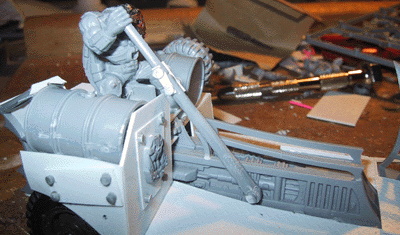
the
control vanes were added, they are hinged and swing. Fuel tanks were put
on top, as well as the driver's seat, made out of the origional DE driver's
position. |
 |
Here's
a close up of the rear end. |
 |
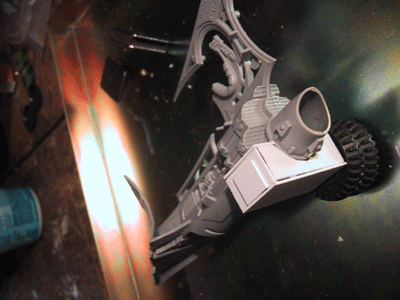
And
a front shot. |
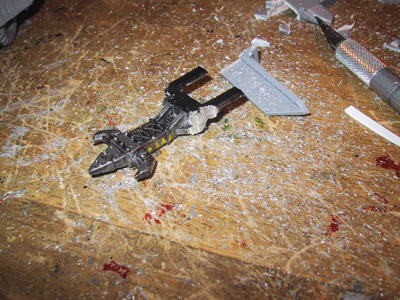 |
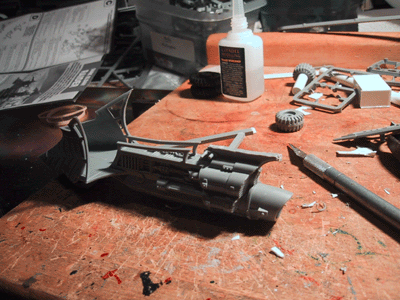
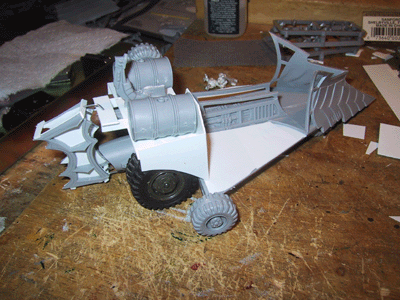
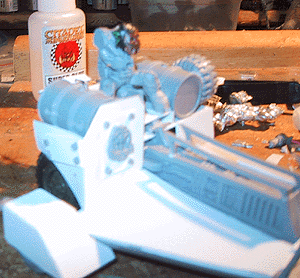
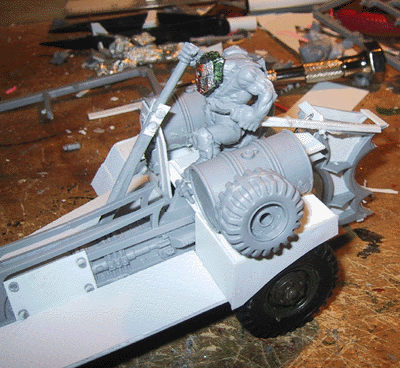
I
wanted a ram, so I pulled the reinforced ram off of the gorkamorka wrekker. |
 |
I
had to cut it down a lot with the dremel to make it fit. |
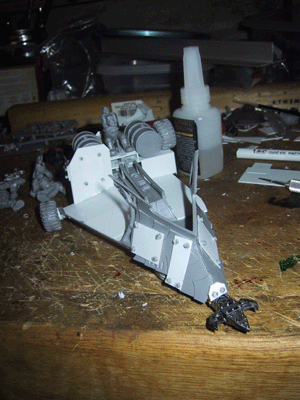 |
And
here's a new front shot, with the ram and a few extra plates bolted on. |
 |
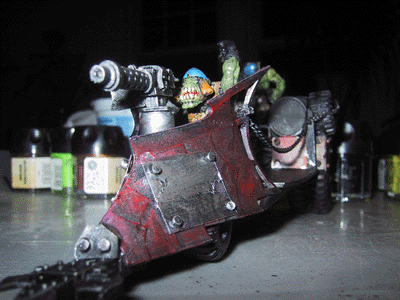
Hard
to see on this shot is the diamond "safety" tread that is down
on the flat surfaces. |
 |
I
ripped off the other driver - he just looked too weedy, and instead, started
an orky version of Lord Humungous (from The Road Warrior). Also
visable in this shot is the mud guar on the outrigger. |
 |
Here's a clearer shot of the mudguard, and orky glyph that was taken from the fantasy ork boyz regiment shield sprue. |
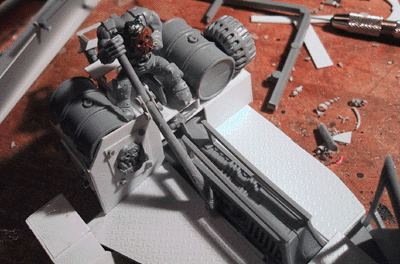 |
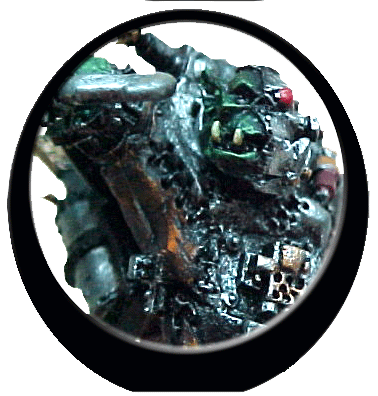
Here's
a good shot of "Humungous". His legs and torso came from the
fantasy ork boyz regiment command sprue; the legs are for a riding ork
of some sort, and they fit here pretty well. The head is from a now 'eadless
burna boy, and his right arm is a cut down spear arm also from the fantasy
set. |
 |
'ere's a good shot of the throttle mechanism. It's cut down sprue, joined to the spear shaft in his hand with reinforcement plates. |
 |
And
the arm has the tiller, this made from plasticard. His left arm is one
of the stabbing knife arms from the fantasy set, again cut down and modified. |
 |
I
think he looks A LOT better than the other driver! |
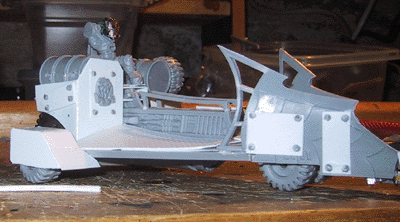
 |
Next
was the gun mount. The base was made from a cut up ball point pen and
plasticard. The small gray bit glued to the bottom of the wire from the
big shoota is to allow the gun to rotate, but not come free. |
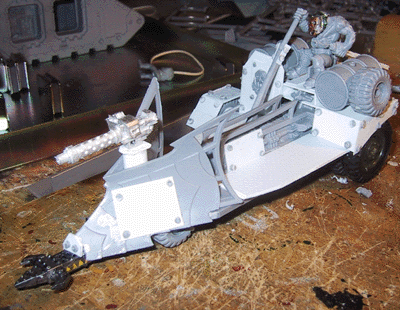 |
Here
is the gun in place. I would have prefered it a litte lower, but the ammo
box wouldn't clear the side frames of the raider. It works. |
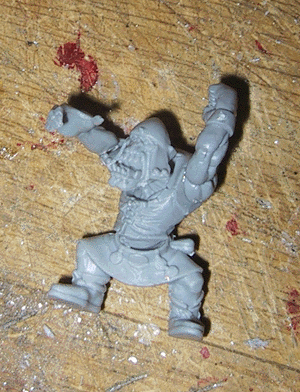 |
Next
was the gunner. He's also from the fantasy set, except his right arm which
i cut, rotated, and re-attached. |
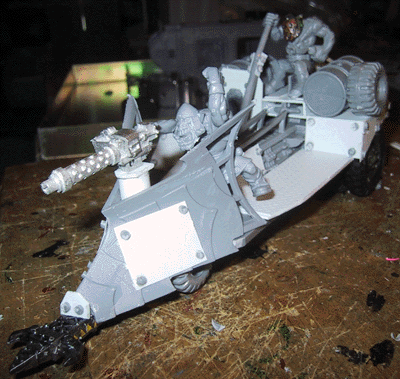 |
And
here he is in a dry fit. Waagh! I'll leave him loose for painting, and
than pin him in when everything else is done. Now we're just waiting for
some chains... |
Well - thanks to Hakbash, the chains showed up - and I was able to finish the model! Here's the painting bit.
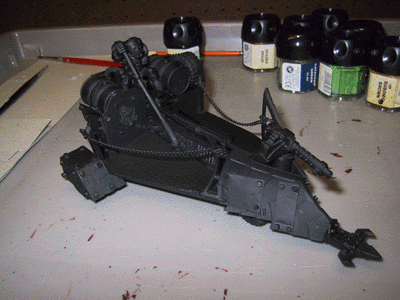
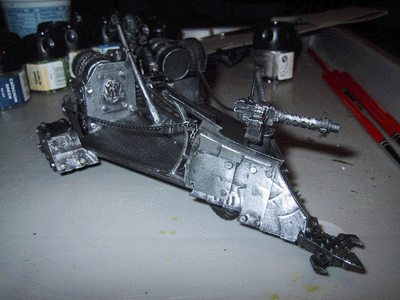
Black
undercoat |
|
 |
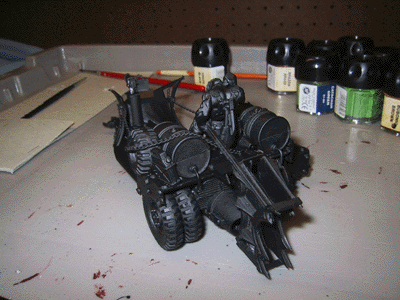 |
Heavy
boltgun metal drybrush |
|
 |
|
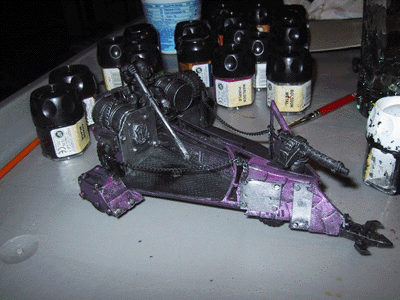
Warlock
purple was than dry brushed over the "origional" raider parts
(I made a mistake and did the mudguard as well). |
|
 |
|
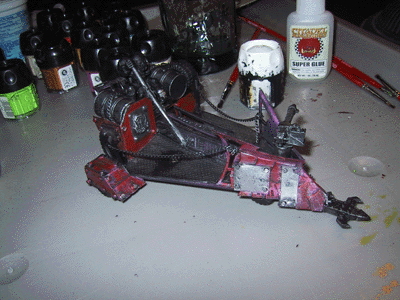
And
than a coat of blood red went over that - except for a few parts, like
the control vanes and interior sections. |
|
 |
 |
After
that everything got a "rust wash" - part chestnut ink, part
scorched brown, part water, and ? |
|
 |
 |
I
than started on the crew and other details like the glyph. |
|
 |
 |
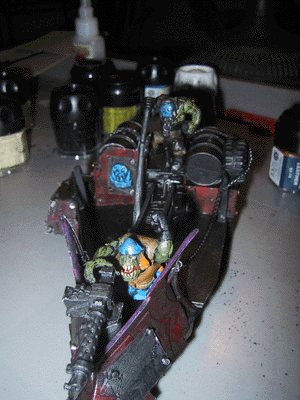
And
finally added the gunner |
|
 |
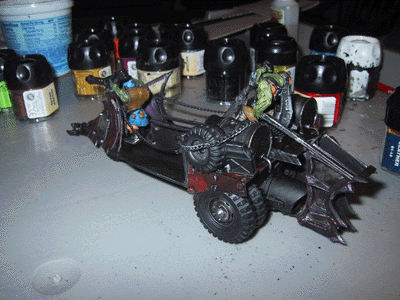 |
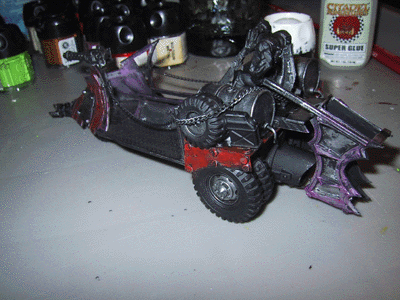
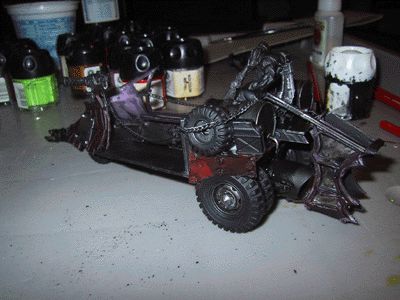
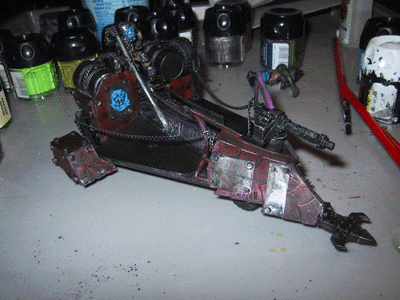
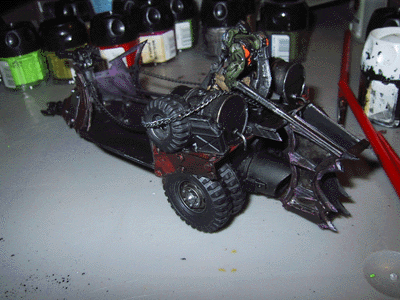
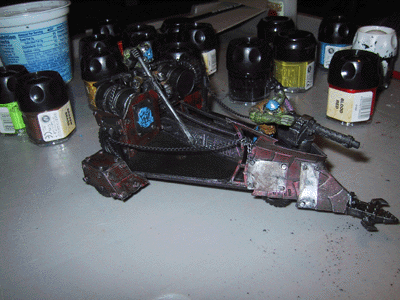
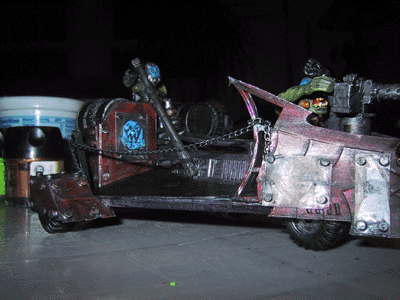
It
still needs some small detail and touchup work - but here are some action
shots! |
|
 |
|
 |
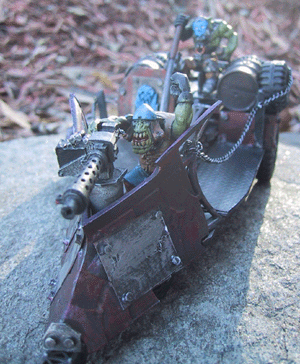
comin' at
ya! |
 |
|
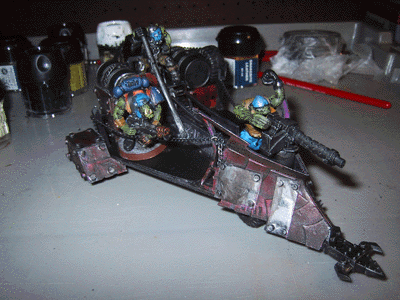 |
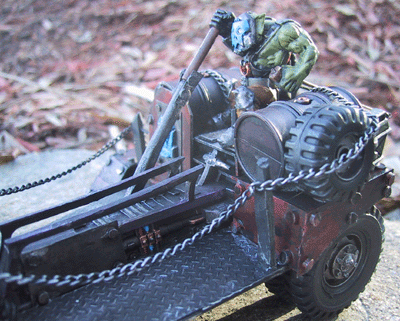
It will hold
a boy or two. |
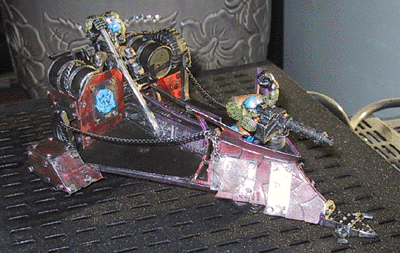 |
Daylight pic |
 |
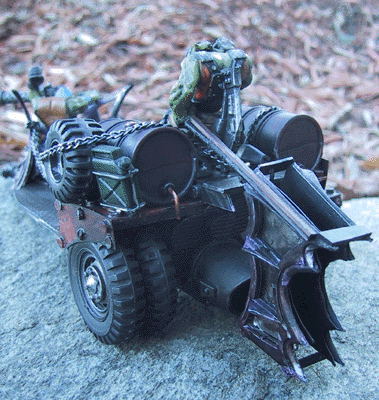
looks dead
'ard n killy! |